
3D printing technology has been around for some time, and just within recent years has become more commonplace and cost effective for the home. Our first 3D printer at STEMtropolis cost just under $100! So, what do you print first if you have two curious young boys? Dinosaurs, of course!
We’ll walk you step by step through the process and show you how to 3D print your own dinosaur in this post. To 3D print a Dinosaur, you just need a few things:
- 3D model
- Slicing Software
- 3D Printer
- Filament (plastic that is used to make the models)
3D printing technology is revolutionizing the study of dinosaur fossils, as well as many other industries. Previously, researchers would create a plaster cast of individual bones or pieces, which can be damaging to fragile fossils. Instead, a piece can be scanned with lasers and digitized into 3D models as shown in the video, and 3D printed in various sizes for study.
How do they do it? We’ll show you the process of how to 3D print a dinosaur. Let’s start with the biggest piece: the printer.
Got a printer?
The biggest hurdle to 3D printing is the printer itself. They’re not quite yet a household appliance, but are readily available.
If you already have a 3D printer at home, you’re all set. Like any technology, prices have come down considerably since it was first introduced, and it’s possible to find very capable printers under $100 (capable, but small.) We started with a Monoprice/Powerspec I3 Mini (which is a rebranded Wanhao i3 Mini.) It was perfect for us to learn a bit about the craft, through we grew out of it after a year or so. We still have it and use it, though we’ve upgraded.

If you can extend your budget a bit, you can get something that can handle doing larger prints. We’re currently loving our Creality Ender 3 Pro (check here for the latest prices on Amazon.)
If you don’t have a printer and getting one isn’t in your budget, don’t feel left out. Check your local libraries or colleges for a makerspace or fablab. Some are free to the public, usually with a nominal fee for materials. Bonus that sometimes you can find knowledgeable folks there that can help you out if you’re a newbie.
Get your Dinosaur 3D model
You saw researchers scan fossils with lasers to make a 3D model in the above video, and if you’re curious, yes – you can absolutely create your own 3D designs to print. You can use 3D scanners like the researchers used in the video clip above (which may cost as much or more than the printer itself!)
You can also design your own 3D models. There are a few free software packages you can start with like Blender, Sketchup, or TinkerCAD.
Or, you can do what most of us mere mortals do and simply find plenty of free 3D models online. Thingiverse is one of the most popular repositories of 3D models, though there are several other worth mentioning. Yeggi, myminifactory, are a few other notable sites with a treasure trove of free 3D models.
Be warned: You can get lost for hours scrolling through all of the available models. Once you find one you want to print, you can download the file. The most common file format for 3D models is known as “STL,” which stands for “Standard Triangle Language” and “Standard Tessellation Language.”
We’re going to print this model from myminifactory.com if you’d like to print along and directly compare your results. We chose this for a sample since it’s a fairly easy print and shouldn’t require supports for parts of the model that start printing far above the print bed. Feel free to print any model you wish.
Prepare your file to 3D print a dinosaur
Good news! We’ve got our .stl file and are ready to go. Not so fast – your 3D printer doesn’t know what to do with that file. Once you have the model, you’ll need to process it so the 3D printer knows how to build the model, layer by layer. It needs to know how much plastic to use, how fast to move, what temperature it should be set at, and a whole host of other settings.
You’ll need to open the .stl file in a piece of software called a slicer. Chances are one came in the package with your printer, most likely on the data card is there was one included with your printer. (And chances are that by the time you purchase your printer and get everything set up, that software is already outdated – but should still work with the printer.)
There are a number of free software programs call Slicers available to do this. We use Cura, which you can download here.
You’ll need to set up your slicer for your 3D printer, so it knows the dimensions your printer is capable of printing. There are a ton of slicer settings, which can seem overwhelming at first glance. Don’t let that discourage you; there is plenty of time to learn what everything does and experiment with settings.
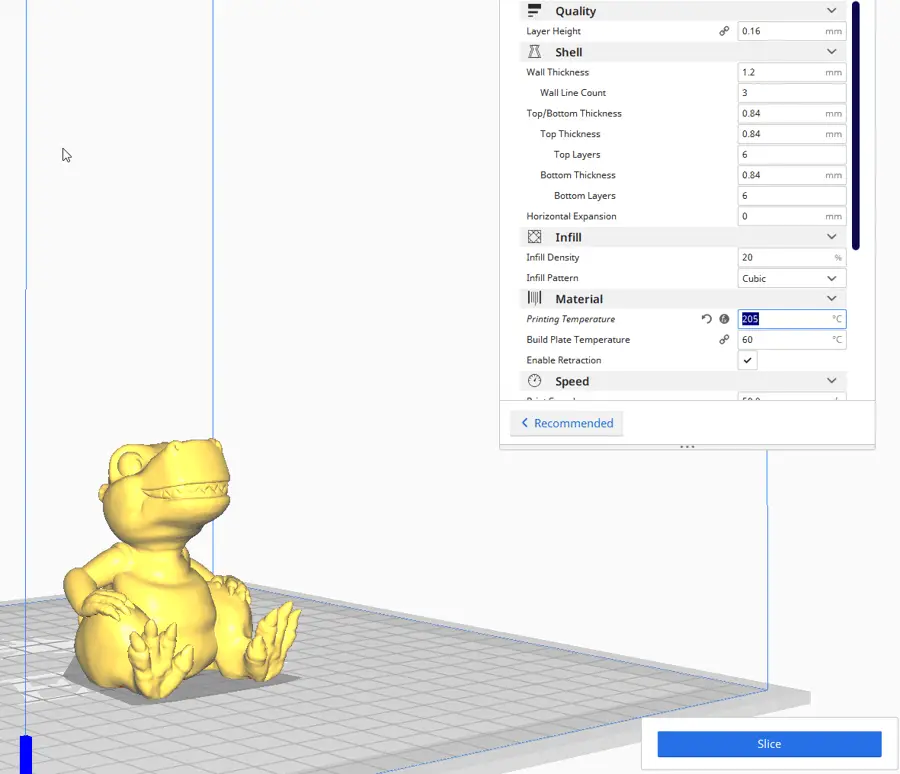
Most slicers have some default profiles, or settings, you can use to prepare your model. If you’re just starting out, it’s best to use these at first, and tweak settings to improve your prints after you see the first results. We’re going to use the “Dynamic Profile” setting in Cura, which should give us a nice smooth print quality and fine detail on our printed piece.
Here is a screen shot of what the imported .slt file looks like in Cura, with a view of our settings on the right hand side.
A few things to check in your slicer program:
- Make sure your print is fully in the build area, or it won’t slice. Check the position on the X,Y, and Z axis and set them to 0 if they are not defaulted there when you import your model.
- If the file you loaded is too big for your printer, you should have a “Scale” setting to shrink it down a bit. You’ll wind up with a smaller model, but will be able to make the print.
- For your first few prints, use a skirt or a raft. This will help your model stick to the build plate while it’s printing, which is one of the most common problems when first starting out.
- Dial in your temperature. We’ve found that a temperature of 205 to 210 degrees works best. If your printer has a heated bed, 60 degrees is what works for us. You should also be able to adjust this from the printer itself.
- Stat with a modest amount of infill. This is how much plastic is used to create your model. 20% is a good place to start as you’re learning.
Once you get the settings ready, you can slice your model and save the file. The slicer will take your source .stl file, apply the settings in the slicer program, and create a .gcode file that your printer can read. You can copy your .gcode file onto a data card, and inset the card into your printer.
Let’s 3D Print a Dinosaur!

Before starting a print, you’ll need to prep your printer, level the print bed, and load up your filament. Filament is the material the printer uses to build the prints, and usually comes in spools like the one shown here. There are a number of different plastics and filament materials to choose from. We’re partial to Hatchbox PLA for most prints.
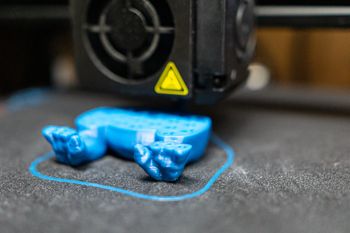
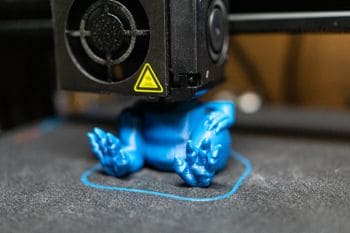
Make sure your printer is powered on and you should be ready to go. Select your print file, start the print, and… wait. 3D files usually take hours to complete, and sometimes days, to print. The model we chose here took just over 4 1/2 hours to print.
Size of the print, infill selected, and speed of the print are key factors that influence how long a print takes to finish. That said, it’s fun to watch the model get built layer by layer.
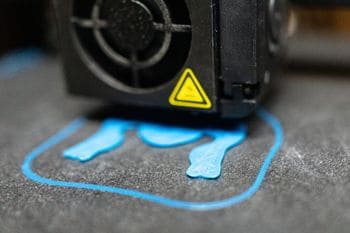
Once you start your print, make sure to stick around at least for the first few layers to ensure the plastic is being spread evenly, and that the print is sticking to the build plate. Next to making sure the bed is level, build plate adhesion is the biggest issue to get a decent print. (Pro tip: using a glue stick or some painters tape can be a quick cure for build plate issues. On our first printer that did not have a heated print bed, blue painters tape worked like magic.)
Once your print is finished, you may need to use gentle pressure with a paint scraper to pop your print off the build plate. Our Ender 3 Pro has a magnetic bed, so models come off very easily.
Related Post: Check out our post on 3D Printing for Kids for more awesome 3D print projects, or our post on 3D Printing for Halloween
Finishing Touches
You can use mid-fine grain sandpaper to smooth out any rough edges your print may have. Some folks like to use a dremel tool for fine detail work, though this usually comes into play when printing larger pieces that need to be glued together.
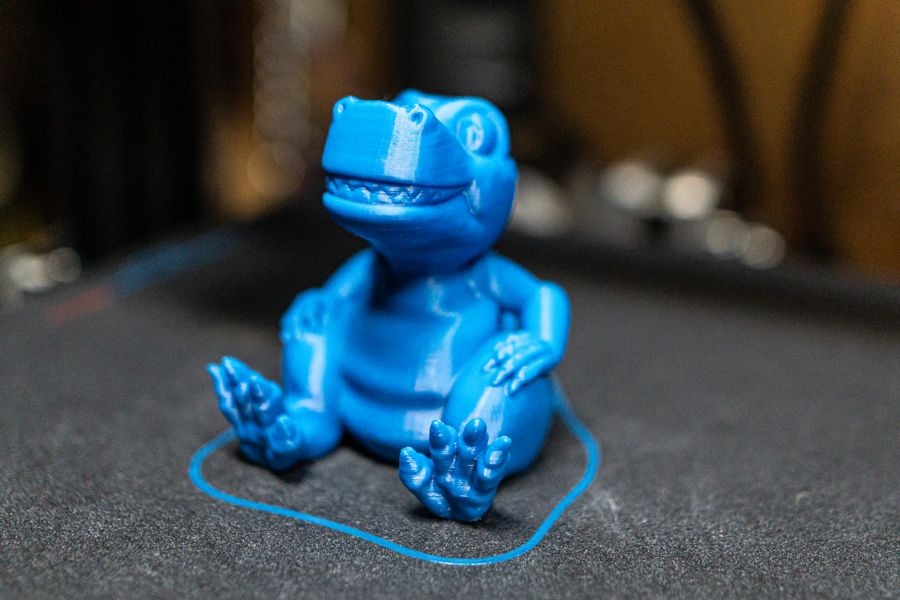
The print we chose as a sample should print nicely in one piece and be display (or play) ready right off the printer.
If you’d like to paint your model, use some sandable primer and filler to put down a base coat. You can find it easily online, or in automotive stores.
Once the primer is dry, acrylic paints work nicely for a custom paint job.
Wrap Up – 3D Print a Dinosaur
And that’s what it takes to 3D print a dinosaur. A quick recap of the steps:
- Make or download an .stl file
- Use slicer software like Cura to prepare your model
- Generate a gcode file and copy it to a data card
- Insert the data card into the printer (or print directly to the printer if it’s connected to your computer.)
- Prepare your printer
- Make sure the bed is level
- Load the filament
- Turn it on
- Select the file
- Print!
Don’t be discouraged if the first print doesn’t turn out perfect. It may take some time to understand the slicer settings and what works best with your printer. Just figure out where the issue was, and if it’s a setting to change in the slicer, or a physical issue with the printer. Tweak a setting and try again (and make sure the bed is level!) Once you get your settings dialed in, you’ll get good prints consistently.
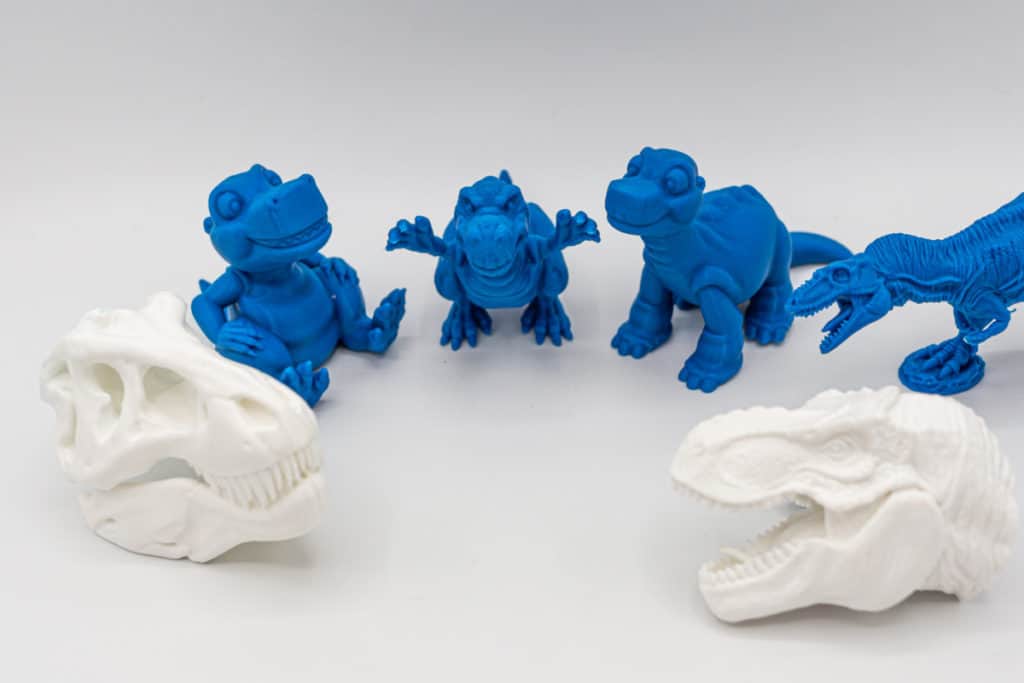
Here are a few of the dinosaur models we’ve created with our 3D printers.
Related Posts: Dinosaur Activities for Kids at Home and don’t miss the FREE Dinosaur coloring pages
-
How to Make a 3D Printed Violin
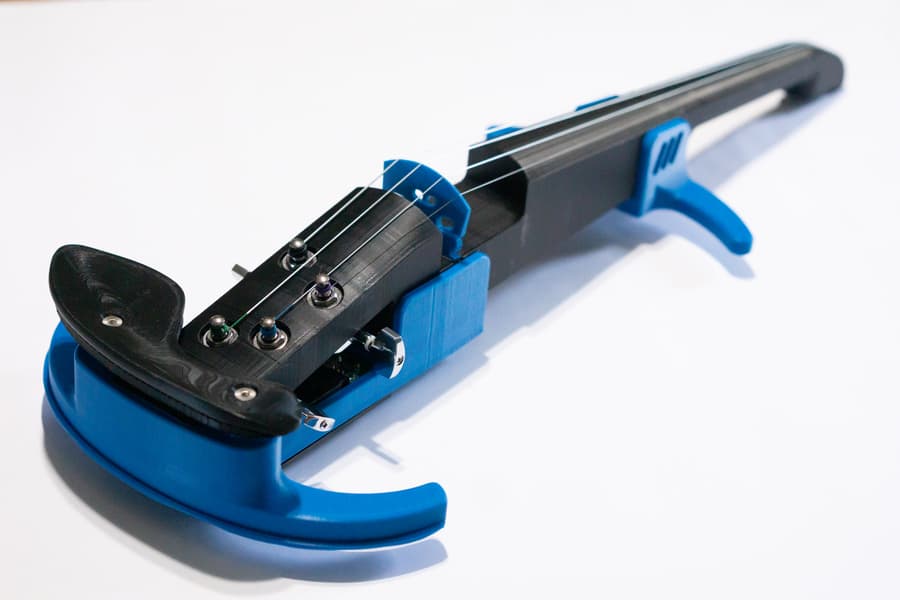
There are exciting things you can do with 3D printers. Having a background in music, I wanted to see what kind of instruments could be made on a 3D printer.
-
3D Printing for Elementary Students: 3D Printing for Beginners
We love our 3D printer, and it’s a great tool for introducing the kids to a bit of technology while doing something fun together. There are a number of engaging
-
3D Printed Halloween Ideas: Spooky DIY Masks and Decorations
With a 3D printer and a bit of creativity, you can custom make your own unique costume, accessories, and decorations. Whether you’re looking for something cute or terrifying, here are our favorite ideas for 3D printed Halloween costumes, props, and decorations.

