Thanksgiving is a time for family, food, and gratitude. But why not add a little science to the mix? Whether you’re a parent looking for fun activities to keep the kids entertained or a teacher searching for engaging lesson plans, Thanksgiving science activities and experiments are a great way to combine learning and holiday festivities. Let’s explore!
Making Butter for Kids
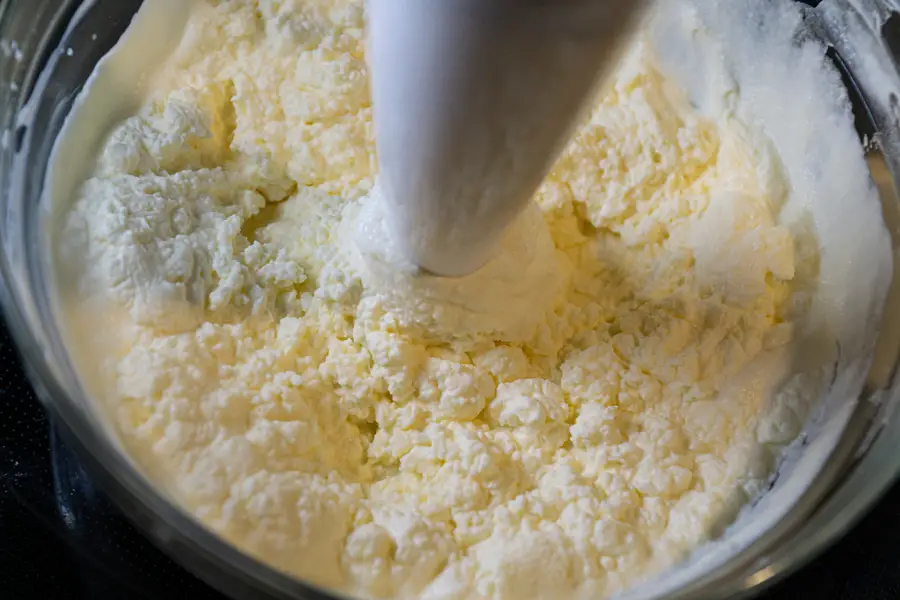
Making homemade butter is a fun and engaging STEM activity for kids that adds a delicious touch to your Thanksgiving dinner. This old-fashioned way of making butter is a perfect activity for children of all ages.
To make butter, you’ll need just one ingredient – heavy cream.
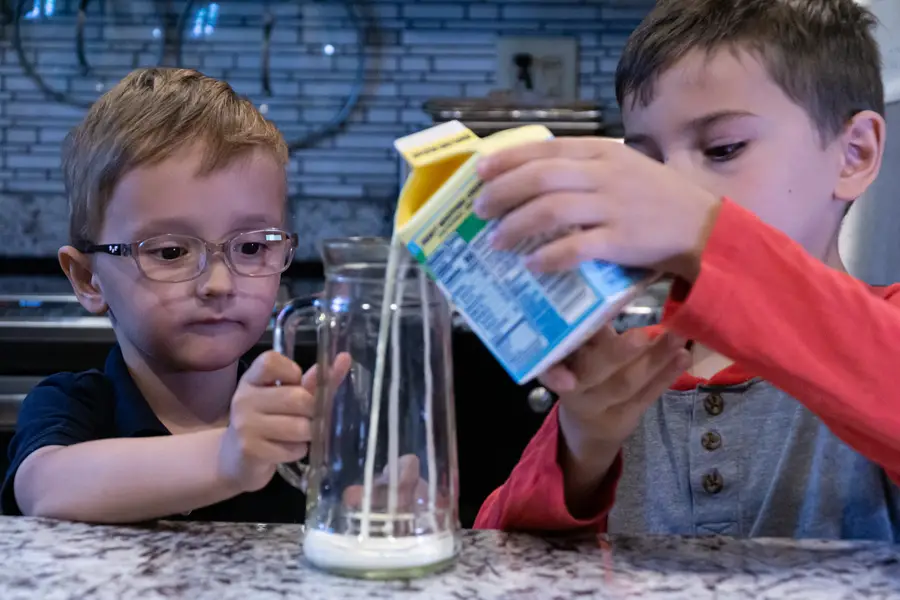
- Begin by pouring the heavy cream into a jar with a tight-fitting lid. Make sure the jar is about half-full to allow room for shaking.
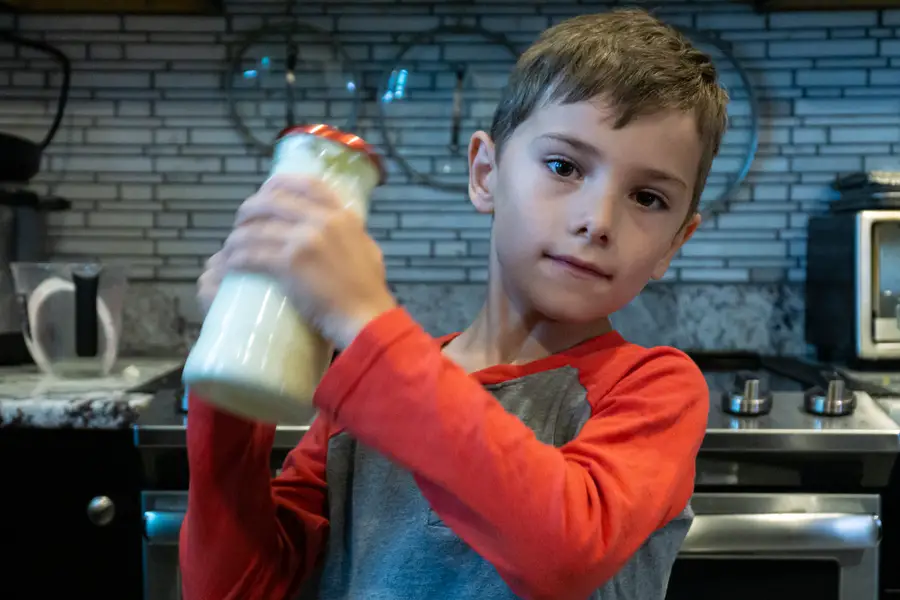
- Next, ask the kids to take turns shaking the jar vigorously. This action causes the fat molecules in the cream to stick together. It’ll also keep the kids busy for a while!
- As they continue shaking, the cream will transform into whipped cream.
- With more shaking, the whipped cream will change consistency, and become harder to shake. This is a sign that the butterfat has separated from the buttermilk.
- Once the butterfat has separated, strain off the liquid (buttermilk) – you can save this for another recipe that uses buttermilk.
- Rinse the butter under cold water to remove any excess buttermilk.
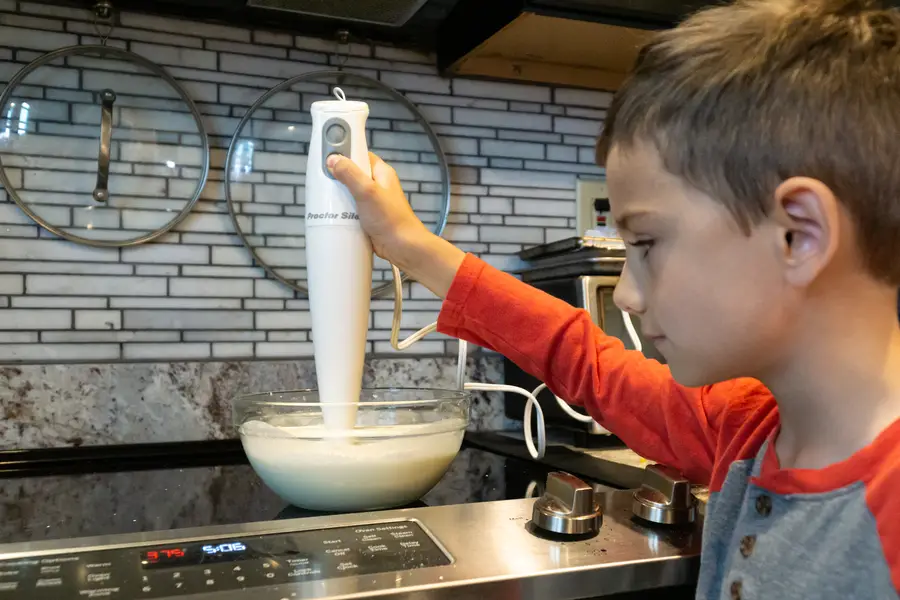
Making butter takes a lot of shaking. A LOT. You can speed up the process by using a hand mixer (but let the kids exhaust themselves shaking it first!)
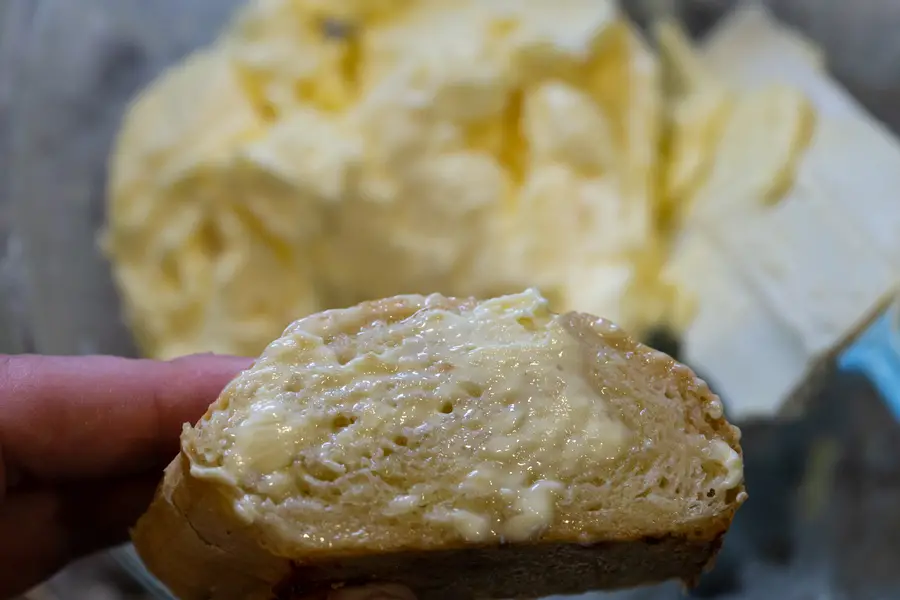
You can shape the butter into a ball or press it into silicon molds to create fun shapes. You can also add a pinch of salt if desired.
By making butter, kids will not only learn about the science behind the process, but they will also develop important motor skills (and burn off some energy!)
You’ll have some tasty homemade butter to enjoy on your Thanksgiving dinner table and the pride of helping out. It’s a simple and rewarding science activity that brings joy and deliciousness to the holiday season. You can read more about making butter and other cooking activities, check out our kitchen science post, or try these other edible experiments!
Floating Fruit Density Experiment
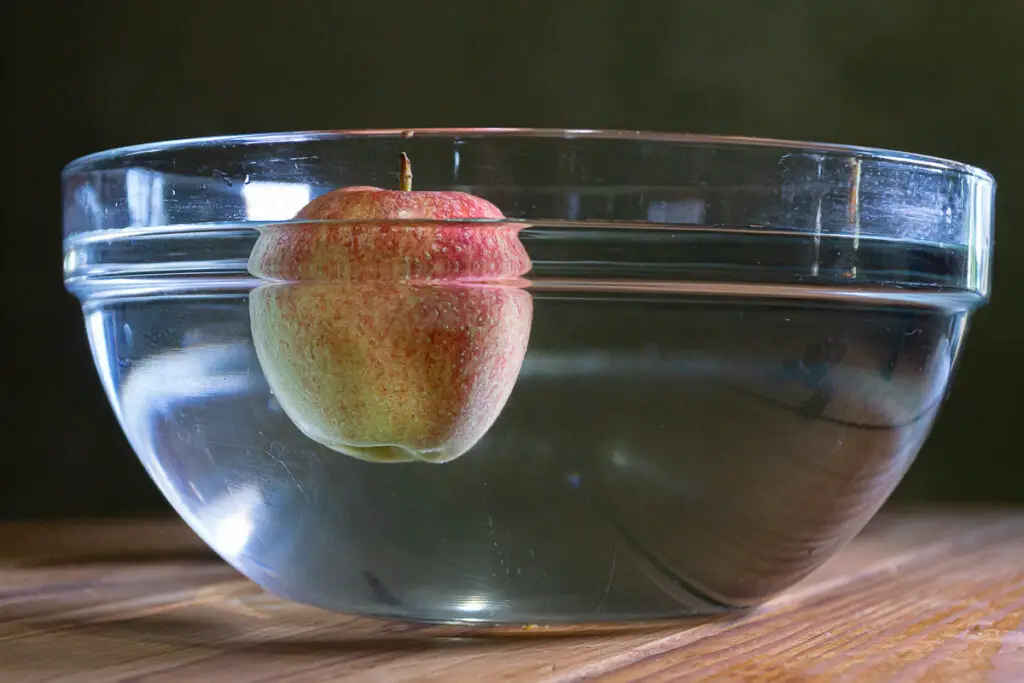
Floating Cranberries is a fun science experiment that explores whether different types of fruit will float in water. This experiment is perfect for Thanksgiving and will engage kids in the scientific process.
You’ll just need some fruit of your choice and a clear bowl of water:
- Gather some fall fruits, like apples or cranberries
- Ask the kids to form a hypothesis and predict whether they think apples, cranberries, or other fruits you may choose will float or sink in water. Encourage them to think about the properties of the fruit and their density.
- Start by filling a bowl or container with water. Gently drop your fruit into the water.
- Observe and record whether each fruit floats or sinks and record your findings.
After conducting the experiment, have the kids compare their findings to their initial hypotheses. Guide the conversation to explore the air pockets inside fruits that allow them to float. Explain that these air pockets increase buoyancy and allow fruit to float.
Drawing with Autumn Leaves – Leaf Pigment Drawings
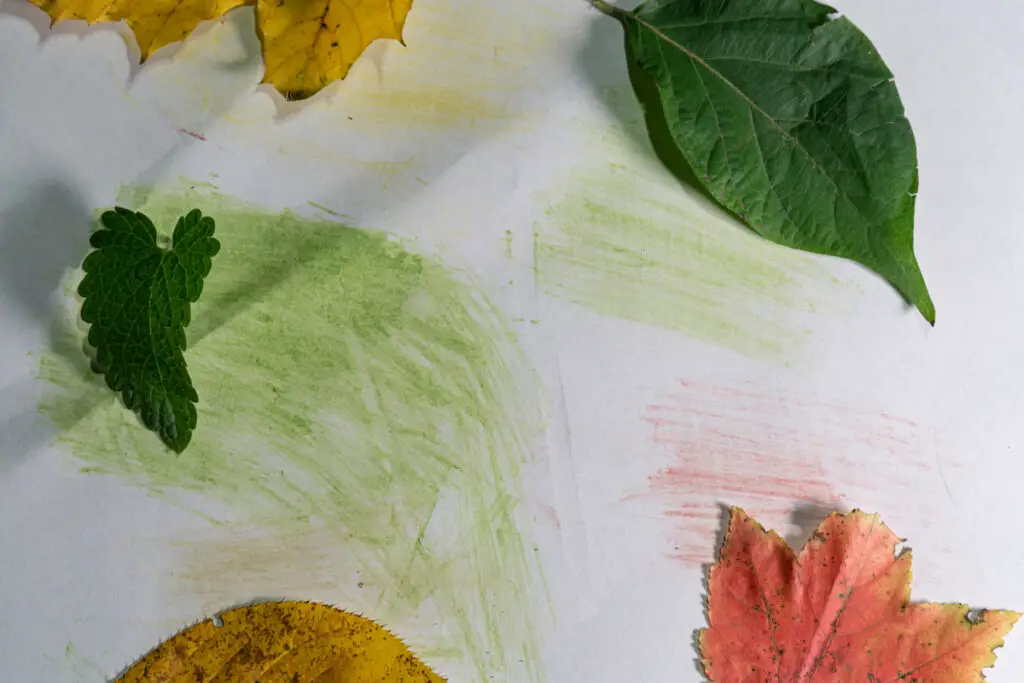
Experience the beauty of autumn with leaf pigment drawings. This is a great STEAM activity to bring some art into the mix and explore the vibrant pigments found in fallen leaves to create some unique artwork.
Begin by going on a nature walk to collect a variety of colorful leaves. Encourage children to choose leaves with different shapes, sizes, and shades of red, orange, yellow, and brown.
Once you have gathered the leaves, place them in a ziplock bag and remove as much air as possible to help retain moisture. This step is important because it allows the pigments within the leaves to remain fresh and vibrant.
To extract the pigments, gently crush the leaves inside the bag using a rolling pin or the flat side of a spoon. This action breaks the cell walls and releases the pigments, resulting in a colorful liquid.
Next, carefully open the bag and add a small amount of water or mineral oil to the crushed leaves. Mix the contents thoroughly to create a pigmented solution. The liquid will take on the colors of the leaves and can be used as paint.
Now it’s time to unleash your creativity! Use paintbrushes or cotton swabs to apply the leaf pigment mixture onto paper or canvas. Experiment with different strokes, blend colors, and layer pigments to create stunning autumn-inspired artwork.
If you like, you can skip some of the formality by crumpling up the leaves and smearing them directly onto the paper (our kids were more into this approach!) You need to break the skin to get the pigment to come out, and it will be much dryer to rub them onto the paper, but it’s a neat effect and makes for a very quick low-prep activity!
Through leaf pigment drawings, children can learn about the natural pigments present in leaves and understand how these colors change during the transition from summer to fall. This hands-on experience also promotes fine motor skills and artistic expression while fostering an appreciation for nature’s beauty.
Make your own drawings and painting with autumn colors, or try making your own custom placemats for Thanksgiving dinner!
Pumpkin Pie Fractions
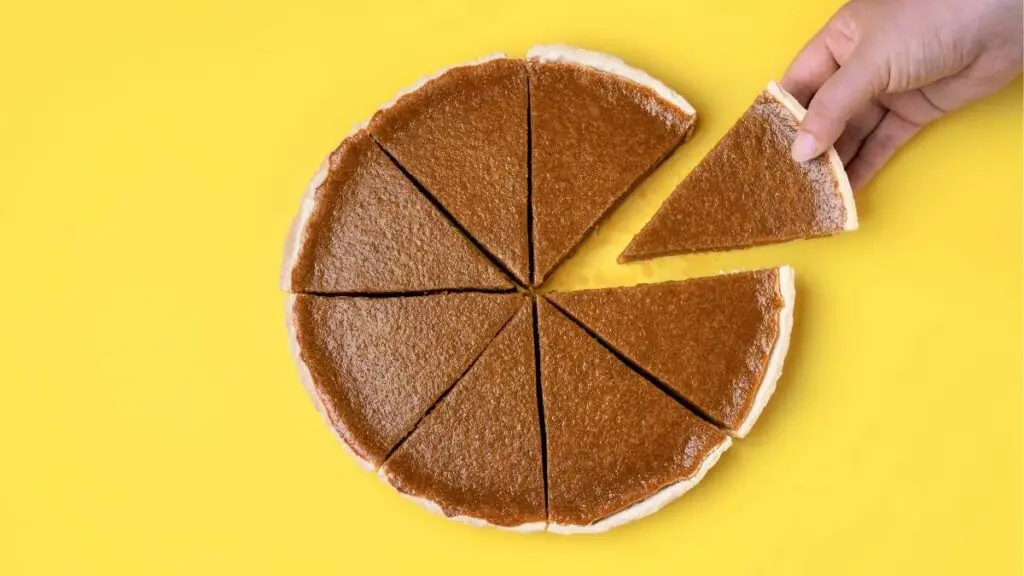
Pumpkin Pie Fractions is a fun and educational activity that allows kids to practice fractions cleverly disguised as dessert. To set up this activity, you will need a paper plate pumpkin cut-out, markers or crayons, and some creativity.
Pie always gets our kids’ attention. Cut your pie into equal parts for dessert. Challenge your kids to tell you, in fractions, how much is one slice. How about two slices, or four?
How many slices is half the pie? In the picture above, is four slices 1/2 or 4/8 of the pizza? (trick question – both are correct.) Have them reduce the fraction or ask the question so they need to express it another way.
Using food or desserts as impromptu math lessons is a great way to get kids flexing their math muscles outside of the classroom. It doesn’t have to be formal with problems or worksheets! Check out some more ways to make math fun!
Dancing Craisins (or raisins)
Cranberries are a Thanksgiving staple, and you can used dried cranberries or Craisins in this next experiment. (Regular raisins work just fine too)

- Craisins (or regular raisins)
- Clear carbonated soda (like Sprite or 7-Up)
- A clear drinking glass
Making Dried Cranberries Dance
- Put a few raisins in a glass of clear carbonated soda.
- Watch as the raisins start to “dance” as they float up and down in the glass due to the carbon dioxide bubbles.
Carbonated soda (like Sprite or 7-Up) contains lots of carbon dioxide bubbles that are trapped in the liquid. The bubbles from the soda get caught in the wrinkles of the craisins and cause them to dance!
Want to amp up the experiment? Add some heat by putting the glass in the microwave! We did this and some other experiments you can check out in our post on Microwave STEM Challenges.
Try experimenting with different items like corn or popcorn kernels. Compare how the corn dances compare to the raisins or cranberries.
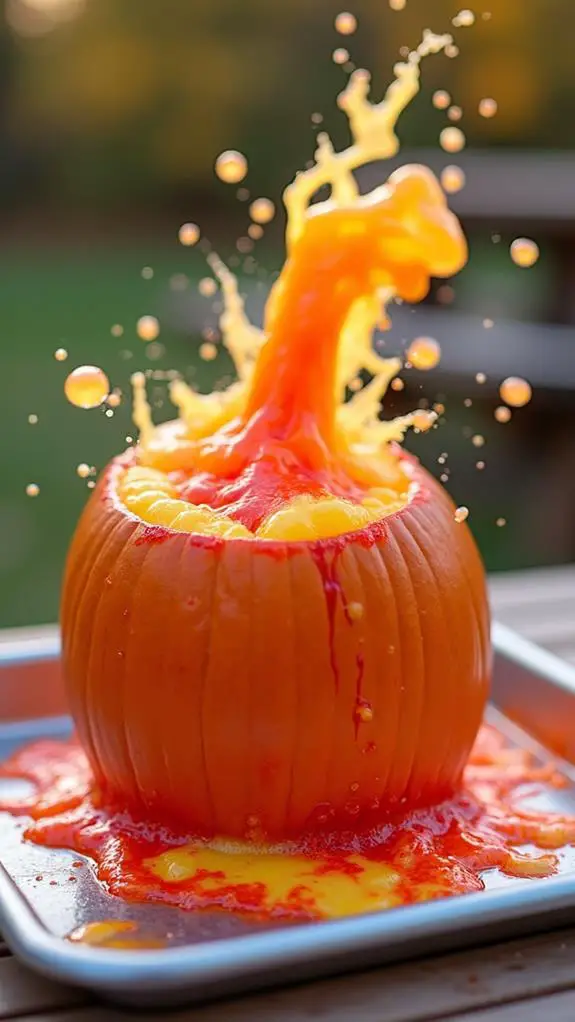
Pumpkin Volcano
If you’re looking for a fun and engaging STEM activity to do with kids this Thanksgiving, a Pumpkin Volcano is the perfect choice! This activity combines a fall theme with a hands-on science experiment that is sure to captivate young minds. This is another variation of the classic vinegar and baking soda reaction.
You’ll want to find a small pumpkin for this one (you can go big, but it may take a lot of baking soda and vinegar if you have a huge pumpkin!)
Here’s how you can create a Pumpkin Volcano:
- Place the pumpkin on a disposable tray or outside where it’s okay to get a little messy.
- Cut a hole in the top of the pumpkin
- Scrape out the seeds and pumpkin guts
- Spread a layer of baking soda inside the pumpkin.
- Pour some vinegar inside the pumpkin (You can add a few drops of food coloring to the vinegar if you like.)
As you pour vinegar into the pumpkin, watch as it mixes with the baking soda to create a bubbling and foaming reaction. The combination of the baking soda (base) and vinegar (acid) produces carbon dioxide gas, creating the eruption effect.
Engaging kids in STEM activities can be made easier with easy, messy, and fun experiments like the Pumpkin Volcano. It allows them to explore scientific concepts while having a blast.
More Pumpkins
Check out our Halloween Puking Pumpkin for another spin on this, and don’t miss our post that explains how the vinegar and baking soda reaction works. (You can also learn how to prevent your pumpkins from rotting.) Click here for even more science activities with pumpkins!
Growing Plants from Kitchen Scraps
If you’re cooking up some vegetables to go along with Thanksgiving dinner (or any meal), you can try using some of the scraps to grow new plants.
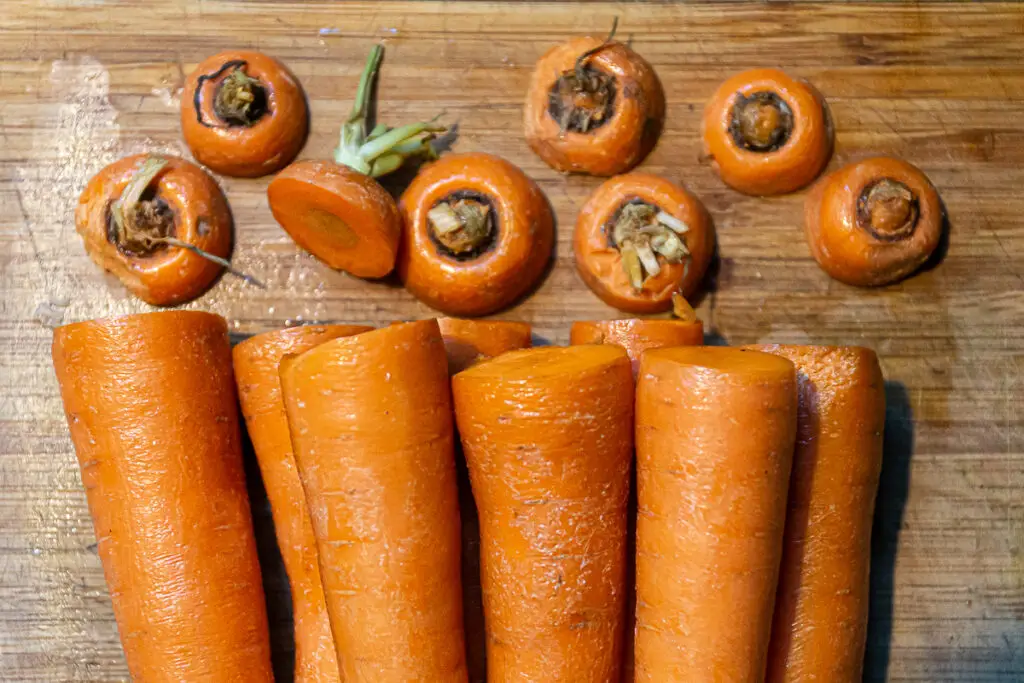

This is a great way to get kids thinking about how plants grow, and give them their own plants to take care of. Carrot tops are easy to get started with. Cut off the tops and instead of discarding them, place them in a shallow bowl of water. Watch as new growth sprouts from the top over then next week or so.
Try experimenting with other vegetables like green onions or potatoes, and see what you can grow! For some more ideas, check out our post on activities with plants.
Rubber Wishbone
Are you looking for a fun activity to entertain the kids while making Thanksgiving dinner? Try the rubber wishbone experiment! This simple activity may be surprising in how a bone can be made flexible.
One fun and engaging Thanksgiving science activity you can try with your kids is making a rubber wishbone using vinegar. This experiment allows children to explore the concept of chemical reactions and witness a transformation right before their eyes.
To make a rubber wishbone, you will need the following materials:
- The wishbone from your turkey (preferably cleaned and dried)
- A plastic container or bowl
- Plastic wrap
Here are the steps to follow:
1. Begin by placing the wishbone in a plastic container or bowl.
2. Pour enough white vinegar over the bone to completely submerge it.
3. Cover the container with plastic wrap to prevent evaporation and leave it undisturbed for several days. It’s important to note that this experiment requires patience as the chemical reaction takes time to occur.
Over the course of a few days, the vinegar will start to dissolve the calcium in the chicken bone, leaving behind a flexible and rubbery wishbone. This transformation occurs due to the acetic acid present in the vinegar, which reacts with the calcium carbonate in the bone.
Once the reaction is complete, carefully remove the rubber wishbone from the container. You can rinse it off with water and allow it to dry before handling it. The bone will be flexible and rubbery.
You can see the same chemical reaction in our Naked Egg experiment!
Fall Leaves Slime: A Thanksgiving STEM Activity
Get into the Thanksgiving spirit with this fun and educational fall leaves slime activity. Not only will kids enjoy the squishy and colorful texture of slime, but they will also learn about scientific concepts like cross-linking and the transformation of liquids into solids.
To make fall leaves slime, you will need a few simple ingredients. Gather Elmer’s glue, saline solution, food coloring, and leaf-shaped glitter.
Start by pouring a bottle of Elmer’s glue into a mixing bowl. Next, add a few drops of food coloring to achieve your desired fall leaf color. Mix it well until the color is evenly distributed throughout the glue.
Now comes the exciting part. Gradually add small amounts of saline solution to the mixture while stirring continuously. As you add the saline solution, the liquid glue will start to transform into a solid, slime-like consistency. This process, known as cross-linking, occurs when the borate ions in the saline solution react with the polyvinyl acetate molecules in the glue.
Continue adding the saline solution and stirring until the slime reaches the desired consistency. You may need to adjust the amounts of both the glue and saline solution to get the perfect texture.
To give your fall leaves slime a festive touch, sprinkle in some leaf-shaped glitter. This will add a whimsical sparkle of fall foliage.
Once the slime is ready, kids can enjoy stretching, squishing, and exploring this sensory play material. They can observe how the liquid glue transformed into a solid slime and learn about the scientific principles behind it.
More Fall Fun
Don’t miss these other Fall science activities!
Wrap Up – Simple Science Experiments for Thanksgiving
Try these fun Thanksgiving STEM activities for kids to celebrate the fall season. They’re easy STEM challenges to keep kids thinking and experimenting – and entertained!