Easy Halloween Science Experiments
Looking for some easy Halloween science activities that are perfect for kids of all ages? Look no further! These spooky and fun activities are perfect for pre-k through elementary students.
These easy Halloween science experiments are a fun, hands-on way to learn science while getting into the spirit of the season. So gather your materials, put on some spooky music, and get ready for some Halloween fun. Let’s Explore!
Halloween Slime
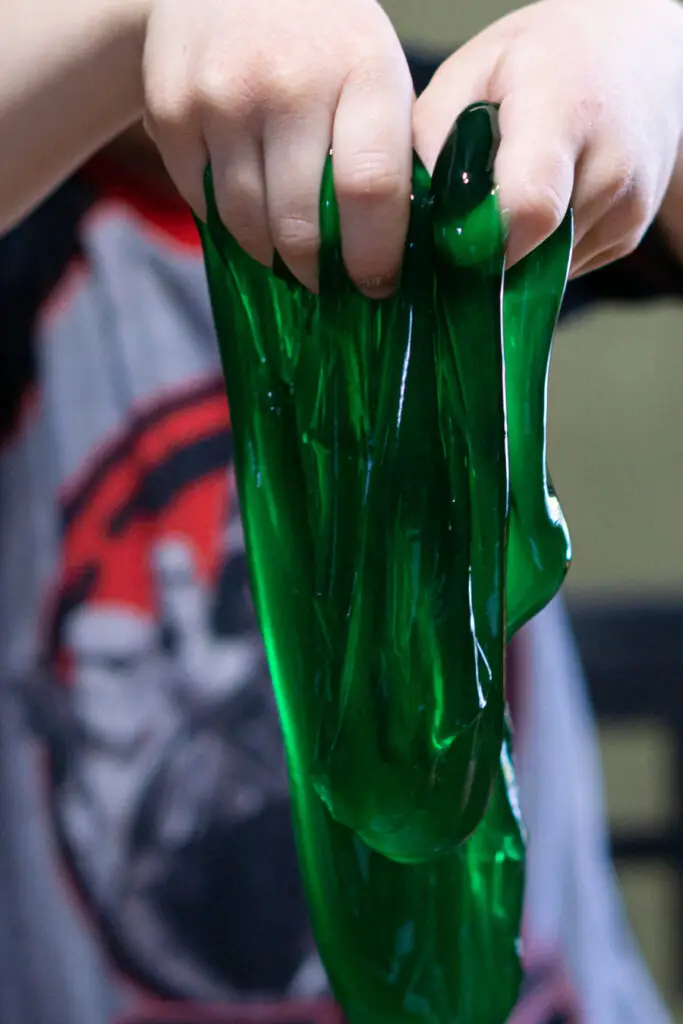
The Halloween slime recipe is the perfect Halloween STEM activity for kids!
To make your own slime, all you need is some glue, liquid starch, and a few drops of food coloring. Kids can mix the ingredients together to create their own slimy monster goo.
Gather these materials for your slime:
- clear glue (one bottle)
- Water
- liquid starch
- a few drops of food coloring
- mixing bowl
Easy Glue Slime Recipe:
- Squeeze out the bottle of glue into the bowl
- Fill the bottle with water and pour that into the bowl (this gives a 1:1 ratio of glue and water)
- Mix the glue and water
- Mix in a few drops of food coloring
- Add the liquid starch and mix to a slimy consistency
Making slime is a fantastic hands-on activity that allows kids to explore the states of matter. They can observe how the glue transforms from a liquid to a solid as it interacts with the liquid starch.
This simple experiment also encourages critical thinking and problem-solving skills as kids mix and adjust the ratios to achieve the desired slime consistency. If the slime is too sticky, you can add more liquid starch. If it’s too firm, you can add a little more glue.
Try using some red dye for a slimy fake blood effect!
Make you slime even more spooky with some plastic spiders or eyeballs!

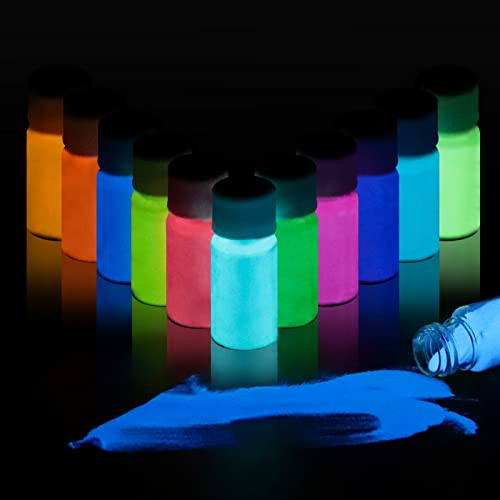
Glow in the Dark Slime
To take your Halloween slime to the next level, try making Glow in the Dark Slime using a secret ingredient: glow in the dark powder. This simple addition will transform your slime into an eerie, glowing masterpiece.
To make Glow in the Dark Slime, start by gathering your materials. If you made the slime in the activity above, you can give that a glow in the dark “upgrade.”
- clear glue
- liquid starch
- a few drops of green food coloring
- glow in the dark powder
- mixing bowl
You will need clear glue, liquid starch, glow in the dark powder, and a few drops of green food coloring (or the color of your choice.) In a mixing bowl, combine the clear glue and a few drops of green food coloring to achieve a nice, creepy green color.
Next, slowly add the liquid starch to the glue mixture while stirring continuously. Keep stirring until the mixture starts to come together and form a slimy consistency.
Now, it’s time for the secret ingredient. Gradually sprinkle in the glow in the dark powder while continuing to stir the slime. The powder will give the slime its glowing effect. Keep adding the powder until you achieve the desired level of brightness.
Once your Glow in the Dark Slime is ready, it will initially appear as a vibrant green color. But when the lights go out, the slime will come to life with an eerie glow. The longer the slime is exposed to light, the brighter it will glow in the dark.
You can make your slime in an assortment of glow in the dark colors
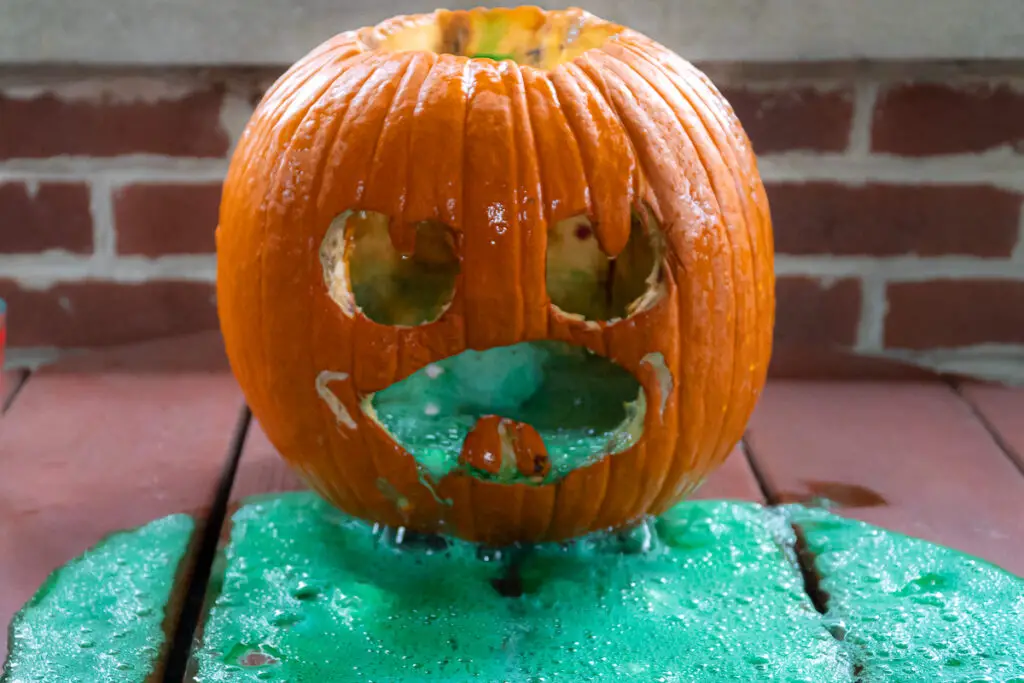
Puking Pumpkins
What’s Halloween without pumpkin and jack-o-lanterns? We’ve got a few pumpkin experiments for the season. The puking pumpkin is a fun science experiment that combines Halloween and chemistry. This is a variation on the classic vinegar and baking soda reaction.
To conduct this experiment, start by carving a pumpkin with a large mouth or opening. This will serve as the “puking” part of the experiment.
Next, mix vinegar and baking soda in a plastic container or cup. Pour the vinegar into the pumpkin, filling it up to the mouth hole. Then, add a spoonful of baking soda into the mouth of the pumpkin (or through the top hole.)
As soon as the baking soda comes into contact with the vinegar, a chemical reaction occurs. This reaction releases carbon dioxide gas, causing the mixture to bubble and froth. The result is a puking effect as the mixture overflows from the pumpkin’s mouth, resembling a vomiting pumpkin.
You could also do a pumpkin volcano if you just hollow out the pumpkin instead of carving a face. This way the vinegar and baking soda will foam out the top of the pumpkin. (You’ll want a smaller pumpkin for this.)
The fun part is observing the surprising reactions and seeing the pumpkin come to life. The combination of vinegar and baking soda creates a fizzy and bubbly eruption that brings excitement and laughter to Halloween festivities.
Rotting Pumpkin
What do you do with your pumpkins and jack-o-lanterns after Halloween? Usually, they hang around on front steps and porches until they shrivel and deflate.
This is the perfect time to study decomposition! This Halloween science activity allows students to explore the full life cycle of a pumpkin and learn about the scientific principles behind it.
You can gather a few pumpkins for this experiment, or use your jack-lanterns if you made them.
Place them in a designated area outdoors for this experiment. Over time, the pumpkins will naturally rot. Kids can observe and document the changes that occur as the pumpkins decompose, noting the appearance of mold, the growth of fungi, and the break down of the pumpkin’s structure.
It can be fun to make a journal and sketch or photograph the jack-o-lantern as it changes and decays.
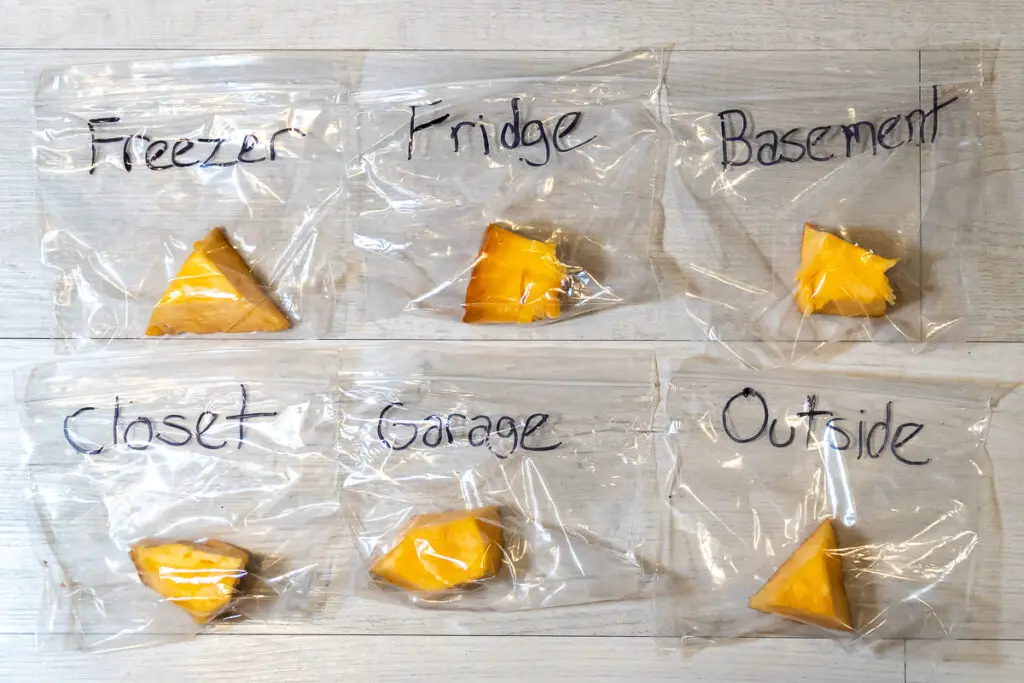
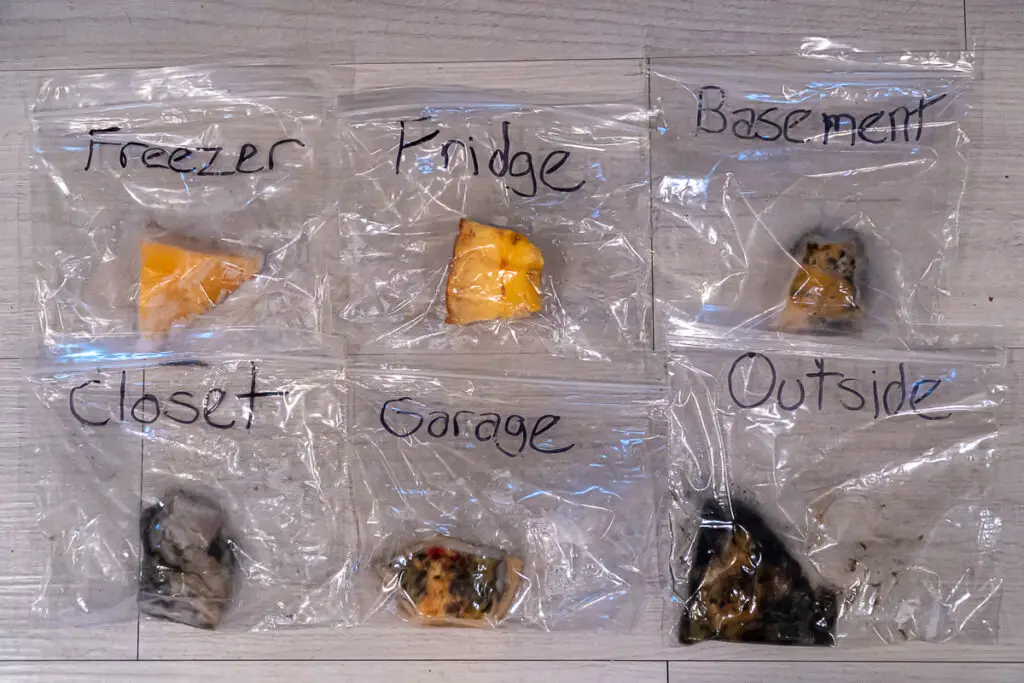
To get a greater understanding of factors that influence decomposition, you can also conduct another experiment, with pieces of the pumpkin in different conditions. We used the pieces we cut out for the eyes and mouth and placed them in plastic bags.
You can follow the scientific method and make a hypothesis on which ones will rot first or show the most mold.
- Cut open a pumpkin and divide it into smaller sections.
- Place each section in separate containers or plastic bags and expose them to different conditions, such as sunlight, darkness, or moisture.
- Observe and compare the rate of decomposition in each container and discuss your findings.
You can also learn how to prevent your pumpkins from rotting so your carvings can last the season!
If you enjoyed the puking pumpkin and rotting pumpkin experiments, check out more gross science activities.
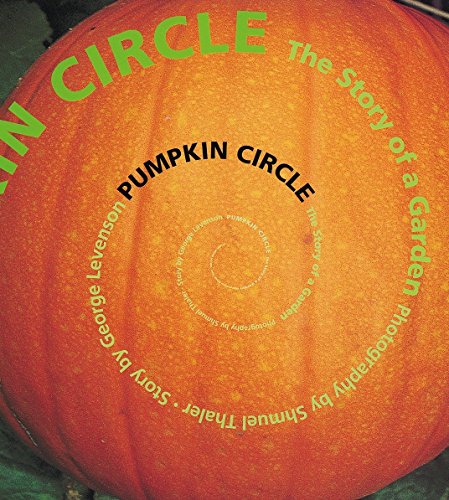
You can follow up this experiment with books that explore the life cycle of pumpkins. “Pumpkin Jack” by Will Hubbell and “Pumpkin Circle: The Story of a Garden” by George Levenson provide detailed information about the growth, decay, and regeneration of pumpkins.

This rotting pumpkin Halloween science activity is a great hands-on way for kids to learn about the decomposition process and the life cycle of pumpkins.
More Pumpkins
Check out more science activities with pumpkins!
Pumpkin Drop STEM Challenge (Pumpkin vs Gravity!)
So, you’ve got a pumpkin and don’t necessarily want it to rot on your doorstep in the name of science. Okay, we get it.; large orange decomposing lumps aren’t your thing. The pumpkin drop is another fun way to “dispose” of your pumpkin at the end of the season – in the name of Science!
This is a variation on the classic egg drop STEM challenge. Can you protect your pumpkin from splattering when dropped?
What works best – wrapping the pumpkin in bubble wrap, a shipping box packed in newspaper, a parachute, or maybe some glider wings?
Be creative and have fun with this. You can try this just to get one more bit of fun out of your pumpkin, or you can make this the central event of a party. You could have a pumpkin drop party or classroom event and see who can be the most creative (and successful) in preserving their pumpkin.
Give out awards like “Biggest Splat,” “Loudest Squish,” or “Well Preserved.” Have fun with it!
Candy Corn Science Experiments
Candy corn is a popular Halloween treat, but did you know it can also be used for fun and educational science experiments? Here are two candy corn science experiments that are sure to impress and engage kids.
Dissolving Candy Corn
Another experiment involves dissolving candy corn in different liquids. Candy corn is made of mostly sugar; what will make it dissolve?
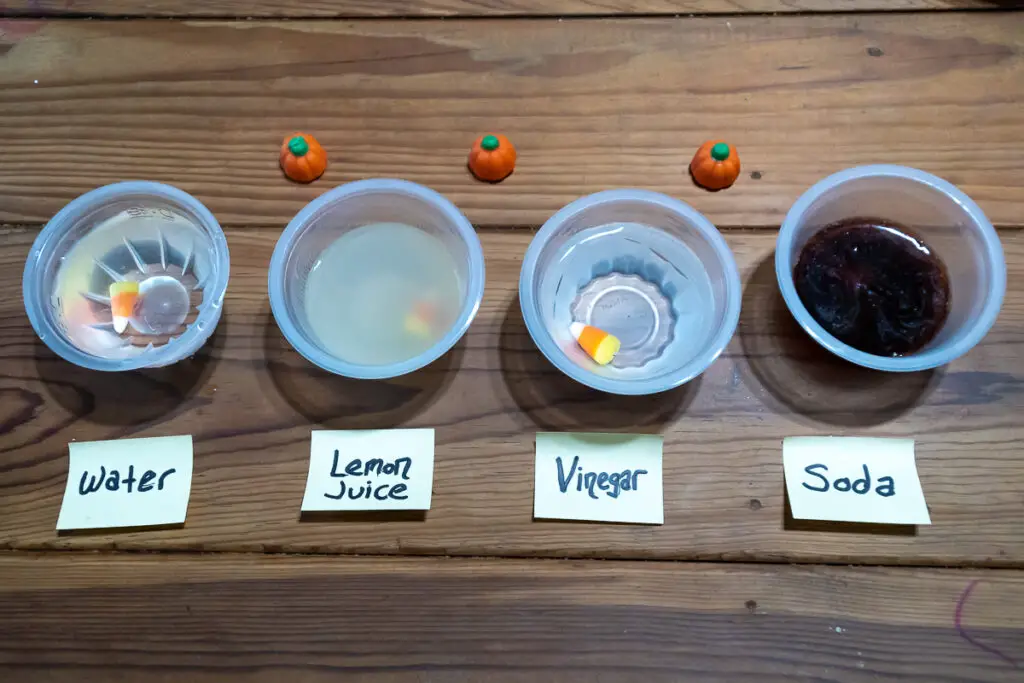
- Gather a variety of liquids such as water, lemon juice, vinegar, and soda (pop.)
- Record what you think will happen in each one. Which will dissolve the quickest, or not at all?
- Place a candy corn in a small cup of each liquid
- Observe what happens. Check back in 10 minutes, then again in 20 minutes and an hour.
- Kids can record and compare the time it takes for the candy corn to dissolve in each liquid.
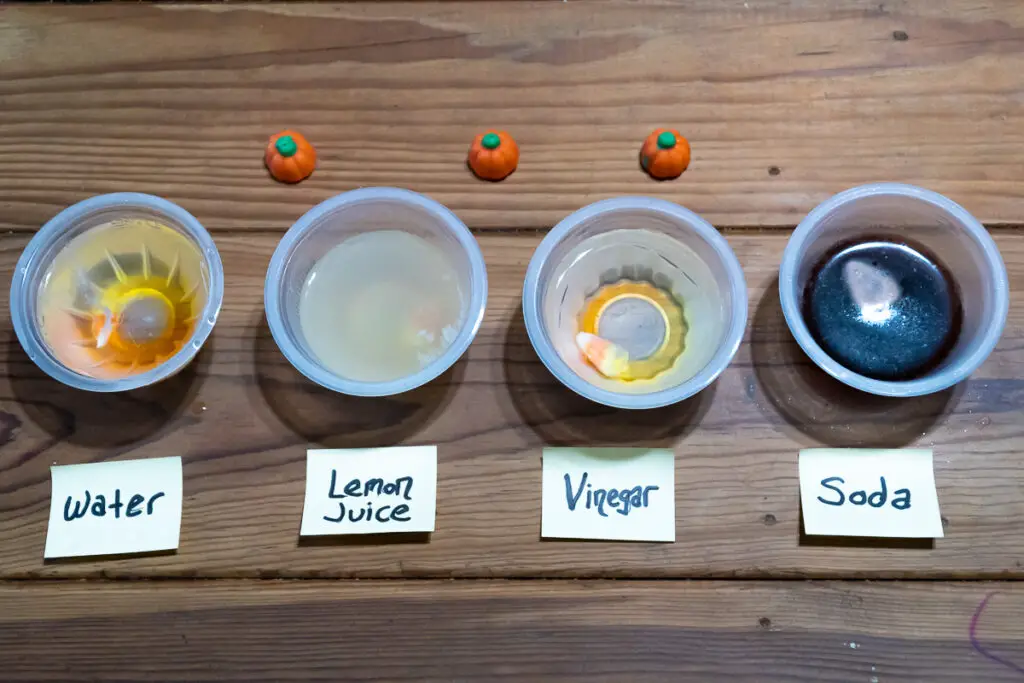
Which liquid made the candy corn dissolve fastest? This experiment explores solubility and allows children to apply the scientific method by observing, hypothesizing, and drawing conclusions.
Candy Corn Slime
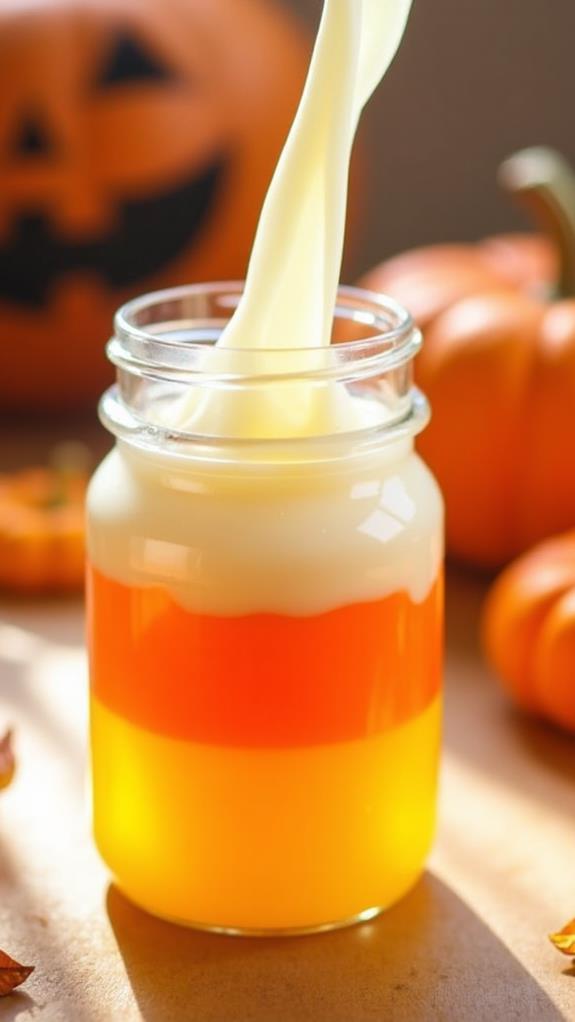
Mix Orange, Yellow, and White slime to make a seasonal candy corn slime! Check out the recipe along with a bunch of other Halloween Themed Slimes!
Candy Corn Foam
The first experiment is making and creating fizzing candy corn foam dough.
- Start by combining equal parts baking soda and cornstarch in a bowl.
- Add a few drops of orange food coloring to the mixture to make it resemble candy corn.
- Slowly pour vinegar into the bowl and watch as the mixture fizzes and expands, creating a foamy texture.
This experiment demonstrates a chemical reaction between the baking soda (a base) and vinegar (an acid), producing carbon dioxide gas. Not only is this a great way to explore the scientific method, but it also ties in perfectly with Halloween themes.
These candy corn science experiments provide a hands-on, engaging way to explore scientific concepts and celebrate Halloween at the same time.
Candy Corn Catapults
Candy Corn Catapults are a simple activity that combines fun and learning. This activity incorporates STEM principles and can be done using everyday household materials. Not only will kids have a blast building their catapults, but they will also get to test and measure how far they can launch their candy corn pieces.
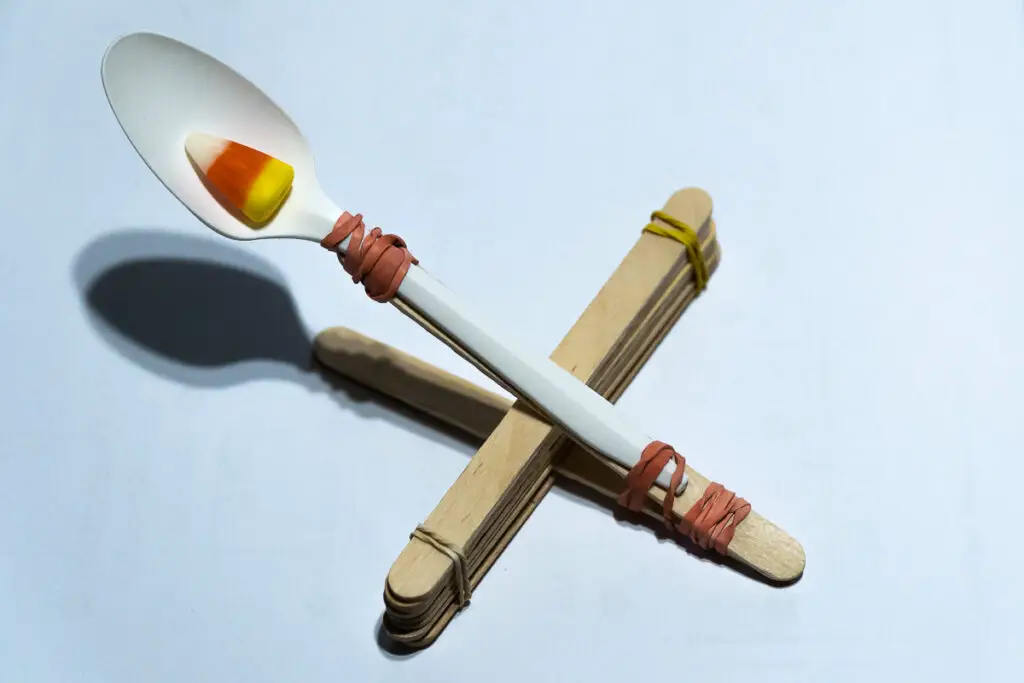
To create a Candy Corn Catapult, you will need the following materials:
1. Popsicle sticks (about ten)
2. Rubber bands
3. Plastic spoon (optional, but makes it easier to hold the candy corn)
4. Candy corn pieces
Instructions:
- Start by stacking two popsicle sticks on top of each other and wrapping a rubber band around one end to secure them together.
- Stack another 8 popsicle sticks on top of each other and secure them with rubber bands on each end.
- Use rubber bands to attach the spoon to the top stick in the stack of two.
- Insert the bottom stick in the stack of two between the bottom two sticks in the larger stack. The large stack become a fulcrum.
- Now, load a candy corn piece onto the spoon of the catapult.
- Pull back on the popsicle sticks, stretching the rubber bands, and release to launch the candy corn into the air!
- Encourage kids to experiment with different amounts of tension on the rubber bands and angles of the spoon to see how it affects the launch distance of the candy corn.
This hands-on activity not only offers a fun way for kids to engage in Halloween-themed science, but it also teaches them about physics and engineering concepts. They can measure and record how far their candy corn pieces travel, making it a great opportunity for critical thinking and data analysis.
Want more catapult fun? Check out our post on Catapults for Kids!
Bonus Candy Corn Activity: My son wanted to share his favorite activity, Called “Disappearing Candy Corn.” You start with a few pieces of candy corn and put them in your mouth… and, well, you can probably guess the rest.
Density and Bobbing for Apples
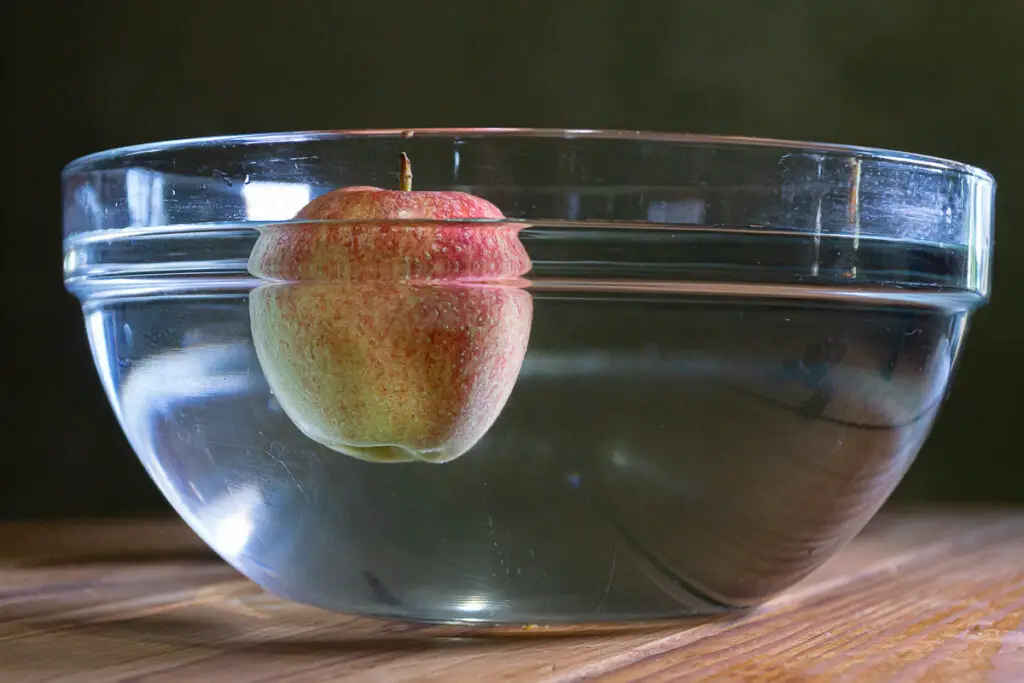
Density is a scientific concept that can be explored through the popular Halloween activity of bobbing for apples. Bobbing for apples is a fun and classic game that provides a great opportunity to teach kids about density.
The principle of density explains why some objects float in water while others sink. Density is a measure of how much mass is contained within a given volume. In the case of bobbing for apples, the density of the water and the apples determines whether the apples will float or sink.
Water has a density of 1 gram per milliliter, which means that it is less dense than the average apple. This is why the apples float in the water. The density of the apples is greater than that of the water, causing them to sink when not submerged.
During the game, participants try to grab an apple from a bucket of water using only their teeth, without using their hands. This activity allows children to experience how the density difference between the water and the apples affects the apples’ ability to float or sink.
By explaining the concept of density and emphasizing its connection to bobbing for apples, kids can gain a better understanding of the scientific principles behind this fun Halloween activity. Next time you bob for apples, remember the role density plays in making it possible!
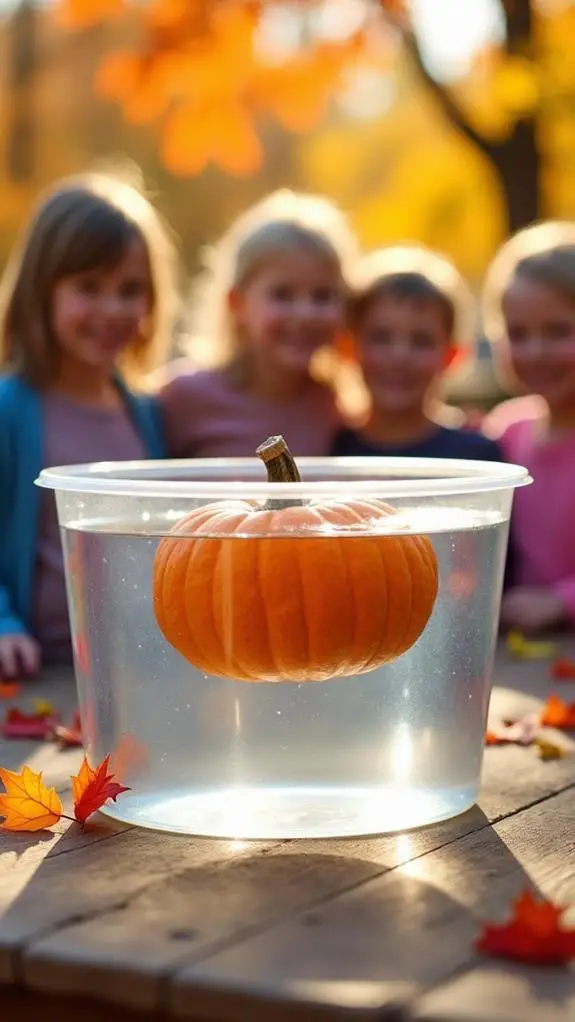
If you have a big enough tun, you can try this with Pumpkins too!
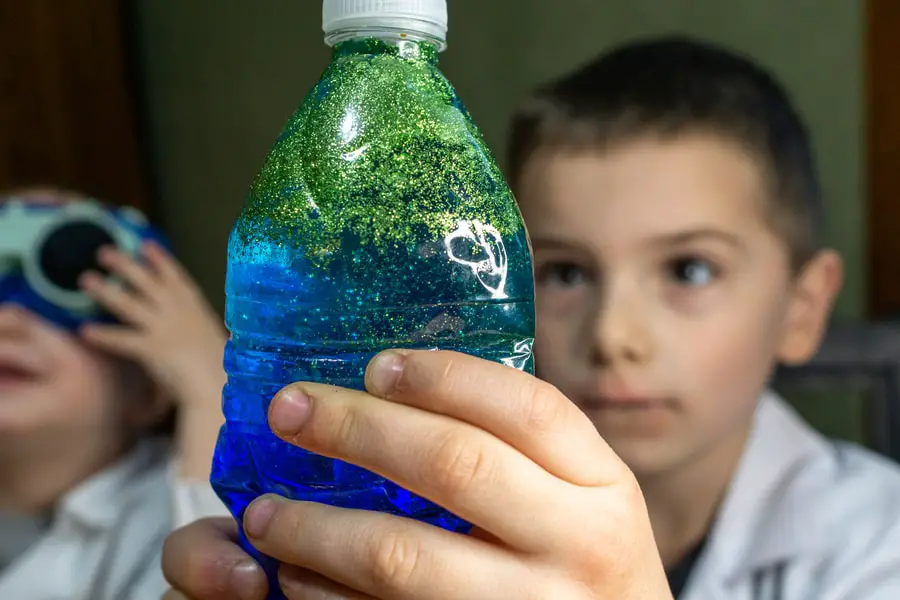
Witch’s Brew & Wizard’s Potions
Explore some color science with Witch’s Brew and Wizard’s Potions! This activity allows children to feel like real witches and wizards as they mix different concoctions in a cauldron.
- A large mixing bowl (cauldron)
- Water
- Food coloring or liquid watercolor in various colors
- Glitter and other small decorative objects
- Plastic containers or bottles for storage (small empty water bottles work well)
Instructions:
- Fill the cauldron or mixing bowl with water, leaving some space for ingredients.
- Add a few drops of food coloring or liquid watercolor to the water.
- Stir well to mix.
- Choose different colors for each potion.
- Mix the potions together, or mix different colors in your cauldron. Try to mix them to make specific colors (mix red and blue to get purple, or yellow and red to make orange.)
Optional: Add glitter and other small decorative objects to make the potions even more magical. This is a great way to make sensory bottles for younger kids.
Create different potions by adding different amounts of food coloring or watercolor to the cauldron. Experiment with colors and combinations to create potions with unique effects.
Give each potion a name and create a label for it. Let your imagination run wild!
Spooky Candy Science Creations
When most kids think of Halloween, they immediately think of candy. These fun STEM projects combine the excitement of Halloween treats with some chemistry and kitchen science.
With just a few simple materials, kids can have a blast creating their own candy concoctions while learning about concepts like chemical reactions, physical changes, and molecular structures.
It’s easy to create rock candy and candy glass at home with a few simple ingredients.
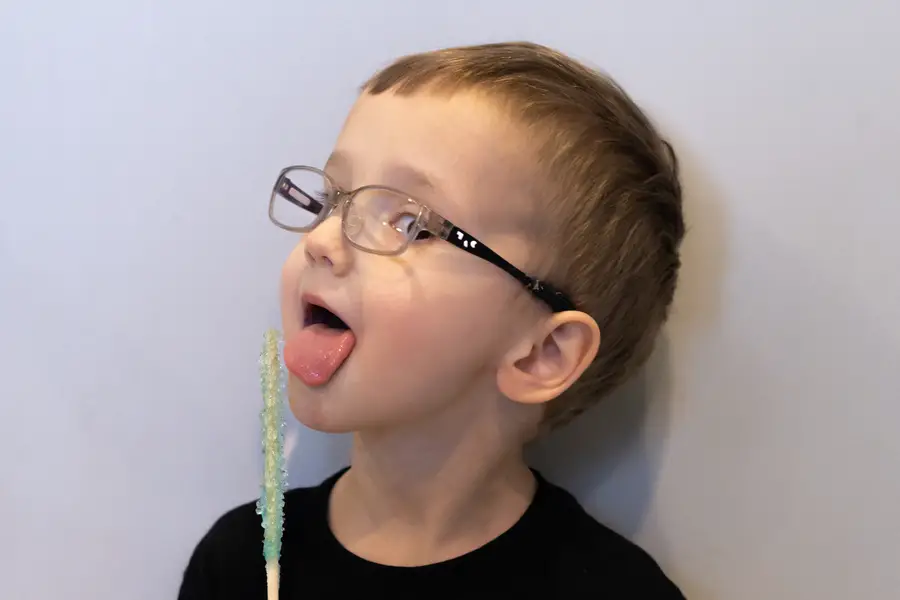
DIY Rock Candy
If you’re looking for a Halloween-themed science activity that’s not limited to the spooky season, DIY Rock Candy is the perfect choice! This fun and educational experiment will not only satisfy your sweet tooth but also teach kids about the fascinating process of crystallization. With just a few simple materials, you can create your own delicious rock candy at home.
To make DIY Rock Candy, you will need the following materials:
- Granulated sugar
- Water
- Optional: flavored extracts or food coloring
- pipe cleaners or a clothespin
- popsicle sticks or chop sticks
- A jar or glass
- Plastic wrap or paper towel
Here’s a step-by-step guide to creating rock candy:
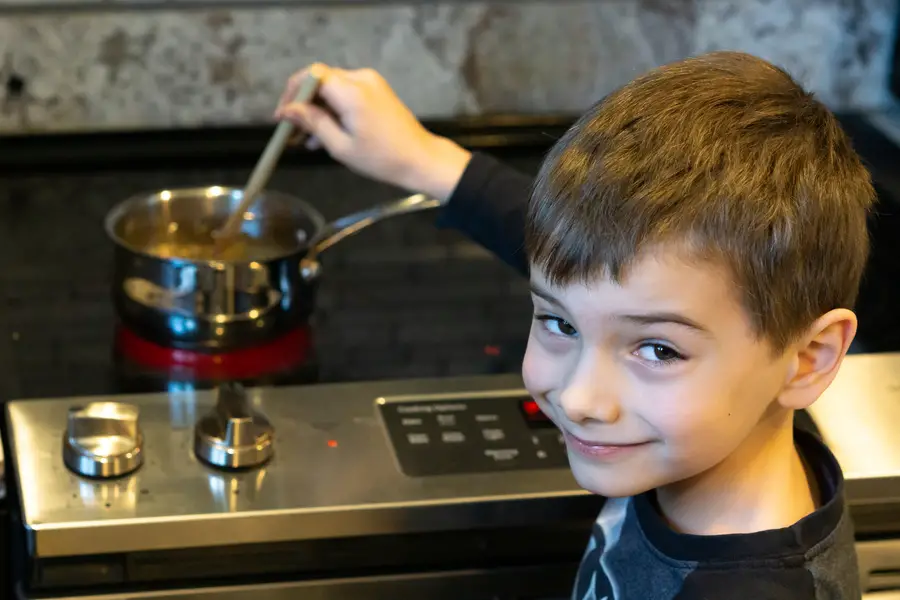
- Bring the water to a rolling boil in your sauce pan
- Slowly add the sugar and let it dissolve, stirring regularly
- Remove the saucepan from the heat once all the sugar has dissolved. (Congrats, you just made a super saturated solution.)
- Add you flavoring of choice if you like (We used some peppermint extract)
- Add a few drops of food coloring. Have fun color mixing and pairing color and flavor. For instance, blue may pair nicely with raspberry flavoring. We used a drop of blue to lent a cool feel to go with our mint flavoring.
- While the sugar solution cools down, wet your skewers. Then roll them or cover them in sugar. This will help “seed” your crystal growth. (In the interest of using items we already had on hand, we used some chopsticks we had from leftover takeout. Popsicle sticks will also work.)
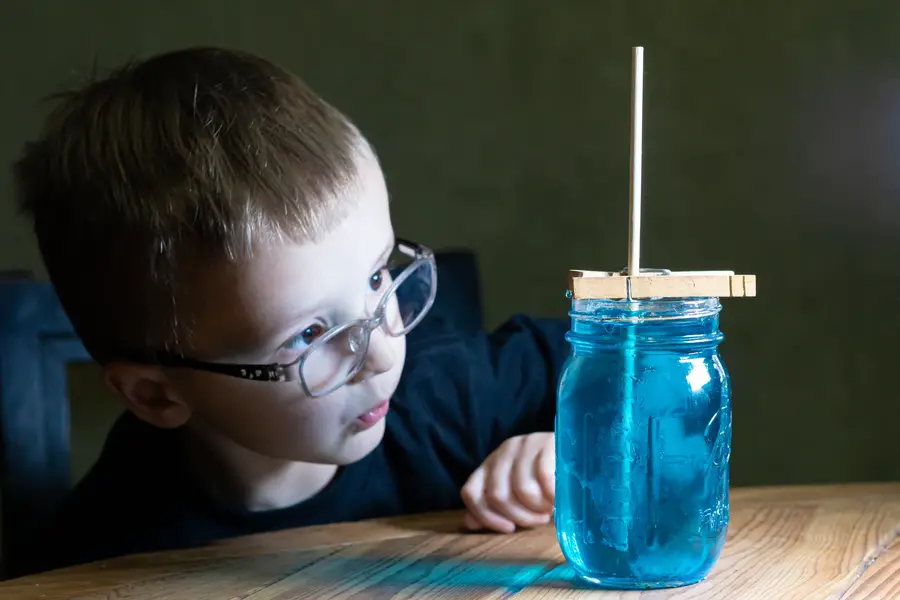
- Pour the sugar solution into your jar or glass.
- Clip the clothespin to the end of your stick, and place the stick into the center of the glass. Make sure it’s not touching the sides or bottom. The clothes pin should help position the stick and hold it in place.
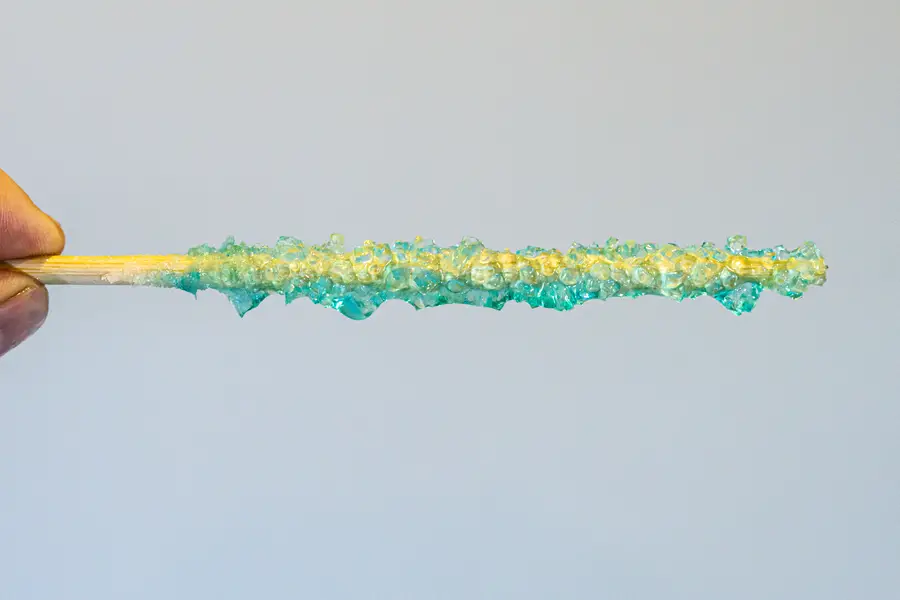
- The rest is waiting and watching. Crystals should start to form on your stick within a few hours, and will grow over the course of a week. Crystals will also form on the sides of the glass.
- Once your rock candy is a decent size, pull the skewers out. You can use a bit of warm water to soften things up if it’s stuck.
Candy Glass
Candy Glass is a delightful and edible science experiment that involves creating glass-like structures using sugar or candy. This fun activity is perfect for Halloween and can be enjoyed by kids and adults alike.
- 3 cups granulated white sugar
- 1 cup of water
- 2/3 cups light corn syrup
- flavoring oil, if desired
- Saucepan
- Baking tray & wax paper
- Thermometer
To make a sheet of candy glass, follow these instructions:
- Combine the the sugar, corn syrup, and water in a saucepan.
- Bring to a boil and use the thermometer to monitor the temperature. Stir constantly until the thermometer reaches 300 degrees.
- Once the sugar solution hits 300 degrees, pour the mixture onto baking pan that is lined with lined with wax paper.
- Let the baking tray sit about 2 hours on the counter. (If you’ve got room to sit the tray level in your freezer, you can speed up the process to about a half hour)
- Once the mixture hardens, you can peel off a sheet of glass. If you like, you can lift the pan up and drop it to crack and break the “glass.”
Don’t miss these other edible science experiments!
Wrap Up – Halloween Science Activities & STEM Challenges
Halloween provides opportunities for plenty of science lessons and fun activities for kids. Whether you’re making your own candy, getting a bit more use out of your pumpkins, or having fun with slime, there’s plenty to learn with some Halloween science!
By incorporating Halloween-themed materials such as candy or pumpkins, kidss are able to connect their scientific learning to a festive holiday. It’s a sweet and educational activity perfect for young scientists!
For more creepy fun, check out these Gross Science Experiments, or learn how to 3D print your own Halloween decorations and costumes.
More Fall Fun
Don’t miss these other Fall science activities!