
What is it about boogers, snot, and farts that make kids giggle? What attracts them to the grossest things? If we can channel this curiosity to get them to learn and have some fun along the way, we’ll just go with it.
Here are a few of our favorite gross science experiments and activities:
Make Fake Snot
Moldy Bread
Glitter Germs
Repelling Germs with Soap
Rotting Food
Fake Poop (Edible Chocolate Slime)
The Fart Journal
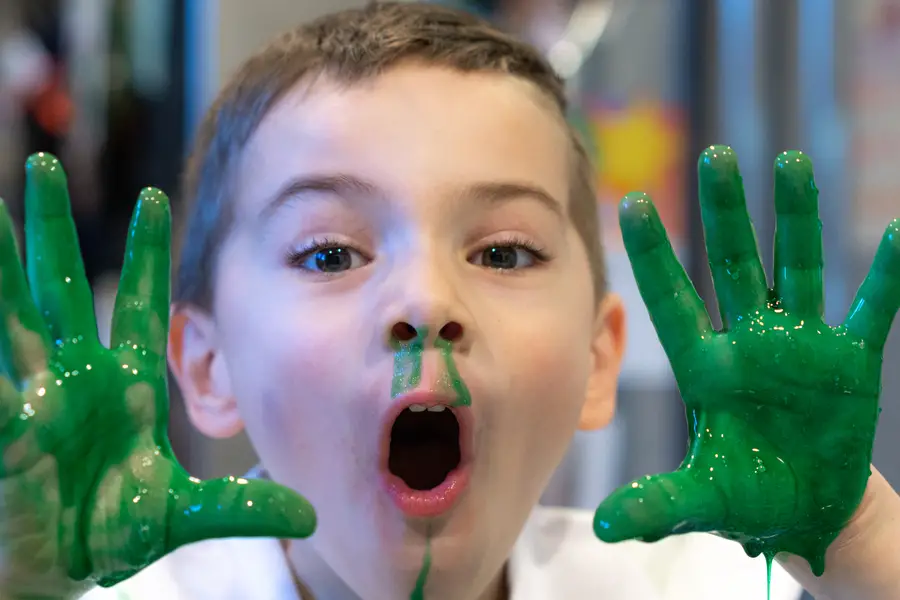
Make Fake Snot
Snot and boogers are gross, but an object of fascination and humor to most kids. Nothing holds their attention like gross humor.
You’ll need a few things to make make your own fake snot:
- 4 oz bottle of Glitter Glue (or just add some glitter to regular glue)
- 1/8 cup of Liquid Starch (we have a substitute below if you can’t find liquid starch)
- 4 oz Water
- 5-10 drops of Food Coloring. (Green mixed with a bit of yellow is the best for fake snot)
- Mixing Bowl
- 1/8th teaspoon of Borax (You can skip the borax, though it’ll be harder to clean up the snot.)
Empty the glue container into your mixing bowl.
Fill the empty glue container with water. Shake it up and empty into the mixing bowl. ( If you’re squeezing the glue from a larger bottle, just mix with a 1:1 ratio of water to glue. )
Mix the water and glue together until the mixture is an even consistency
Add in 1/8 cup of liquid starch. If you don’t have liquid starch, you can make some by adding 1 tablespoon of cornstarch to 1/4 cup of water. Add the corn starch solution to 3/4 cup of boiling water: you’ll have plenty of liquid starch for this and other projects. (Or, you could always use it for laundry.) We made our own liquid starch for our fake snot slime.
Mix again and let it thicken with the starch
Add in the Borax and mix. The Borax makes it easier to pull the mixture back up. You can skip the Borax if you like, though your fake snot slime may leave some residue behind when you try to peel it back off. Ewwww.
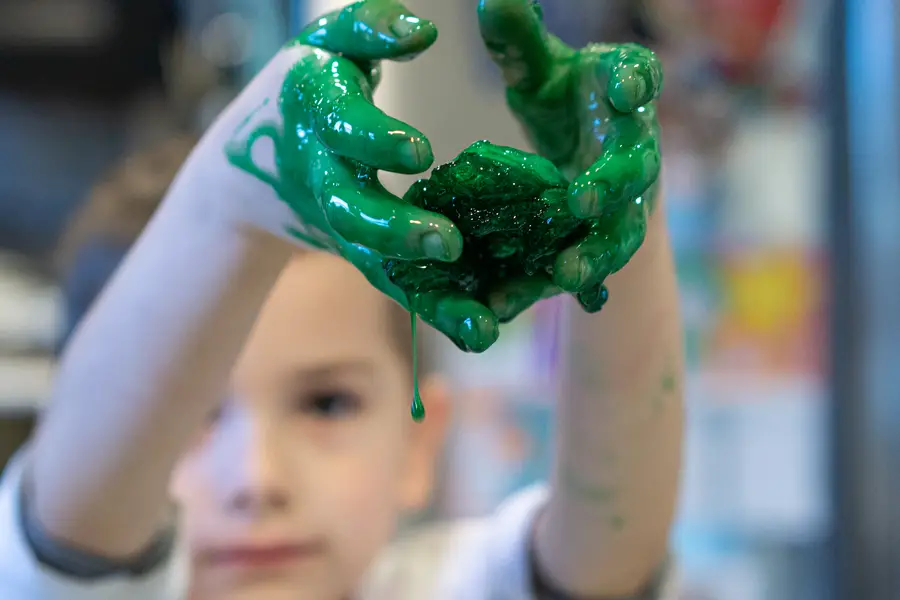
After playing with the mixture a bit, we doubled down on the Borax to thicken our snot mixture up. Behold, the giant booger ball!
Check out the 1 minute video clip in our Youtube #Shorts series:
Non-Newtonian Fake Snot
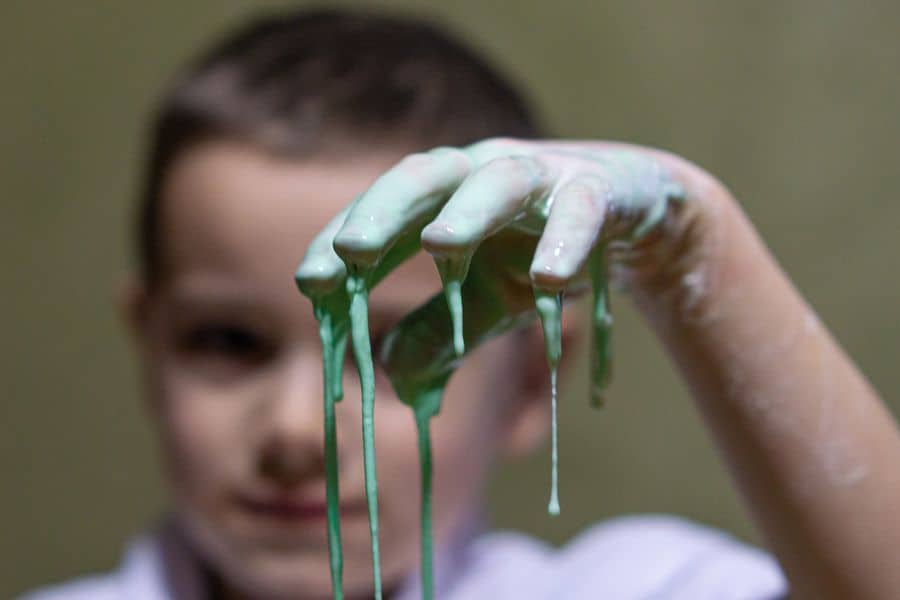
For an easier alternate recipe, a classic water and cornstarch mixture can do well. This makes a Non-Newtonian fluid, which drips like a liquid, but settles into more of a solid when at rest. If you’ve seen recipes for “oobleck,” this is the same stuff, and the kids love it. You only need a few things to make it.
- 2 Cups Cornstarch
- 1 Cup water
- Green food coloring (mix in a few drops of yellow for some extra snotty color.)
- Shallow baking pan
It’s easy to mix any quantity you want with a simple 2:1 ratio of cornstarch to water. Mix the water and cornstarch together and knead it with your hands. If your mix is too dry, add a bit more water, if it’s too soupy, add a bit more cornstarch. We used this same mixture for our Dinosaur Dig Activity.
Add in the food coloring, and it’s instant boogers. Ewww…
You can store your fake snot in seal able containers. If the cornstarch based fake snot dries out, don’t worry. If you just add some water to it and mix it up, you’re back in business.
Moldy Bread Experiment
Here is a variation on an experiment I remember from middle school. It’s simple and easy, and quite eye opening. We’re going to see how fast (and how much) mold grows on bread when it’s exposed to various conditions in our own house. For this gross science experiment you’ll need:
- 5 Slices of Bread
- 5 seal-able sandwich bags
- Marker/pen and labels
Place one slice of bread in a sandwich bag, without touching the bread if you can. Try to grip it through the bread back, or turn the sandwich bag inside out, grab the bread with it, and wrap the bag around the bread. This will be the control for our experiment, so we want as little contact with the bread as possible. Use a marker or post it note and label the bag as “Control.”
Take another slice of bread and rub your hands on it. If you’re doing the experiment with friends or children, let them handle the bread as well. This represents the condition our hands are in during an average day. Place this in a bag, seal it, and label it “Hands”
Wash and dry your hands thoroughly. Take a third slice of bread and run your freshly washed hands on it. If you’ve got others doing the experiment with you, have them do the same. Place this in a bag, seal it, and label it “Washed Hands.”
Take a fourth piece of bread, and rub it along your tabletop or kitchen counter. These are surfaces that regularly come in contact with our food. Are you curious to see how they compare to the others? Place the bread in a bag, seal it, and label it “Countertop.”
For the fifth and final piece of bread, hold it waist high and drop it flat on the floor. Rub it around on the floor a little before picking it up. Place this piece in a back, seal it, and label it “Floor.”

Place all bags in a cool dry place. A shelf in a cabinet or closet work well. We placed our bags on the top pantry shelf.
Check each day and note the progress for one week.
Our first attempt at this was an epic fail. After about 2 weeks, we only had one bread with mold. Either our house is clean room level sanitary, or something went wrong (most likely our pantry shelf was too chilly.) We did the experiment again, this time relocating our bags.

The results are in, and – Yuck! The first thing we noticed was the control. Even though we tried to get the bread into the bag without touching it, *something* clearly got onto the control.
Related Post – We took some pumpkin pieces from our jack-o-lantern and did a similar experiment. Check out our Halloween Activities to see how the pumpkin reacted!
We had expected the plain “hands” to be much more moldy than the “washed hands.” Interesting that they had roughly the same amount of mold, though very different colors. We’re hypothesizing the washed hands were also not quite dry hands, and the extra moisture is what was at work here.
The “counter” was an eye opener, and not what we expected with regular cleaning. Just ewwww. Lets say we’ve sanitized the kitchen after seeing this.
The floor was a surprise. Our little scientist were sure this would be the most disgusting, and it only had a few small white fuzzy spots.
How was your experiment after a week? Were you surprised by the results? Which bread had the most mold? Which one grew and spread the quickest? Were they all the same color mold, or were there differences?
How much difference was there between the one that was handled vs the one with clean hands? Kind of makes me want to wash my hands now just thinking about it.
Feel free to try the experiment with other surfaces. Perhaps your phone or computer keyboard. Perhaps your pillow? What do you think is luring there unseen?
Anyone for some disinfectant cleaner?
Spreading Glitter Germs
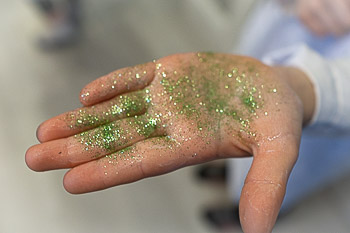
Have you (or your kids) ever done a craft or activity with glitter? Have you later found glitter in places you hadn’t expected – perhaps days or weeks later? Glitter gets everywhere, and so do germs.
We’re going to do a quick experiment and let our glitter give an idea of how easily germs can spread. You’ll need:
- Glitter
- Hand Lotion
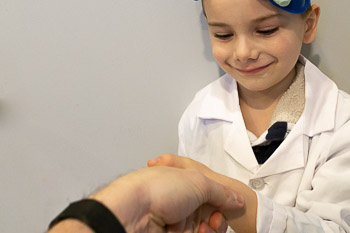
Rub a little lotion on one hand (not too much – just enough so the glitter isn’t falling off.) Sprinkle some glitter onto the palm of the same hand.
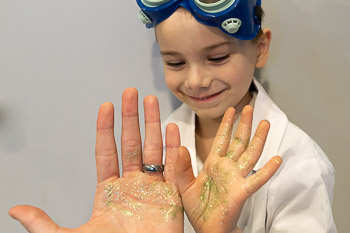
Now, touch your palms together. What did you notice? Did some of the glitter come off on your other hand?
If you have a friend you’re doing the experiment with, touch your friend’s hand or arm. Did they get some of the glitter too?
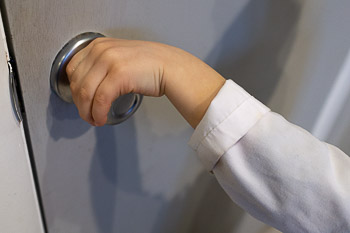
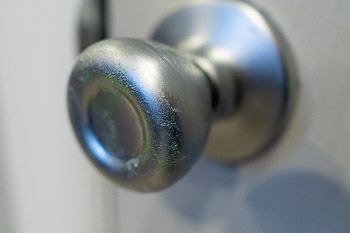
Now, grab the knob of the nearest door and open/close the door. Is there any glitter on the doorknob? Guess what happens to the next person who uses the door? They’re getting a sparkly surprise (or some germs.)
Are you getting the idea of how easily, and how quickly germs can spread?
Quick – go wash your hands before you get glitter everywhere.
Repelling Germs with Soap
Now that we’re all freaked out about how quickly germs and easily germs can spread, lets take a look at how well soap repels germs. You’ll need:
- Virtual Germs – Pepper or Glitter will work well.
- A bowl of water
- Liquid Soap
Fill your bowl with water
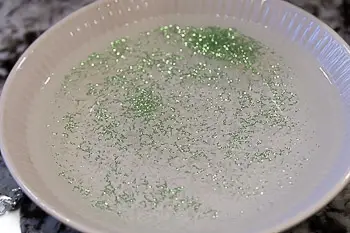
Sprinkle some pepper or glitter evenly across the surface of the water. We used the same green glitter we used for our glitter germ experiment.
Stick a finger into the water and remove it. Note how the “germs” stick to your finger.
Wipe your finger clean.
Now dip your finger in some liquid soap, or dab some on your finger and spread it around so your fingertip is covered with soap.
Dip your finger into the bowl again and note what happens. (Or just add a few drops of dish soap to the water.)
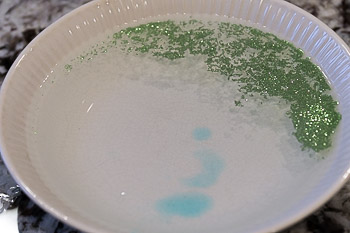
Instead of having the germs stick to your finger, they should have been pushed away almost like a magic force field. BEHOLD the power of soap!
What’s Happening?
The glitter is “floating” on top of the water due to surface tension, which is like a this skin across the surface of the water. When the soap is introduced, it lowers the surface tension of the surrounding water, which scatters the glitter to the edges of the bowl.
For more on Surface Tension, check out our floating paperclip STEM challenge.
Rotting Food Experiment
Now it’s time for our favorite game “Which will Rot First?” We’ll gather a few samples of food, and leave them out to see what happens. It’s a race to the finish line and the spoils go to the victor! Or the victor just spoils, or perhaps they all spoil. We’ll have to play the game to find out.
Our contestants:
- 1 Apple Slice
- 1 Orange Slice
- 1 Piece of Bread
- Seal-able sandwich bag for each food item
If you’re curious, you can try different food items and play along with the experiment.
Place each food item in a separate see through container or sealable bag. Find a spot where they won’t be disturbed.
Make some predictions: Which do you think will rot first?
Check on your food items each day and note their condition. Check on them each day over one week’s time. What did they look like after sitting out for a whole week?
Ewwww.
Fake Poop (Edible Chocolate Slime)
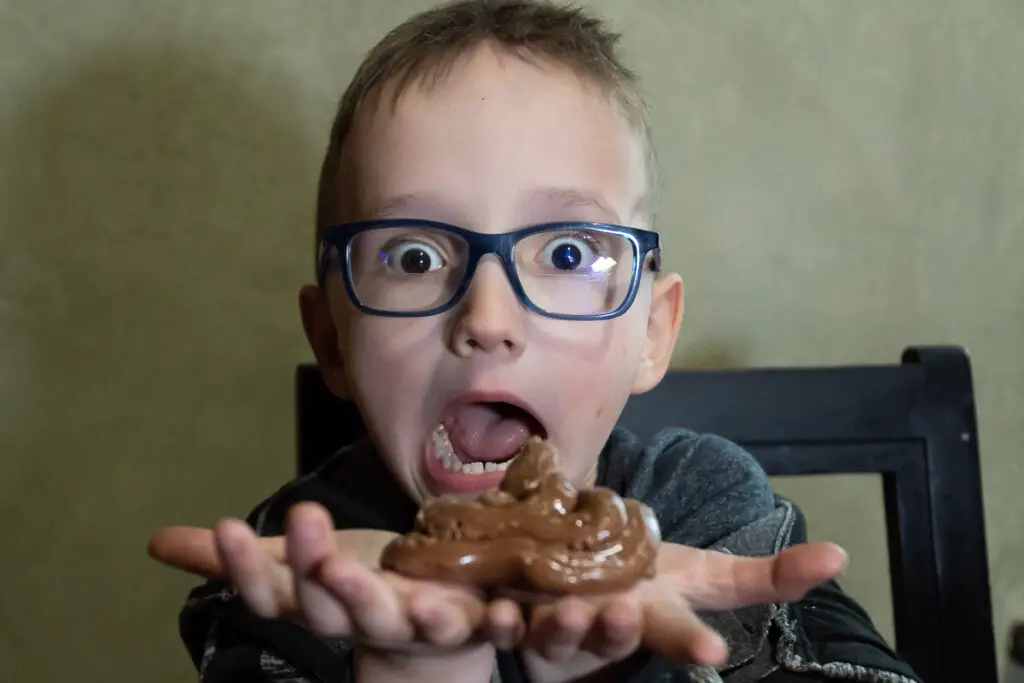
Speaking of ewwwwww, how about some DIY Fake Poop that you can eat? We made some edible chocolate slime, and of course our kids found a way to make it look like fake poop! If you’re looking for a quick activity that’s sure to entertain, you can find the recipe and instructions on our Kitchen Chemistry post. Don’t miss there other edible experiments!
The Fart Journal
Everybody farts. And, farts in all their stinky glory seem to be universally funny, especially to little kids. Our son learned early that beans make him fart. Now he *loves* beans. Baked beans, black beans, kidney beans, green beans; He’ll gladly down them all. And as difficult as it is to get kids to eat vegetables, we shovel our boys as many beans as they’ll eat. Sometimes to thunderous results. We should have known. Toot was one of his favorite board books:

Now he’s curious as to what other foods make people fart. So, of course, we decided to do an experiment.
Over the weekend, we planned our meals and tried some different foods to give our digestive systems a good variety to work with. We made a printable for the occasion and you can download yours here for free and experiment at home:
We told him to make a mark in the book every time he farted. Each day we started a new page, wrote down what we ate, and noted the time of each flatulent occurrence.
Since anything posted on the internet lasts forever, and we do want our son to find dates and employment in the future, we’ll keep the results confidential. Trust me – some things are best kept a mystery.
The results were eye opening, and at times, gag inducing. But we did it all in the name of science. And farts. But mostly Science. Grab you own free printable fart journal to track your own farts in the form above.
For more on the science of flatulence, check out The Fantastic Flatulent Fart Brothers’ Big Book of Farty Facts.

Gross Science Experiments Wrap Up
Ewwwww. That was gross, but educational. We played with fake snot, logged farts, and had some first hand experience seeing how mold and germs spread. (And hopefully encouraged our kids to use soap!)
Recommended Reading
If you and your kids enjoyed these gross science experiments, then check out some interesting on topic books:
Pick, Spit & Scratch: The Science of Disgusting Habits by Julia Garstecki.
The book has more gross science info, and also suggestions on how to break some of the habits. The same author also has a similar books about pets.
Grossology: The Science of Really Gross Things by Sylvia Branzei
The author was a science teacher before delving into “grossology” – which is described as teaching science through gross things. It’s not just us, there’s a book about it!
Oh, Yuck! The Encyclopedia of Everything Nasty by Joy Massoff
Geared for grade school to middle schoolers, this book takes an amusing spin on 50 plus gross topics and contains some more gross science experiments to try out.
More Fun Activities
Looking for more fun activities? Sign up for access to our free printable library for some awesome activities for home, home school, or classroom:
Looking for more STEM Projects and Activities? Check out our other STEM Challenges.
-
10 Plastic Bottle STEM Projects for Kids: Fun Ways to Learn & Recycle
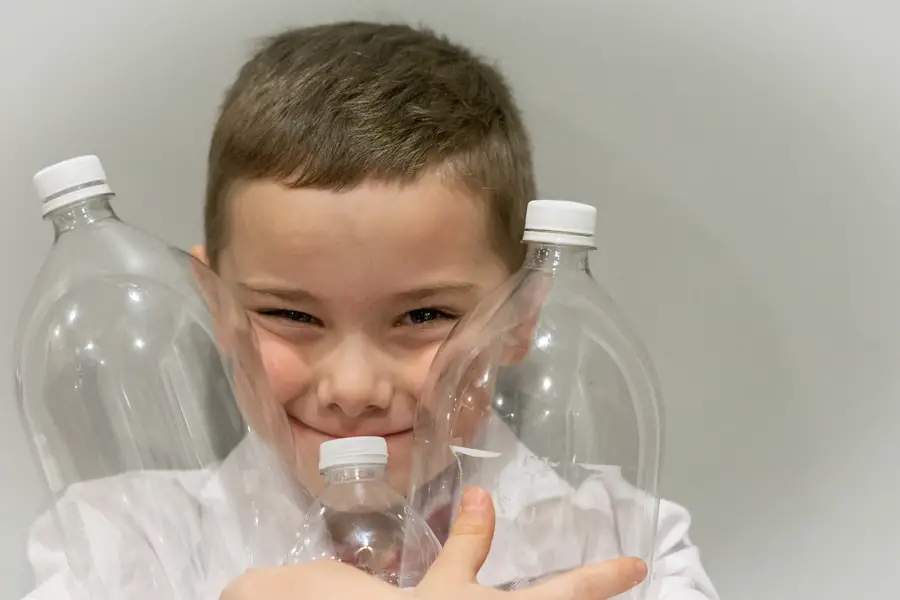
Plastic bottle STEM projects can be fun and easy to do, and we give the bottles another life by recycling (or upcycling) through STEM activities.
-
7 Fun Dinosaur Activities to do at Home
Dinosaurs seem to capture the imagination of every child. What better way to keep your kids active and learning than with dinosaur activates to do at home.
-
9 STEM Projects using Popsicle Sticks: Fun Kids Activities
Popsicle sticks should be a staple item in every craft bin or makerspace. They’re inexpensive, easily sourced, and versatile. We’ve gathered a list of some of our favorite STEM projects using popsicle sticks to share with you.
