
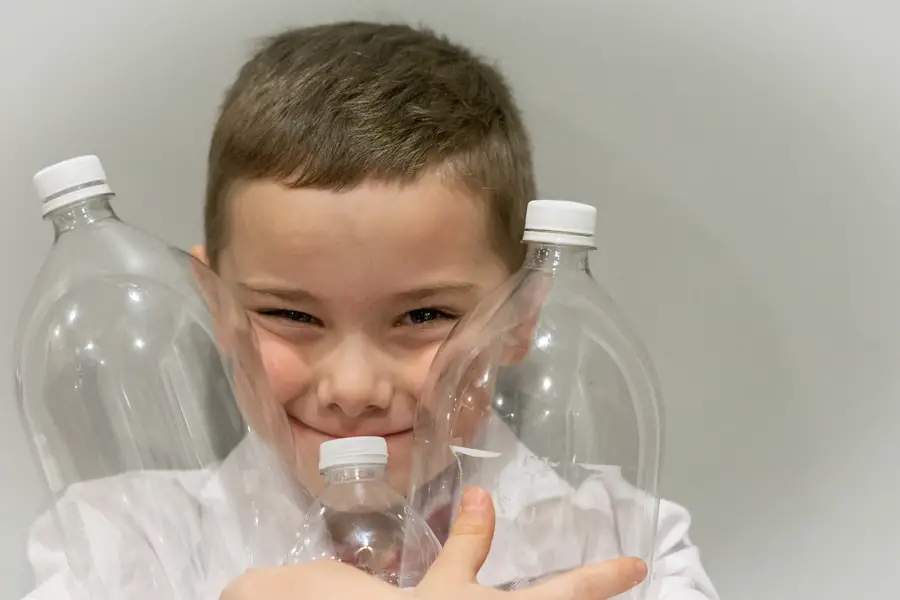
Plastic bottles. They’re everywhere. More than one million plastic bottles are sold every minute worldwide. That’s a lot of bottles. About 1,440,000,000 per day. In the United States, only 30% of plastic bottles are recycled. Much of the rest make their way to landfills or the oceans.
We can do better with some plastic bottle STEM projects. STEM projects with water bottles can be fun and easy to do, and we give the bottles another life by recycling (or upcycling) through activities. Let’s explore!
Balloon Inflation with a Plastic Bottle
DIY Plastic Bottle Rocket
Wind Spinner from a Plastic Bottle
Tornado in a Bottle
DIY Plastic Bottle Lava Lamp
Sensory Bottles
Plastic Bottle Shaker
Self Watering Planter Made from a Plastic Bottle
Ecoshpere in a Plastic Bottle
Air Pressure and the Empty Plastic Bottle
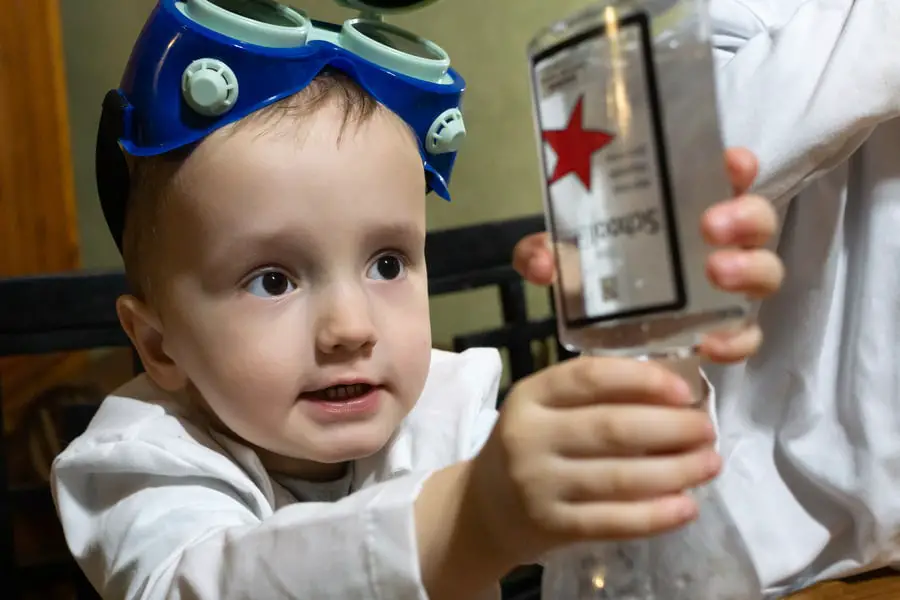
Balloon Inflation with a Plastic Bottle
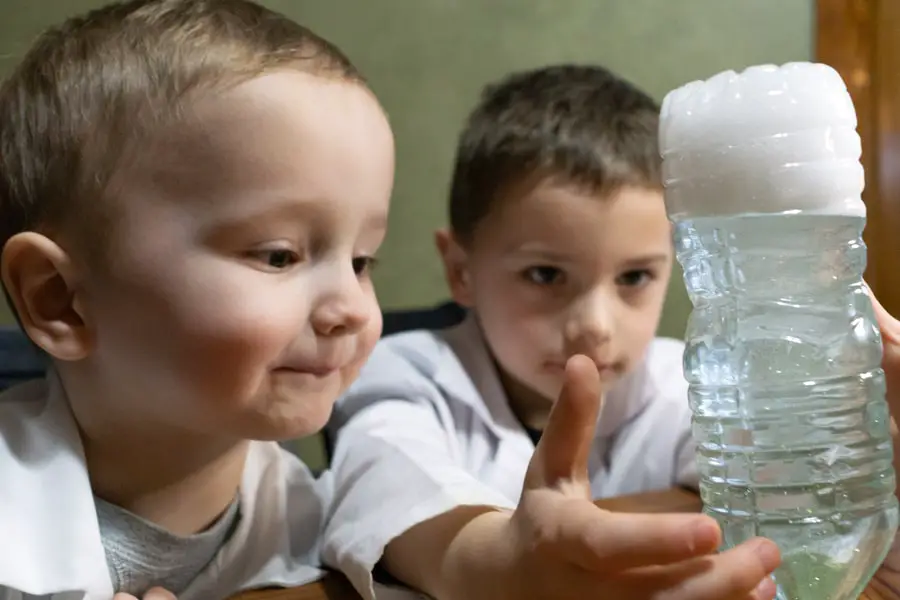
This is an experiment using the reaction that happens when you mix vinegar and baking soda together. We’ll put the two together and watch them inflate a balloon.

You will need:
- 1/2 cup of vinegar
- Baking Soda
- Plastic bottle
- A balloon
- A funnel
- Pour 1/2 cup of vinegar into the bottle
- Use the funnel to fill a small balloon about half way with baking soda
- Stretch the opening of the balloon over the mouth of the bottle. Be careful not to let the baking soda fall into the bottle yet.
- When you’re ready, lift the top of the balloon until it’s directly over the bottle and let the baking powder fall into the bottle.
- Stand back and enjoy the science.
Once we dumped the baking soda into the vinegar, our balloon inflated so quickly that it popped off the bottle almost immediately. The boys thought that was great!

What’s Happening?
As the baking soda falls into the vinegar, it should begin to fizz and foam. The baking soda is a base, and the vinegar is acidic. When the two are mixed together they react and produce carbon dioxide gas. The sudden expansion of the gas inflates the balloon.
If you want to learn more about the chemical reaction happening here, check out our post on the chemistry behind the vinegar and baking soda fizz.
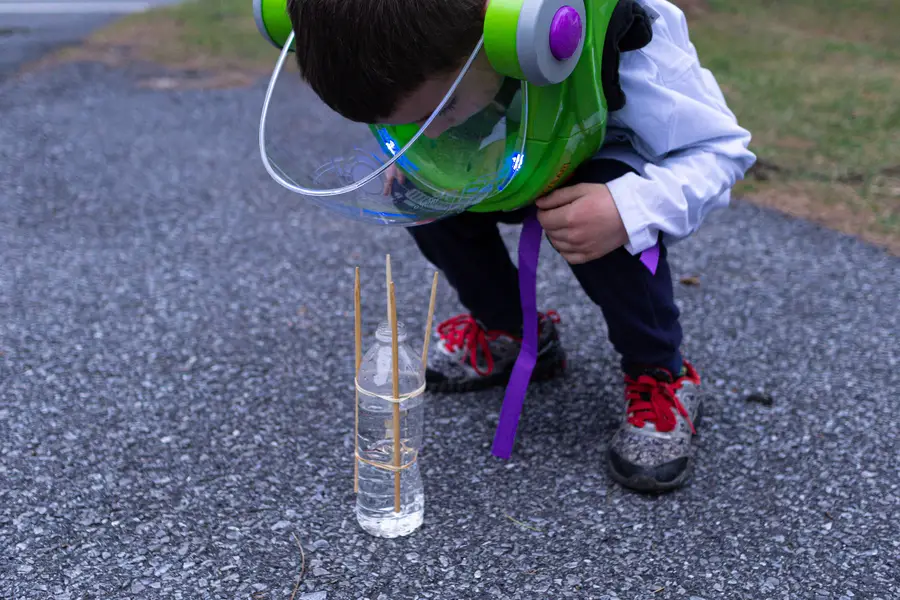
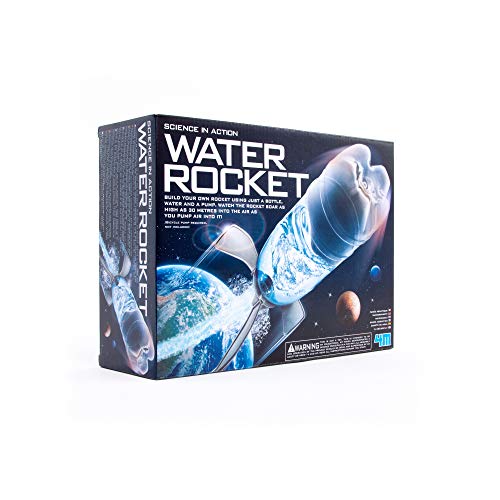
DIY Plastic Bottle Rocket
Our kids are fascinated with space and planets, and the ideas of rockets blasting off. They were excited to try their hand at building their own rocket and shooting it into the sky.
We’ll look at a few different designs and two different ways to fuel your plastic bottle rocket. Make sure to blast of outside!
Chemical Reaction as Rocket Fuel
Baking soda and vinegar produces a classic acid/base reaction, and us a staple in science experiments for kids. Here we’ll use the reaction as rocket fuel.
- Plastic Bottle
- Cork that fits the bottle
- 4 pens, pencils, or chop sticks
- Vinegar
- Baking soda
- Tape or rubber bands
- Paint to decorate your rocket (optional)
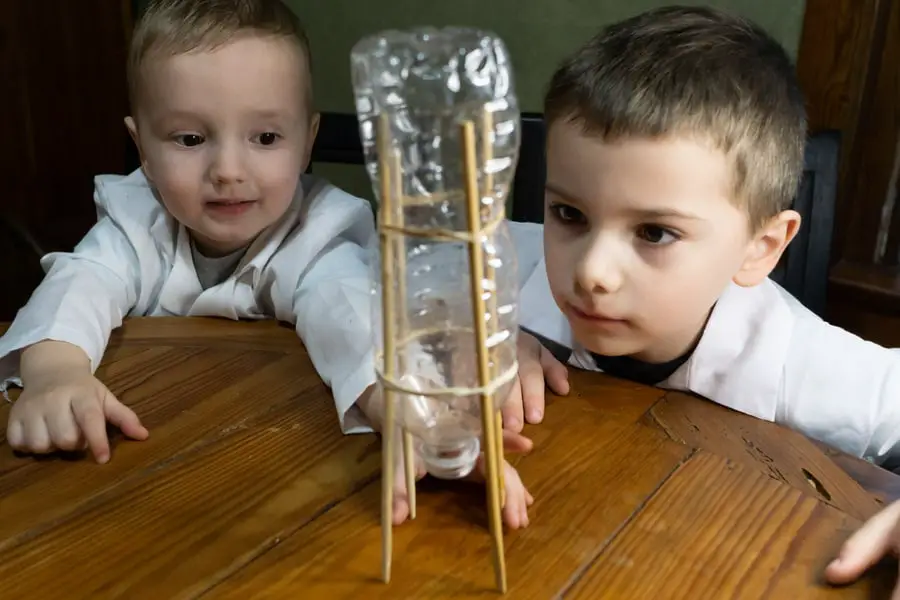
- Use the tape to secure the pens or chopsticks to the side of the bottle with the opening. You want them to be evenly spaced and be able to stand up when the bottle is upside down.
- Fill the bottle about 3/4 full with vinegar.
- Add about a teaspoon of baking soda to the bottle.
- Quickly insert the cork.
- Turn the bottle upside down and stand the bottle up on the pens or chopsticks (you want to be quick.)
- STAND BACK!
What’s Happening?
This is the same reaction we saw in the balloon inflation experiment above. As the baking soda mixes with the vinegar, it should begin to fizz and foam. The baking soda is a base, and the vinegar is acidic and produce carbon dioxide gas when mixed together. The sudden expansion of the gas builds up pressure inside of the bottle. As the pressure builds, it pushes against the inside of the bottle. The cork should be the weakest point, and when there is enough pressure to push the cork out, the bottle is propelled upward.
Air Pressure as Rocket Fuel
- Plastic Bottle
- Cork that fits the bottle
- 4 pens, pencils, or chop sticks
- Tape
- Air Pump & needle adapter
- Paint to decorate your rocket (optional)
- Use the tape to secure the pens or chop sticks to the side of the bottle with the opening. You want them to be evenly spaced and be able to stand up when the bottle is upside down.
- Push the needle adapter into the cork. Make sure the needle goes all the way through the cork so the aid can fill the bottle.
- Fill the bottle about 1/4 full of water
- Insert the cork snugly into the bottle
- Connect the pump to the needle adapter
- Turn the bottle upside down and stand the bottle up on the pens or chop sticks
- Move back and start pumping air into the bottle.
- Wait for liftoff! It may blast off suddenly, so be careful.
What’s Happening?
As the air is pumped into the bottle, pressure builds up and pushes against the inside of the bottle. When the pressure builds up enough. The cork should be the weakest point, and when there is enough pressure to push the cork out, the bottle is propelled upward.
If you don’t want to DIY it, or don’t have some of the items handy, you can get a complete kit with everything needed through this link on Amazon.
Wind Spinner from a Plastic Bottle
You will need:
- Plastic Bottle
- String or fishing line
- X-acto knife or box cutter
- Paint or colored/reflective tape
- Decorate your bottle. Use your imagination; Paint a colorful design. Use shiny or reflective tape to make designs.
- Once you’re happy with the decoration, use the knife to make vertical cuts in the bottle , about an inch apart, all the way around.
- Push the top and bottom of the bottle together and crease the folds in the plastic about half way.
- Use the knife to cut a hole or “X” in the cap.
- Feed the string through the top of the hole and pull an in or two through.
- Tie a knot in the string at the bottom of the cap so it doesn’t pull back through the hole. You may need to knot it several times
- Use the string to tie the bottle to a tree branch or hang it somewhere outside
When the wind catches the folds of plastic, it will spin the bottle around.
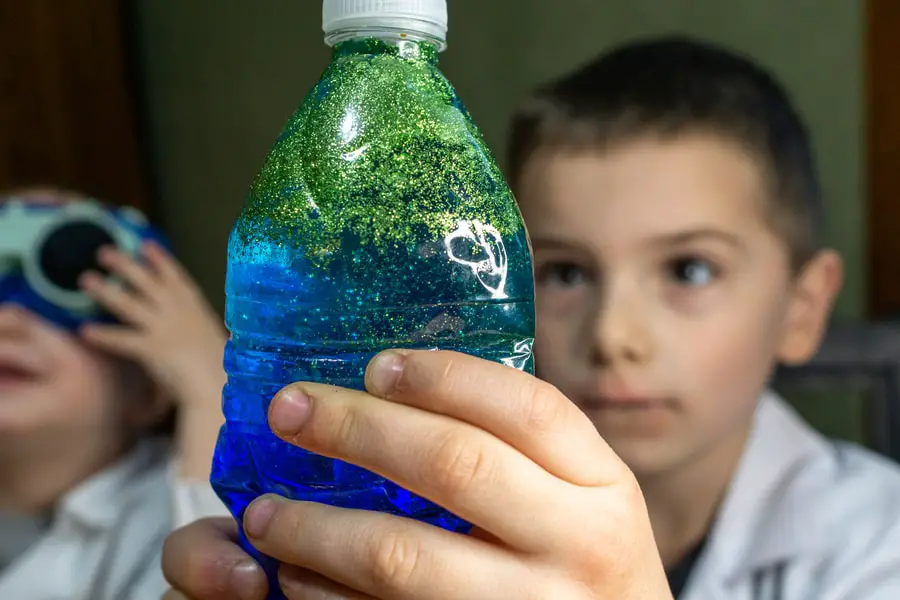
Tornado in a Bottle
You will need:
- Plastic Bottle
- Water
- Liquid Dish Soap
- Glitter
- Fill the bottle 3/4 with water
- Squeeze in a few drops of dish soap
- Drop in a pinch or two of glitter
- Place the cap on the bottle
- Swirl the bottle quickly in a circular motion and put it down
- Observe
What’s Happening?
You’re watching a vortex created by centripetal force. Huh?
The tornado in a bottle works like this: Spinning the bottle pushes the water against the sides and keeps in moving in a circular motion around the inside of the bottle. Centripetal force acts on the water as it moves in a circular path and is directed toward the center around which the body of water is moving. The water winds up hugging the sides of the bottle as it spins. This creates a vortex in the center of the bottle, much like a tornado. The glitter makes it easier to see the movement and effect.
You can get a similar effect by quickly stirring a glass of liquid and removing the spoon. The liquid will continue to swirl around in a circular motion until it’s eventually slowed down by friction.
DIY Plastic Bottle Lava Lamp
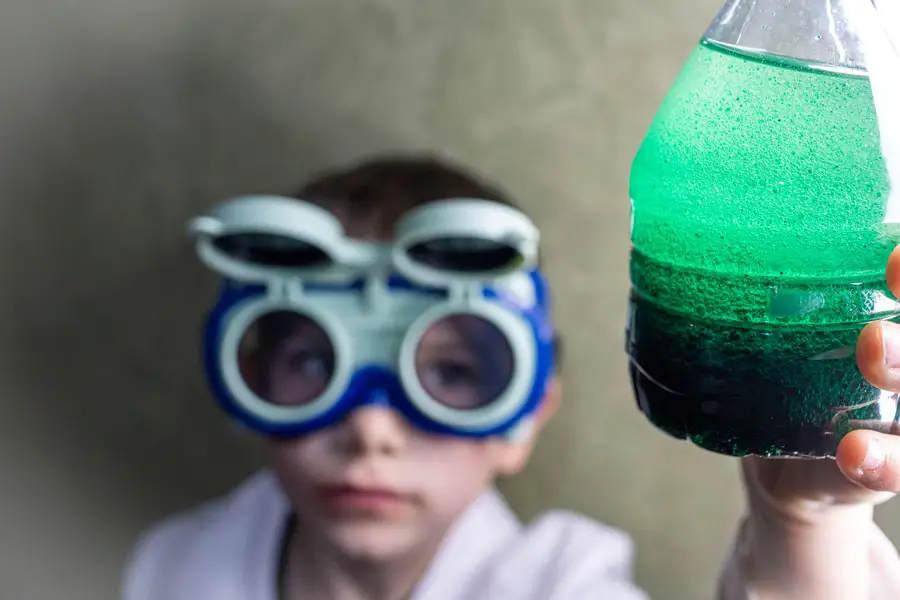
In this STEM activity, we’ll learn about the properties of different liquids and how they react with each other. We’ll try to predict the affects and work on the powers of observation.
You will need:
- Plastic Bottle
- Vegetable Oil
- Water
- Food Coloring
- Alka Seltzer (optional, but cool)
- Fill the bottle about 3/4 full with the vegetable oil.
- Fill the rest of the way slowly with water. The water will sink to the bottom.
- Add about 10 drops of food coloring.
What’s Happening?
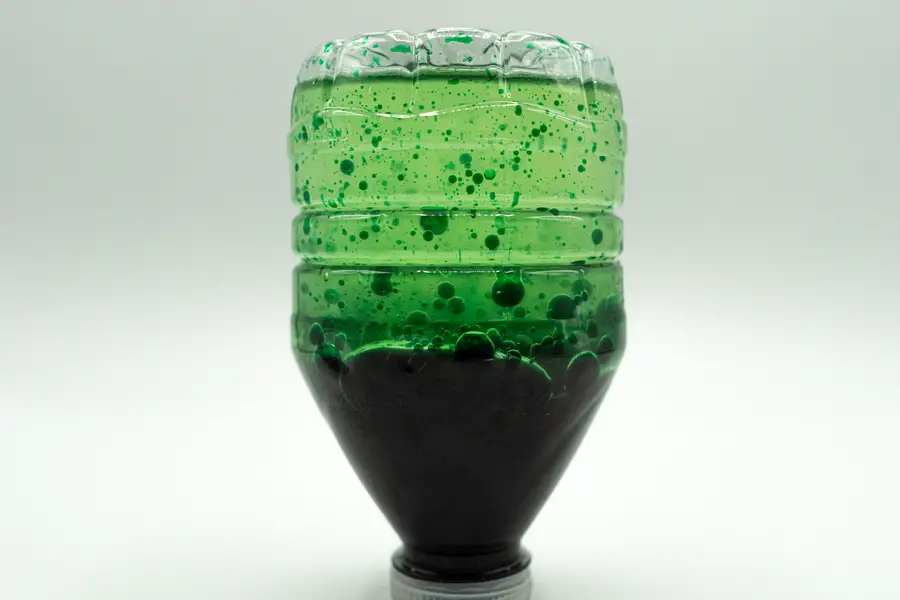
The oil is lighter than the water, so it will float on top. When we add the water on top of the oil, it sinks to the bottom, as does the food coloring because it is water based. Once the food coloring passes through the oil, it will mix with the water on the bottom. Looks cool so far.
At this point, we could just cap the bottle and shake it. The oil and water won’t mix. Shaking the bottle will infuse bubbles of colored water with the oil, and they’ll slowly separate as the water sinks and the oil floats on top.
Let automate it. If you shook up your bottle already, wait until the water settles back to the bottom. Drop a piece of Alka Seltzer into the bottle, and watch it sink to the bottom. It’ll react with the water and fizz, mixing the oil and water with the reaction.
For a cooler effect, try shining a light under or behind the bottle.
Sensory Bottles
Our kids’ daycare was big on sensory bottles. They made all different kinds and had them in nearly every classroom. Sensory bottles are sometimes referred to as “calm down bottles,” so that makes perfect sense for a roomful of pre-schoolers.
Since our kids enjoyed these while at daycare, we decided to make some at home.
The idea is to fill the bottle with things like water/food coloring, glitter, plastic glow in the dark stars, sequins, etc. The objects and colors swirling slowly around the bottle catch the eye and have a mesmerizing, calming effect on children, (and yes, lets face it – they work on adults too.)
The lava lamp project above could also be considered a sensory bottle.
You’ll need:
- Plastic water bottle
- Water
- Food coloring
- Glitter or sequins
- Clear School Glue (or vegetable oil like in the lava lamp)
- Fill the bottle about half way with water
- Add about 5-10 drops of food coloring, depending on how dark you want the color to be
- Dump in some of the glitter or sequins (or both)
- Fill the remainder of the bottle with the glue or oil
- Cap the bottle and shake
Experiment with different amounts of water vs glue or oil. The more viscous the mixture, the longer things like glitter will suspend. Make it too thick, and it won’t move much. It’s more art than science on this level.
Try experimenting with different themes. One of our boys brought home an “Ocean in a Bottle” with sand and shells inside. You could use plastic beads, small alphabet tiles, or whatever strikes your interest. Let your imagination take the lead.
Plastic Bottle Shaker
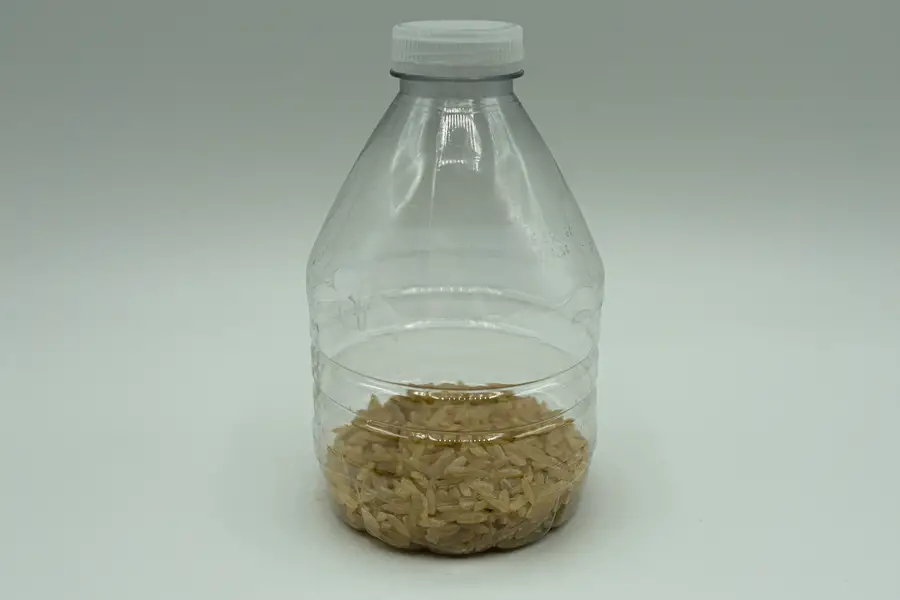
With all of the toys we had in the whole of the house, it was a small water bottle filled about 1/4 with dry rice that captivated our infant son for several months. It was his go to toy.
All you need is a plastic bottle and something to fill it with. Rice, dry beans, or anything of similar size to shake around.
Experiment with different sized bottles and different fillings to see what kind of tones you can get.
As a musician, I’ve found these to be quick, cheap, and simple substitutes for shakers or maracas.
Self Watering Planter Made from a Plastic Bottle
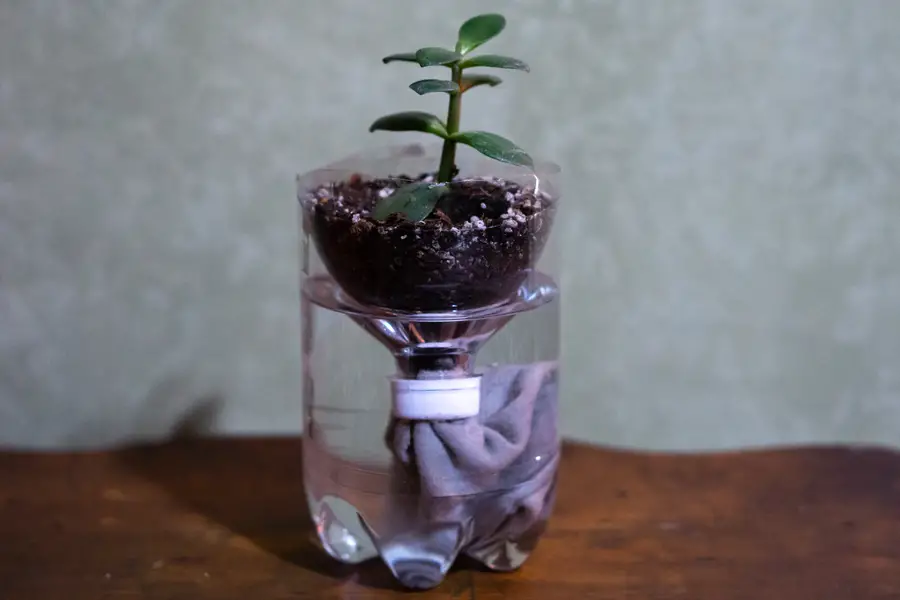
This activity can work with different sized bottles, depending on what kind of plant you’d like to put in it. We did it with both a 2 liter soda bottle and a 12 oz water bottle. The cool thing about this setup is that it is self watering.
You will need:
- A plastic bottle
- Cotton string or a piece of cloth
- Scissors
- Potting soil
- Water
- Seeds or a plant
- Cut the top off the bottle between 1/2 to 2/3 from the bottom. You don’t need to measure exactly. Cut carefully, the plastic can have a sharp edge.
- Once you have cut the top off, fill the bottom portion of the bottle with water
- Turn the top part upside down, and fill with potting soil
- Place your plant (or seeds) in the dirt
- Make a small hole in the cap, or make an “X” shaped incision
- Feed the string or cloth through the hole
- Place the cap on the bottle. The string or cloth will hang down into the water and act like a wick.
- Place the upside down portion of the bottle with the plant into the bottom portion of the bottle you filled with water
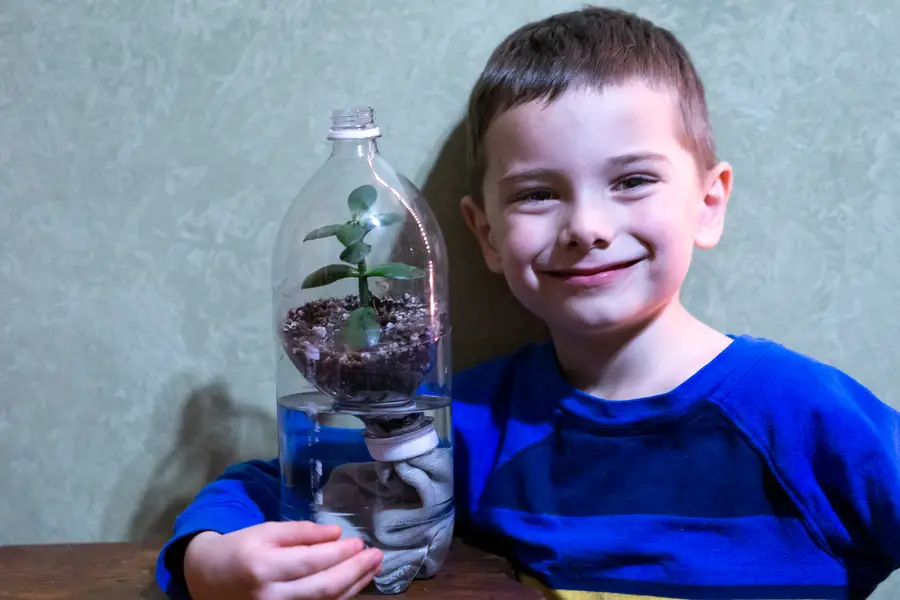
Ecoshpere in a Plastic Bottle
We can take the planter idea to the next level with a few small hacks and build an ecosphere. We’ll be using two bottles of a similar size and shape. For this STEM project, we’ll cut the bottles and reconfigure them to make what looks like a bottle with two tops on opposite ends. We’ll place this in the bottom portion of one of the bottles just like the regular planter above.
Sounds crazy, but follow along and we’ll make something cool together. You’ll need:
- 2 clear plastic bottles
- Duct tape
- Cotton string or a piece of cloth
- Scissors
- Potting soil
- Water
- A small plant
- Several pill bugs or earthworms (optional)
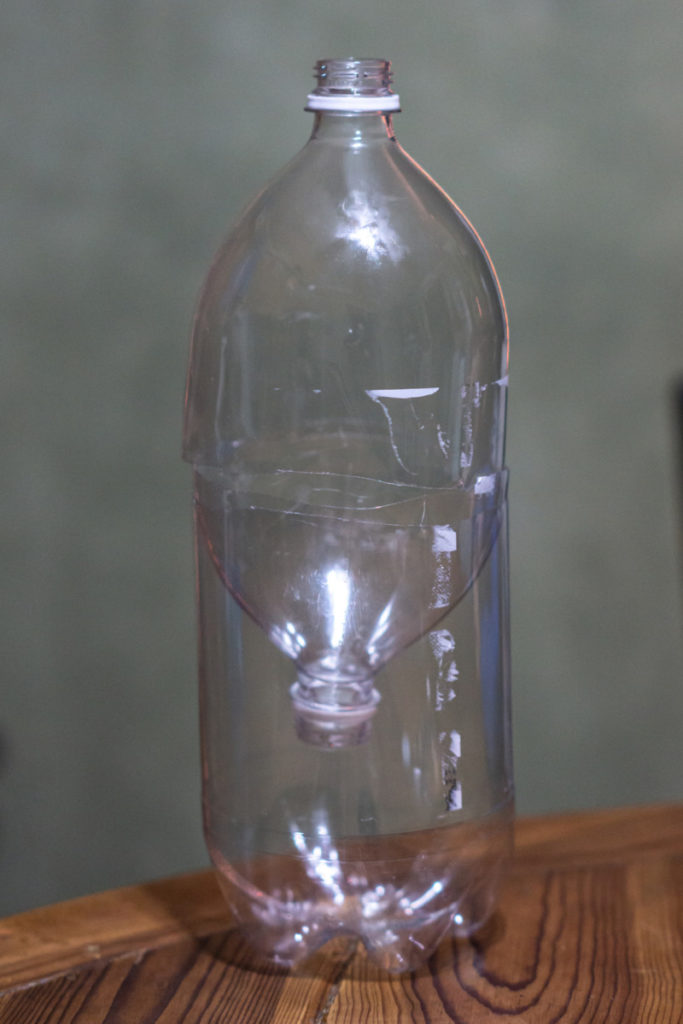
- Cut the top off both bottles between 1/2 to 2/3 from the bottom. You don’t need to measure exactly. Cut carefully, the plastic can have a sharp edge.
- Make a small hole in one of the bottle caps, or make an “X” shaped incision
- Feed the string or cloth through the hole.
- Place the cap on one of the bottle tops.
- Turn the top part of capped bottle upside down, and fill with potting soil
- Place your plant in the soil
- Position the top of the second bottle onto the first so the edges that were cut are aligned
- Tape the bottles together. (A bit of planning ahead and you can line them up so the tape line is about even with the soil level for a better aesthetic. Bonus points for using Duct Tape with patterns.)
- Fill the bottom portion of one bottle with water.
- Place the upside down portion of the bottle with the plant into the bottom portion of the bottle you filled with water. The string or cloth you pulled through the hold in the cap will hang down into the water and act like a wick.
- If you’ve decided to add in a few insects or worms, go ahead and drop them in the top.
Air Pressure and the Empty Plastic Bottle
Here’s a simple activity to demonstrate the effects of air pressure. You’ll need 2 things you probably have around the house:
- A Plastic Bottle
- A piece of paper
- Crumple the piece of paper so it just large enough to fit into the mouth of the bottle
- Place the bottle on its side
- Place the piece of paper in the mouth of the bottle
Pause for a moment and make a hypothesis. If you blow the balled up paper, what would you expect to happen? It should just blow into the bottle, right?
Try it. Go ahead, we’ll give you a moment.
What happened? Were you surprised?
The paper came OUT of the bottle, didn’t it. How did that happen if you blew into the bottle? This is Bernoulli’s Principle in action. Bernoulli’s Principle predicts that an increase in speed will cause a decrease in pressure.
What does that mean for our exercise? When you blow onto the paper, you cause the air to move faster on the outside of the bottle, which creates lower pressure. Since the air pressure inside the bottle is now higher, the air pushes against the crumpled ball of paper and pops it out of the bottle. The pressure inside and outside the bottle is now equalized and all is right in the world.
This is the same principal behind the design of airplane wings, that gives the airplane lift and helps keep it in the air.
Related Posts: Plastic Cup STEM Activities, Tin Can Activities, Awesome STEM Activities with Household Items and STEM Activities with Recycled Materials
Wrap Up: Plastic Bottle STEM Projects
STEM projects with water bottles can be a fun and educational way to put bottles we’d otherwise discard to good use. We’ve made some cool upcycled decor and learned about things like air pressure and chemical reactions along the way.
We enjoy spending quality time with our kids doing projects and activities like this. Sometimes it’s best to stand back and watch their creativity at work, and it’s always great to see their faces light up when the “get” a new concept.
Which was your favorite plastic bottle STEM project?
Plastic bottles belong in every crafting station or makerspace! Make sure you’ve got everything you need to make your own STEM makerspace!
Looking for more STEM Projects and Activities? Check out our other STEM Challenges.
-
Tin Can STEM Projects: Fun Activities for Kids
Tin cans are in almost every home on the planet. After we have opened them and used the contents, we either toss them aside or put them in for recycling.
-
STEM Projects You Can Wear: Fun Activities and Designs
STEM projects are not commonly associated with apparel. These are unique ways to approach STEM, and the students take great pleasure in designing something they can wear. It allows the
-
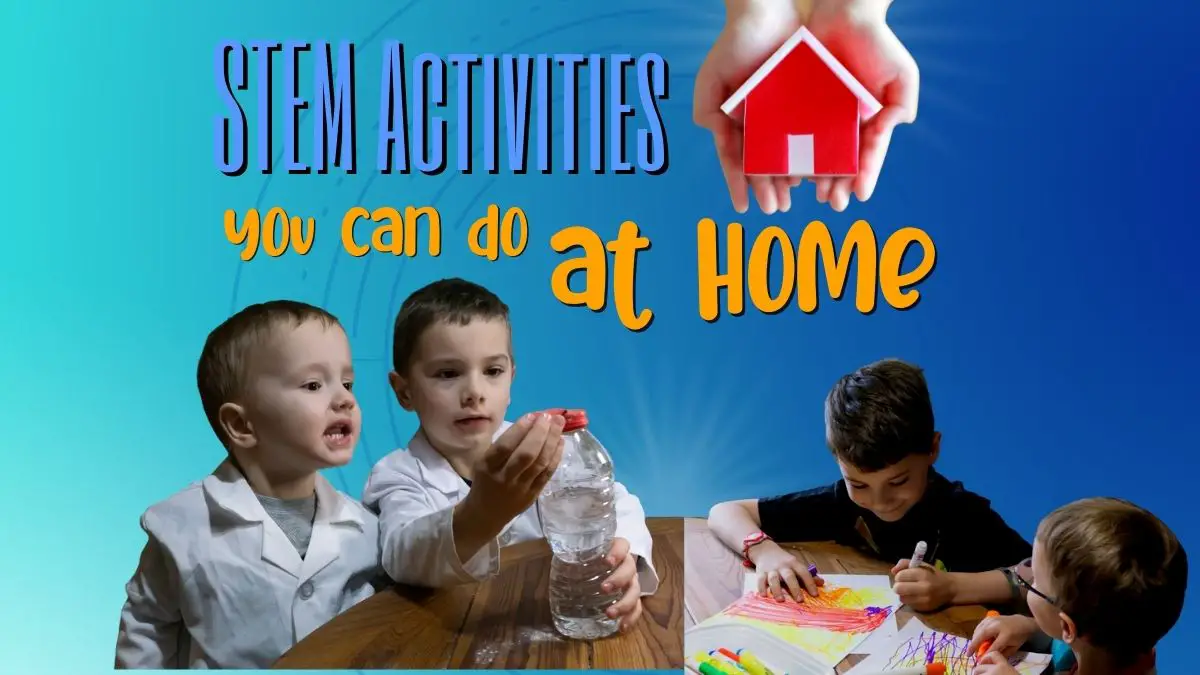
STEM Projects You Can Do at Home
Learning doesn’t have to happen in a classroom. You can create awesome learning experiences in your home or homeschool! Here, the learning is most closely related to their everyday life,

