Tin cans are in almost every home on the planet. After we have opened them and used the contents, we either toss them aside or put them in for recycling. Do you know that in your hands, you have a valuable STEM teaching tool – for free! Tin cans may be used for a multitude of STEM projects.
Tin cans may be used to make musical instruments to teach the science of sound. Lights and lamps made from tin cans show the nature of light rays. Tin can ice cream is a great chemistry experiment. They lend themselves to many different constructions for exploring technology and engineering.
Always ensure the cans are clean to prevent infection or exposure to bacteria. The cans should be opened under adult supervision or by an adult if they are to be used by young children. When punching holes in cans, you may want to file down the metal around the hole on the inside of the can to get rid of sharp edges.

*We’re an affiliate – we may earn a commission through qualifying purchases from the links on this page. As always, thanks!*
A note about “tin” cans: most of what we would call tin cans are not actually made of tin; they’re mostly aluminum. You can read more about the particulars of can composition here. We’ll simply refer to them as “tin cans,” though we wanted to acknowledge that the cans you’ll most likely be working with are not actually made of tin.
Now, let’s explore!
Teach The Science of Sound Using Tin Cans
Metal is an excellent tool to teach sound because of its resonance qualities. There are many alternative ways you can teach students about sound using tin cans. (Don’t miss our post on Science Experiments with Sound if you’re looking for more sound based activities.)
A Tin Can Telephone
This is a classic science experiment that demonstrates how sound waves travel through vibrations. Tin cans are great at amplifying sound vibrations that travel along the string.
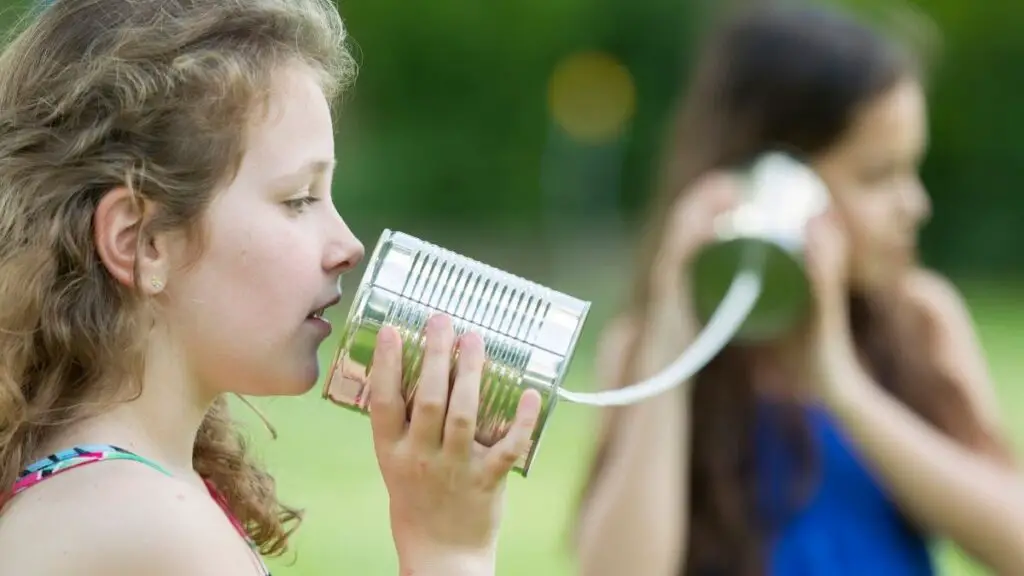
You’ll need:
- 2 Empty Cans
- A piece of string or wire
- Hammer
- Nail
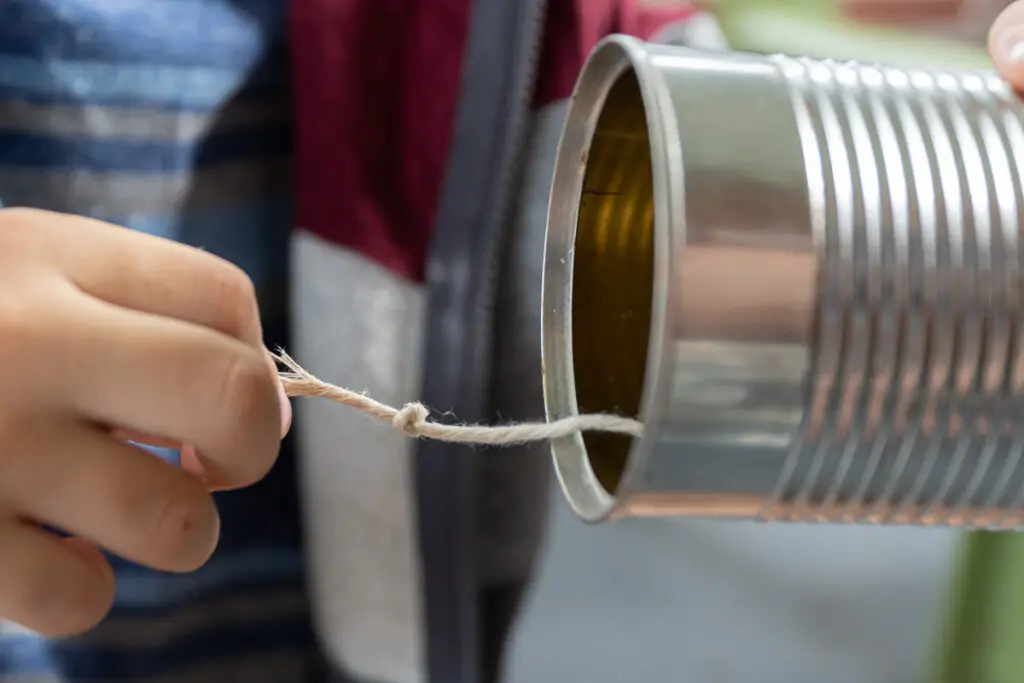
- Punch a hole in the bottom of each can using a hammer and a nail.
- Thread string or wire through the bottom holes so that it connects the two cans. Tie a knot in the end of the string so it does not slip back through the hole.
- There should be a few feet or meters of wire or string between the two cans.
- Pull the string tight so there isn’t any slack
- Once person can talk into a can while the other hold their can to their ear to listen. You can use these cans as telephones.
Alter the experiment by using different strings, wires, and different size cans and see how it changes the sound, clarity, or volume.
We also did this with plastic cups, so make sure to test this one out yourself (and check out the other activities and experiments too!)
A Tin Can Drum
Making a drum from a can is a quick and easy science activity. Drums use sound vibrations amplified by a container to produce sounds.
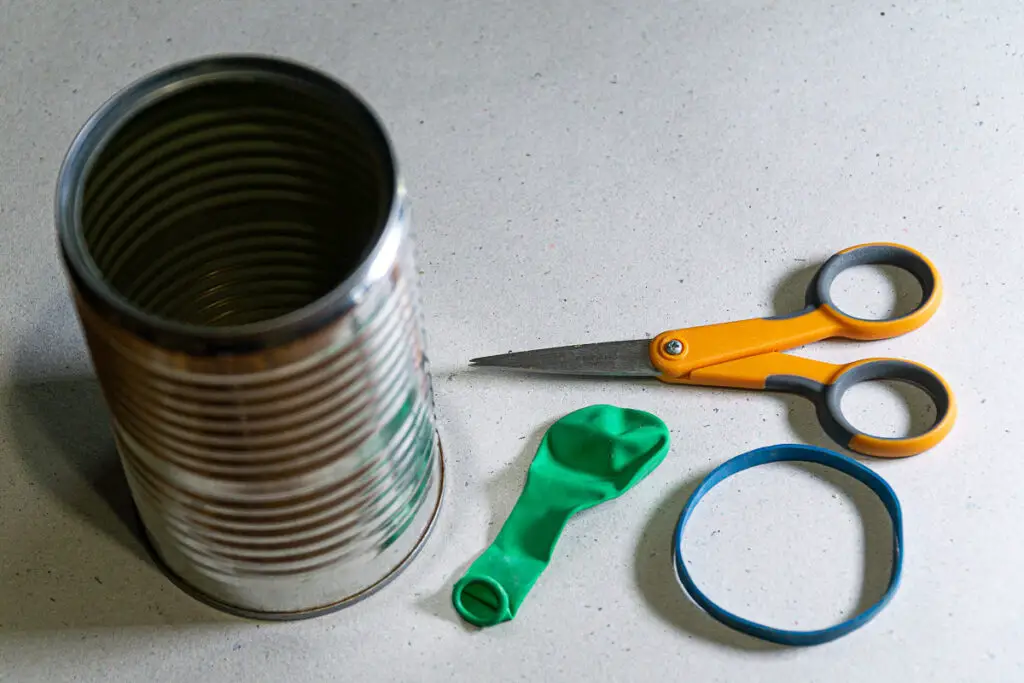

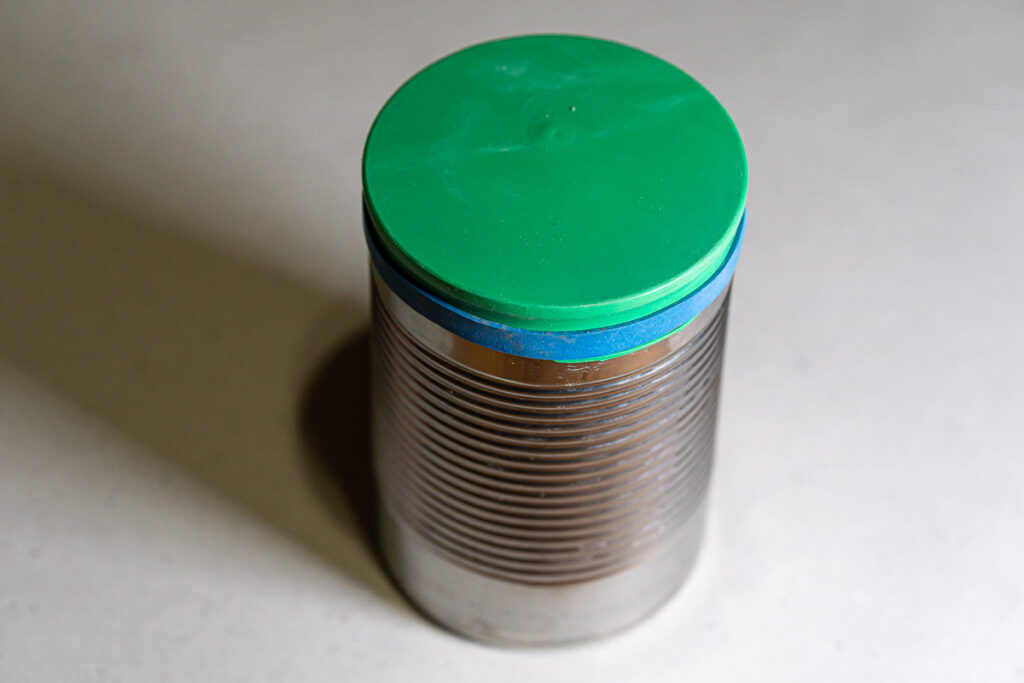
You just need an empty can and a balloon.
- For this task, you will need a tin can – or several if you wish to make more than one drum.
- Cut off the balloon neck and stretch the remaining part over the open end of a clean can to make a drum head.
- Hold it in place with a rubber band
- Have your kid(s) practice their drumming.
If you have a coffee can, you can simply use the plastic lid that came with the can. How does this sound different than a balloon stretched over the can?
You can experiment with different implements to strike the drum and notice the effect on the sound.
You can vary the activity by changing the size of the tin can and using two or more balloons stretched over the tin can.
This is a great demonstration of how vibrations are created when they strike the stretched balloon. This is translated to the air in the tin can and amplified as the waves connect with the side of the can.
Use Tin Cans To Make Wind Chimes
This activity works best if a variety of different-sized cans are used to produce different pitches.
- Open the cans on one end and ensure they are clean.
- Paint of decorate the cans if so desired.
- Make a hole in the closed end of the can using a hammer and nail.
- Use string or fishing line to attach the cans to a clothes hanger or piece of wood.
- The cans may be hung at the same height or at different heights. Alternatively, the tin cans may be hung partially inside each other to produce a more complex chime.
- Experiment with different placements of the cans
- Hang your chimes in the wind and listen to the sounds.
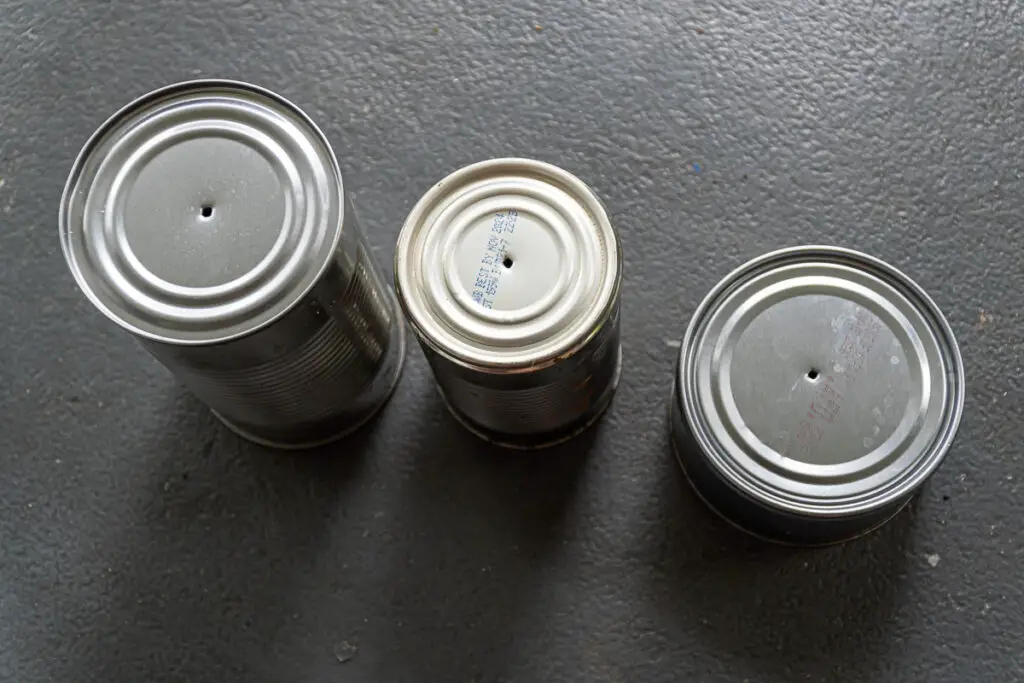
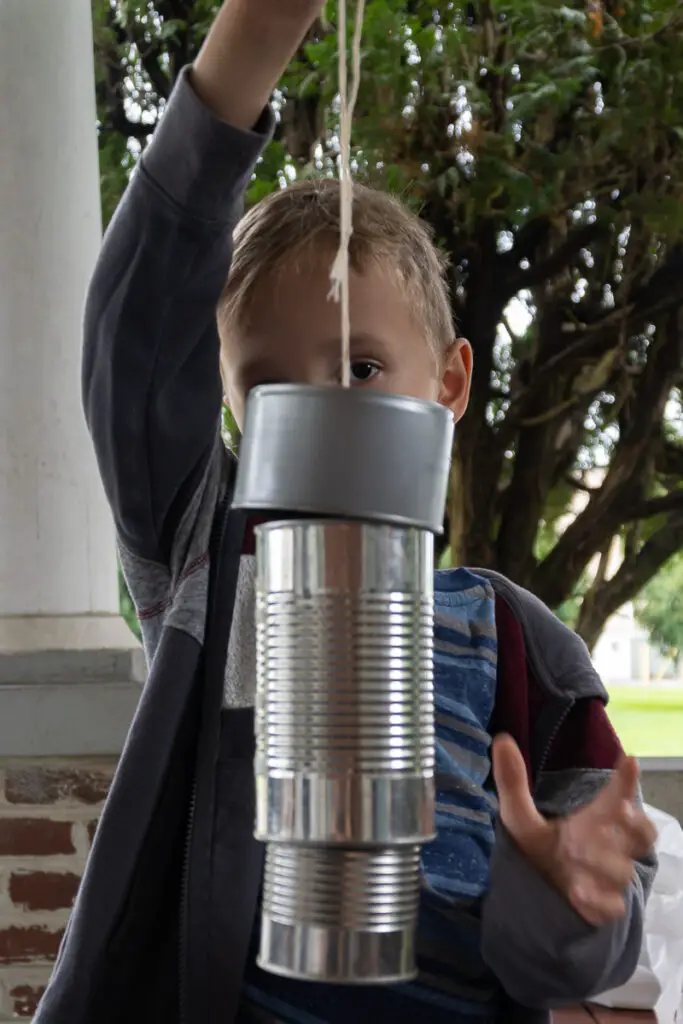
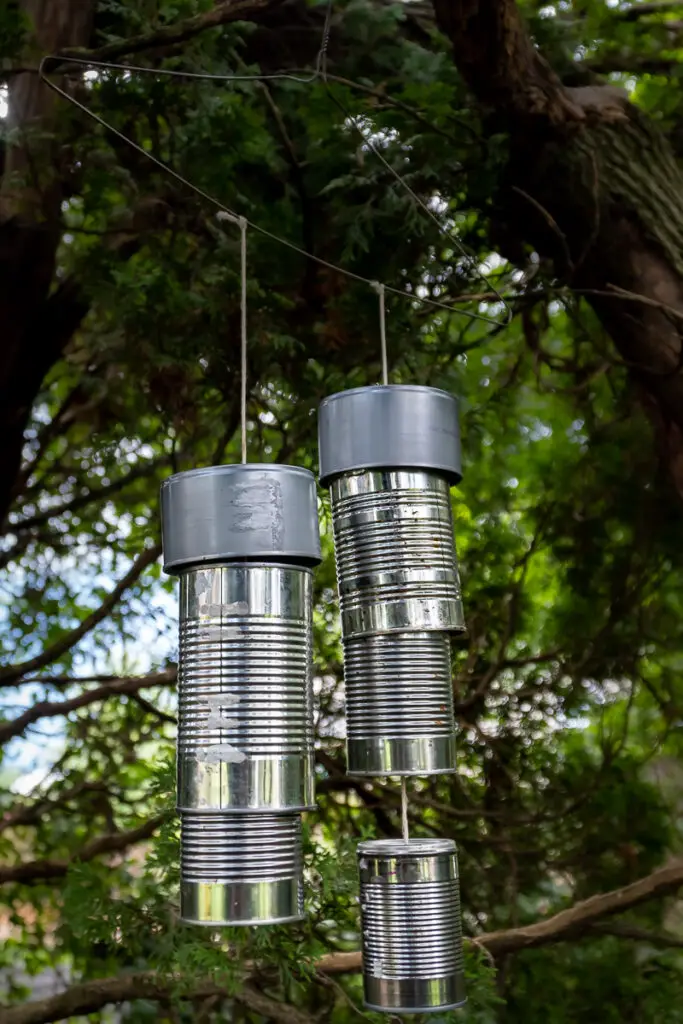
Different cans will produce different sounds. Cans made from different materials may be included in this project to give different sounds.
Size also affects the sound a can will produce. What do you notice about the sound of smaller vs larger cans? Why do you suppose that is?
These may not be the most melodious of wind chimes, but the kids enjoyed making them, and they love hearing the cans clank together in the breeze.
A Tin Can Guitar
The best tin can for this activity is the largest one you can find. Larger coffee cans or biscuit tins would work best for this activity.
Building a guitar is a project best suited for older kids who can safely use tools, or with adults assisting with most of the build.
- Open up the end of the tin can using metal snippers.
- Insert a wooden plank of the length of your choosing.
- Attach the wood to the tin can using nails.
- Make holes on the flat part of the wood at one end for the tuning screws.
- Insert screws into the holes.
- Wind string, wire, or guitar strings around the tuning screws and attach them to a small horizontal piece of wood on the tin can at the furthest end.
- Play and enjoy.
Check out this video for a full build being done with an old oil can:
If you like the idea of building a working guitar, check out this fully functional electric guitar made from a biscuit tin, complete with video of the guitar being played onstage.
Rubber Band Can Guitar
Want to make an instrument without punching all the holes and nailing boards? You can also use a simple round can and some rubber bands to make a simple instrument for younger students.
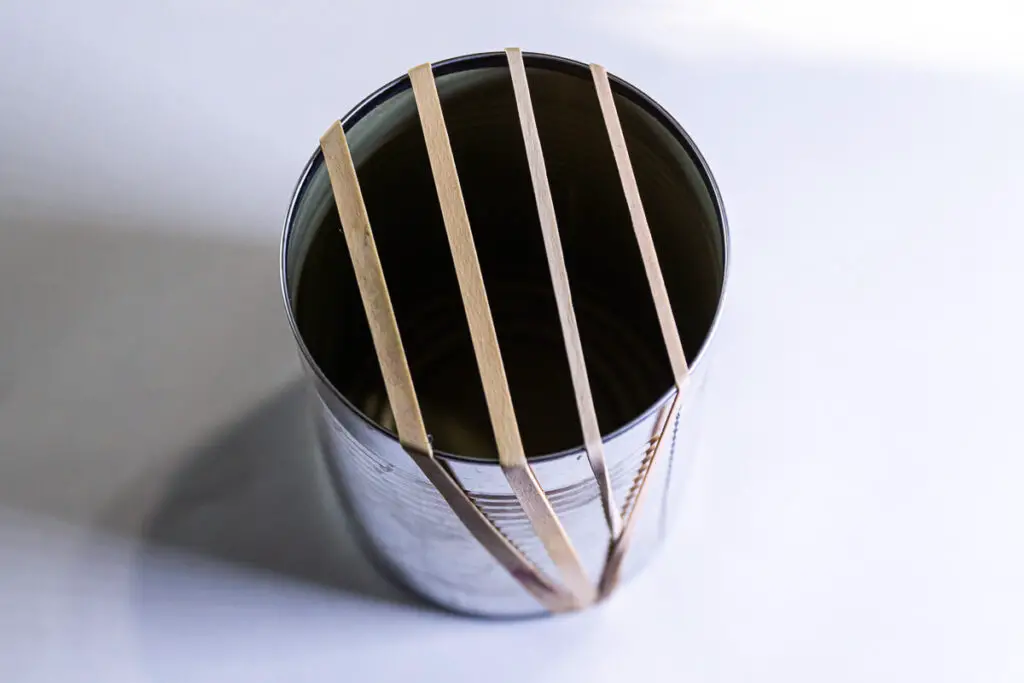
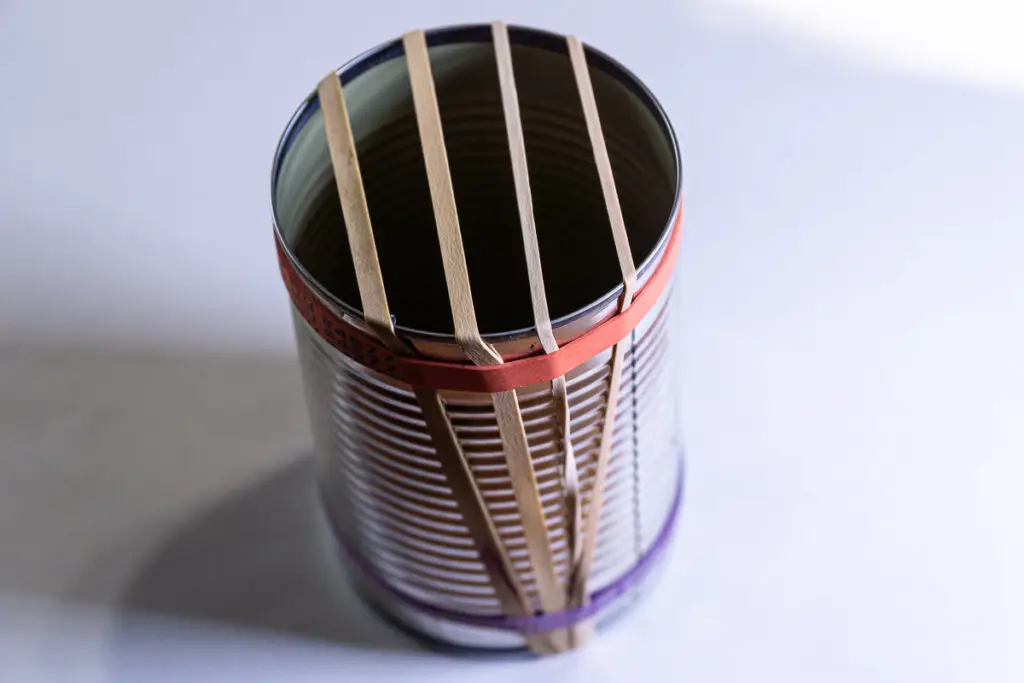
- Stretch 3 or 4 rubber bands around the can top to bottom, and space them evenly across the opening.
- Stretch another rubber band around the bottom and top of the can to help secure the other bands in place.
- Pluck the rubber bands over the opening.
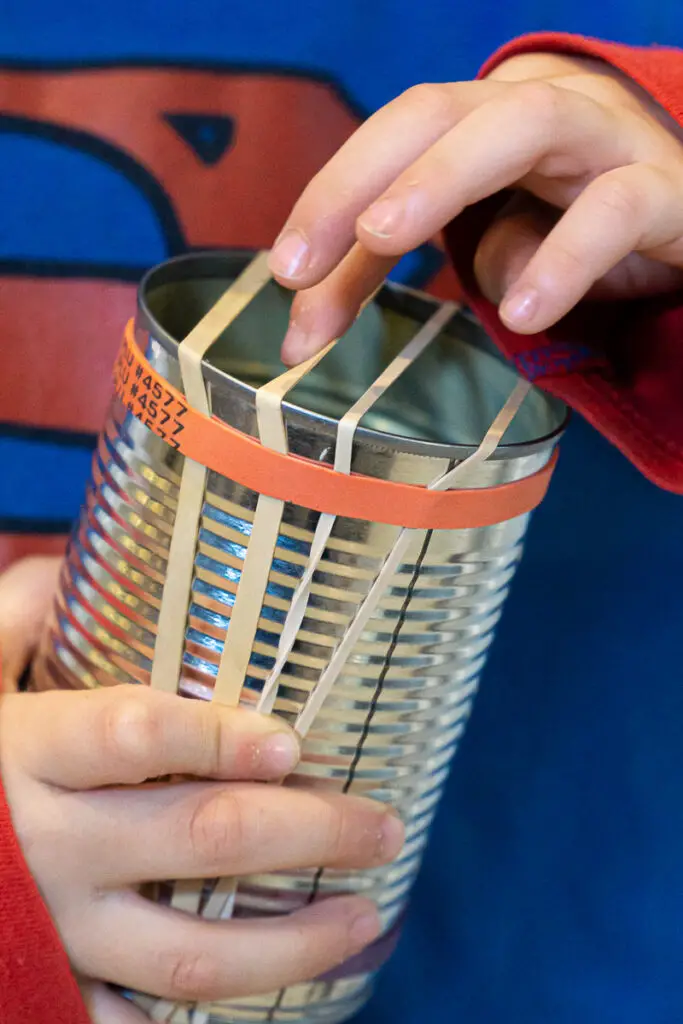
The can acts as a resonating body when the “strings” are plucked. It’s not very musical, but is quick and easy for little kids, and our kids loved it because they made it themselves.
Teach Chemistry With Tin Cans by Making Home Made Ice Cream
Tin cans are helpful in teaching chemistry from rust development to ice cream making.
You can produce ice cream by using two tin cans with lids that fit inside each other and a few simple ingredients.
You’ll need:
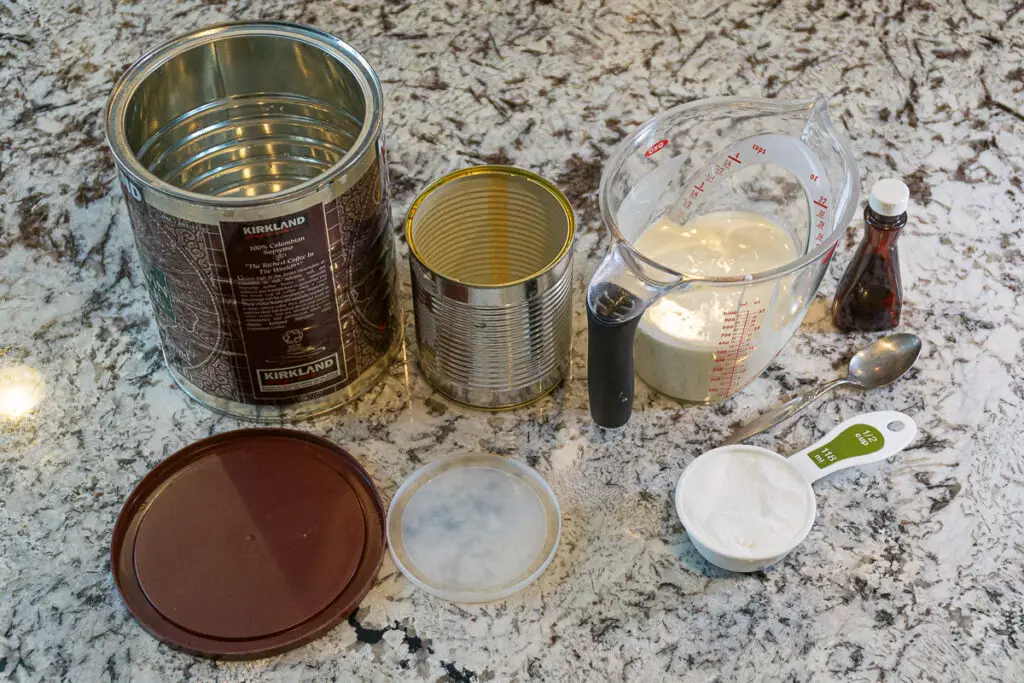
- 2 Cans, one must fully fit inside of the other and have extra space.
- Lids for your cans
- Heavy Cream (2 cups)
- Sugar (1/2 cup)
- Vanilla Extract (1 teaspoon)
- Rock Salt or Coarse Salt (You can actually buy salt designed specifically for making ice cream)
- Ice
- Place the ingredients for the ice cream (cream, sugar, vanilla) inside the smaller can and seal it shut. Make sure the lid or seal is tight. You don’t want it to leak – and you don’t want the salt we’ll use in the next steps to get inside.
- Place a layer of rock salt along the bottom of the larger can, and add some ice cubes.
- Place the sealed smaller can inside the larger can
- Layer rock salt and ice in the space between the two cans. If you have a thermometer, take a temperature reading.
- Shake, roll, or kick the cans around.
- Shake it some more
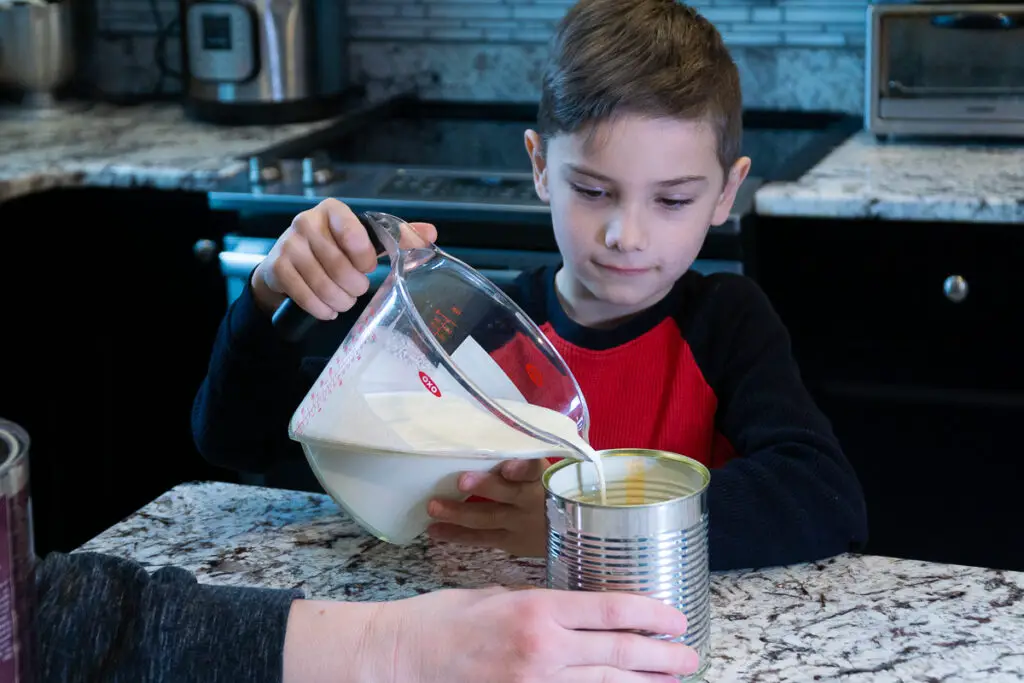
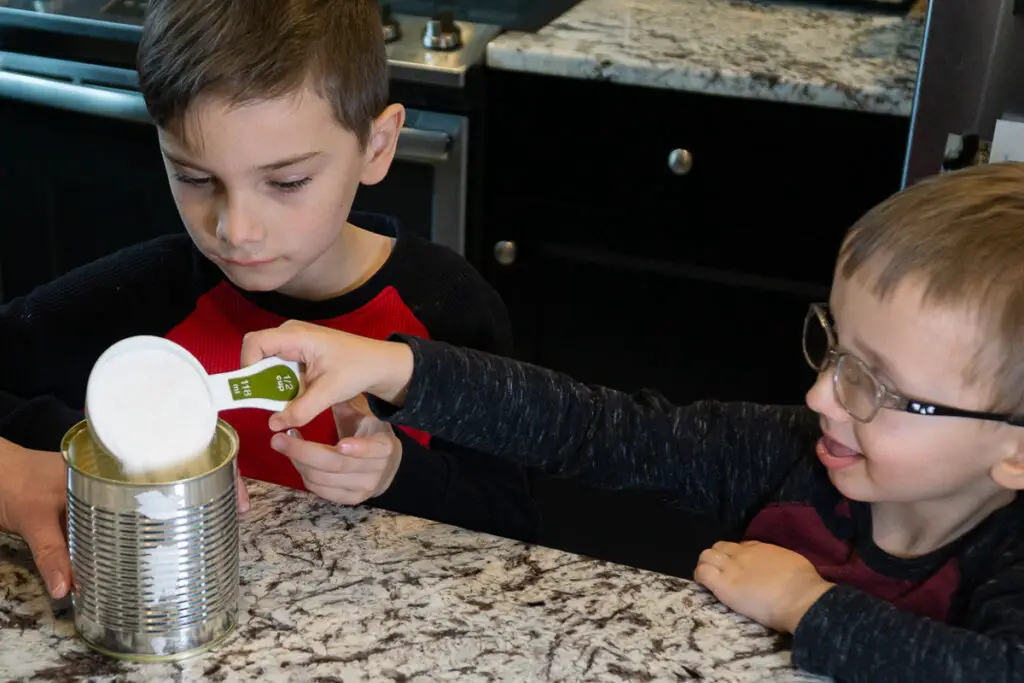

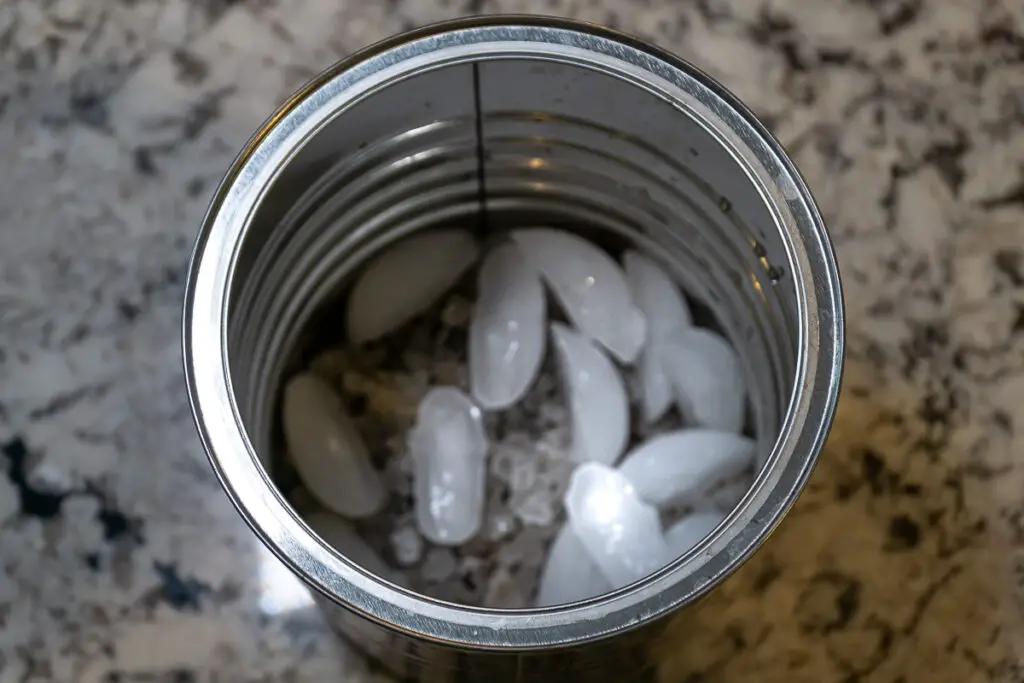
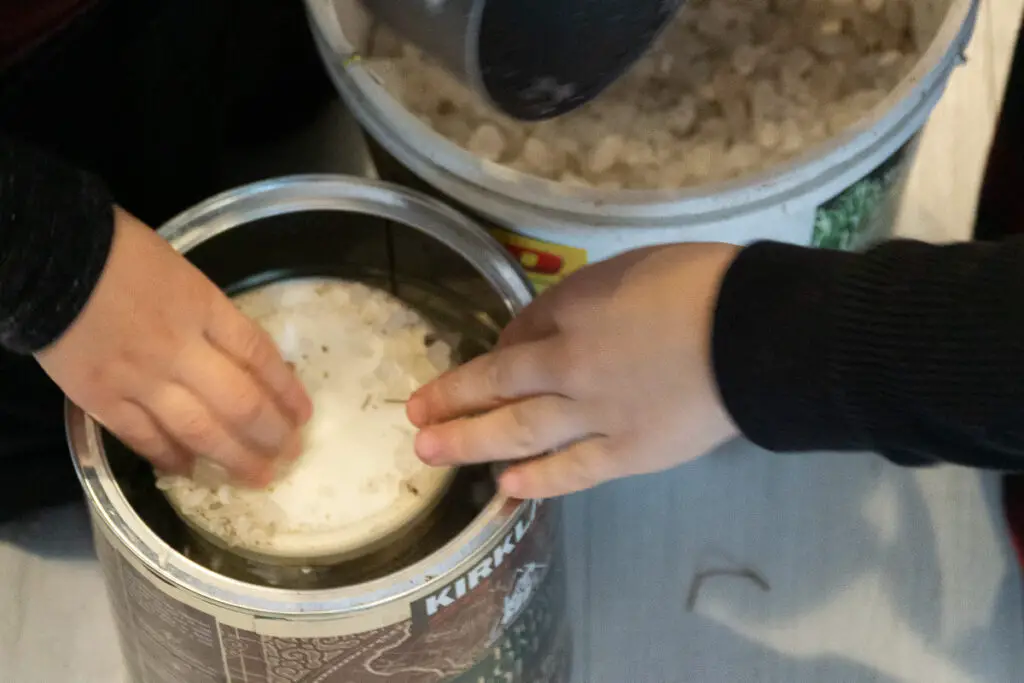

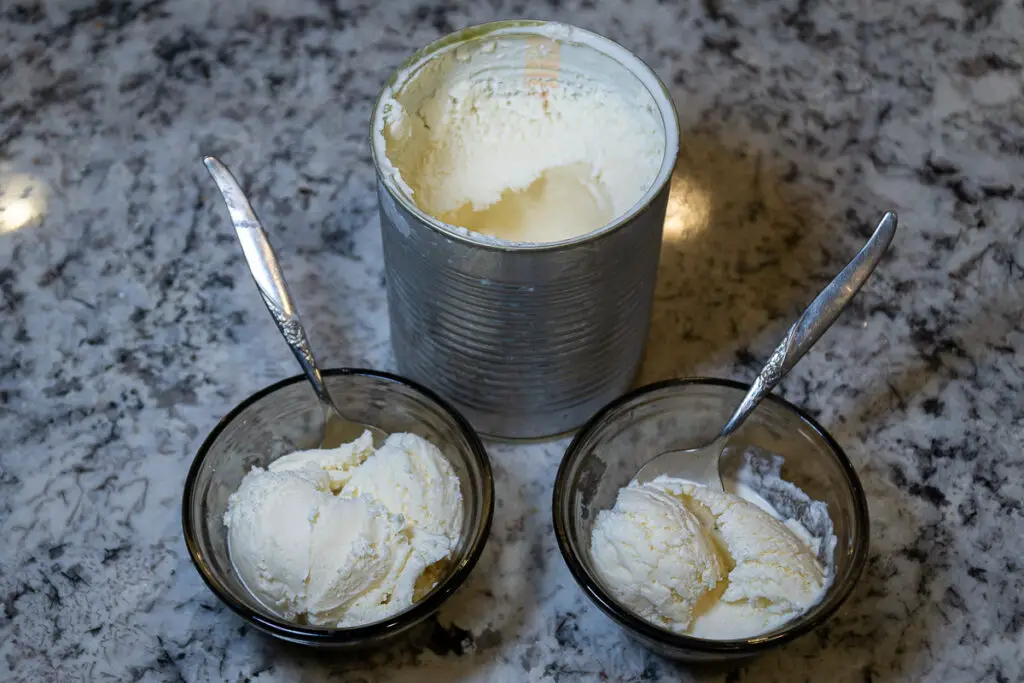
You’ll want to check your can after about 15 minutes of shaking and rolling. Take a temperature and compare it with your initial reading. It should be colder than it was before and you should feel the can getting cold. The metal can get quite cold to the touch; your kids may want to put some gloves on! You can check our temperature chart below and see how quickly it dropped below freezing.
If your ice cream is more soupy than creamy, seal it back up with some fresh ice and shake it some more. (Seriously, it takes some shaking and mixing – there are “Ice cream balls” made specifically for this purpose.) Our kids had a blast taking turns shaking the can and rolling it across the floor to each other.
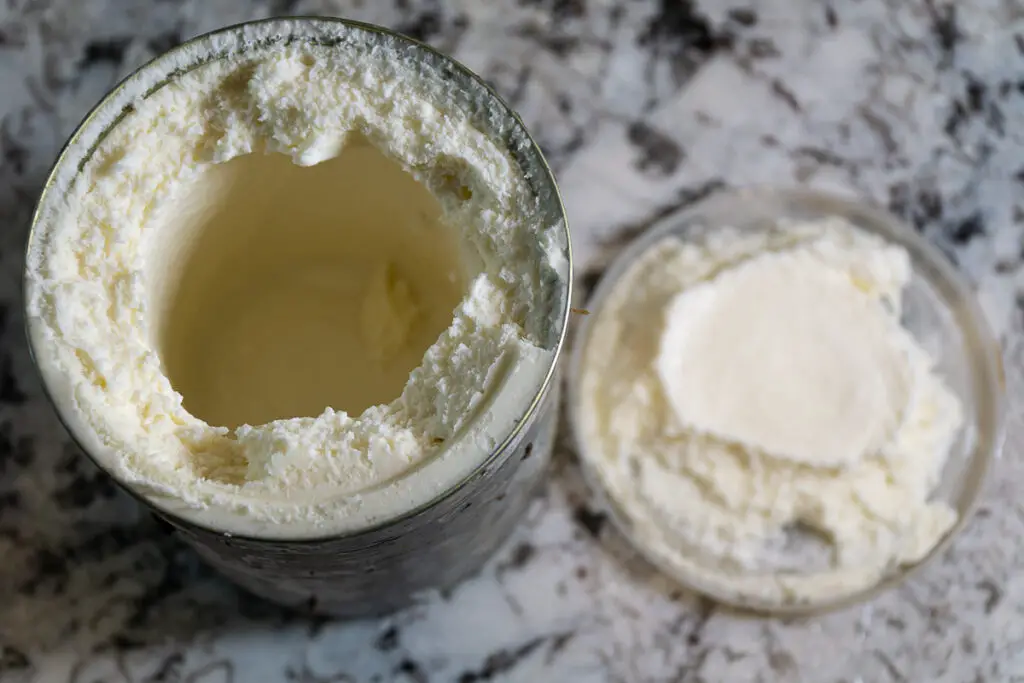
The end result will be delicious home made ice cream, that the kids can enjoy knowing they made it themselves. It tastes fresh, and you know there aren’t any artificial ingredients in it!
Our batch took about 45 minutes of shaking, spinning, and rolling. We took temperature readings and added more ice and salt as needed. Here are the temperatures we recorded:
| Time | Outside Can Temperature (F) | Inside Can Temperature (F) |
| Begin | 53.4 | 11.9 |
| 8 minutes | 36.5 | 7.7 |
| 15 minutes | 33 | 5.6 |
| 20 minutes | 25 | 5.8 |
| 30 minutes | 27 | -0.2 |
| 45 minutes | 29 | -2.9 |
What’s happening? If the ambient temperature is higher than the freezing point of the ice, the ice will naturally melt and change state from a solid to a liquid. It is absorbing energy to melt. When our salt mixes with the ice (and the hydrogen and oxygen it’s made of) it lowers the freezing point. The ice now needs more energy to melt. This is what makes the ice colder, as you may have noticed from your temperature readings. The shaking is mixing the ingredients and freezing the cream, as well as agitating the ice and salt (and adding energy.)
You can experiment with different colors and flavorings. For example, what would happen if you used some blue coloring and peppermint extract?
Related Post: For more food activities, check out our post on Cooking and Kitchen Science
Teach About Light Rays Using Tin Cans
Tin cans can be used to teach about the nature of light rays.
Tin Can Lights
- Use a tin can with the open end up.
- Punch holes in the sides of the can or cut out shapes. Be careful of any sharp edges.
- Place a tea-light candle or LED light inside. For older kids, you can create and additional STEM challenge and have them construct an electrical circuit using a battery and LED bulb to light up the can.
- Turn out the lights or take your tin can light into a dark area
The light will shine through the holes and shapes. Note the paths and angles where the light shines in relation to the light source inside the can.
This project works well for Halloween activities or creating a starfield or night light.
Technology And Engineering Projects With Tin Cans
There are a wide variety of building projects that can be completed using tin cans. Our kids enjoyed doing these:
Building with Cans

Construct towers, pyramids, forts, or castles, using tin cans.
Set challenges to make each build more interesting. Who can build the tallest tower?
Make some blueprint drawings and plan out your structure as an architect would. Can you build your tower or castle by following the blueprints?
Tin Can Stilts
This simple project is less of a science project and more of a fun activity using cans. You’ll need two tin cans big enough to stand on (large coffee cans work well for this.) You’ll also need a hammer and nail or an awl to punch the holes:
- First, let the Kids design and decorate their cans using paints, gluing pieces construction paper, etc. to make their stilts unique.
- Punch a hole on two opposite sides of each can at the open end, which will form the bottom of the stilts.
- Attach a piece of string or rope that runs through each hole. The rope must be long enough for the kids to hold it while walking to keep the stilts under their feet.
Place the open end of the cans face down and about shoulder width apart. The kids can stand on the cans and pull up on the strings so the upward pressure holds the cans against their feet and they can walk.
Make some observations: What kinds of tracks do you make walking on the cans (either outside or on carpet.) Why are the tracks shaped that way? Is it easier to walk on taller cans, wider cans, or shorter cans?
Wrap Up – Kids Activities with Tin Cans
Tin cans are incredibly useful for STEM activities. They come in various sizes and are sturdy. It’s great to get a bit more life out of something we’d normally discard or recycle, and a bonus to learn some lessons while doing so.
Empty tins or aluminum cans make a great addition to any crafting station or makerspace! Make sure you’ve got everything you need to make your own STEM makerspace!
More Fun Activities
Looking for more fun activities? Sign up for access to our free printable library for some awesome activities for home, home school, or classroom:

