
Sound is all around us, traveling in invisible waves. Since we can’t see it, we often take sound for granted.
Today we’re doing some science experiments with sound. We’ll have some fun learning how sounds waves vibrate, how we can affect the vibrations, and how this affects what we hear. Listen up & let’s explore!

Jump to your favorite science experiment with sound:
Sound Vibrations on a Flat Surface
Drinking Glass Bells
Cup and String Phone
Big Box Bass
Sound Tubes
Stretched Strings
Pipe Organ with Cardboard Tubes
Soundproofing
Sound Vibrations on a Flat Surface
Here’s an easy science activity with sound we can do using items you most likely have in your kitchen. We’re going to see how sound waves cause vibrations and the affect this has on objects. You’ll need a few household items:
- A bowl
- Plastic wrap
- A rubber band
- Salt, Sugar, or dry rice
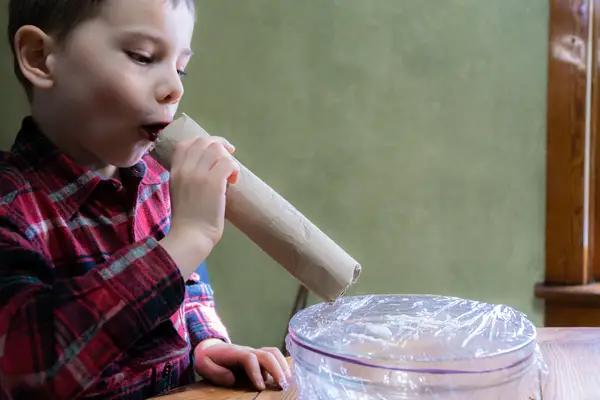
- Stretch some plastic wrap over a bowl. Pull it tight.
- Secure the plastic with rubber bands
- Sprinkle some salt on the plastic (or sugar or rice)
- Make some noise!
- Observe
What’s Happening?
Even though you cannot see the sound waves, you can see their effect. The salt should bounce along the top of the plastic in response to sound. The louder the sound, the bigger the bounce.
The plastic acts in much the same way as your eardrum. When sound waves hit your eardrum, they cause it to vibrate. In the case of your eardrum, it’s sending those vibrational signals to your brain instead of bouncing grains of salt like we have on our plastic. We found watching the rice move easier than the salt or sugar.
Experiment with different sounds and volumes and note how the salt moves in relation to the sound.
We found putting a bluetooth speaker inside the bowl before covering the top with plastic wrap helped a bit. Play something with a thumpy bass line and watch you grains dance across the plastic.
Drinking Glass Bells
- Drinking Glasses.
- Water
- A spoon (or chop sticks)
- Food Coloring (optional)
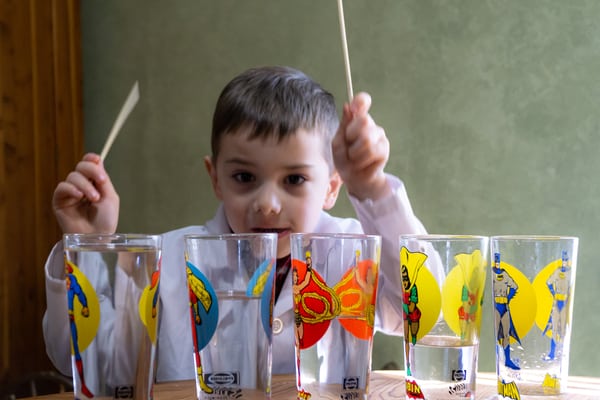
We can use drinking glasses to make a scale and play music (or just make some noise!) There are 8 tones in a major (or minor) scale, so we can shoot for 8 glasses.
Depending on the size of your glasses, we may need to mix and match different size glasses to find the range of a whole octave. There are a number of factors that affect the tone and pitch, like the size and thickness of the glass. If you don’t have enough glasses on hand, that’s fine; don’t let that stop you. Musicians have written songs and made entire careers of just a few notes! use what you have and make some music.

- Line the glasses up in a row.
- The one on the far right mostly full with water.
- Moving to the left, fill the remaining glasses with decreasing amounts of water.
- Tap each glass lightly with a spoon and listen to the tones.
- By adding water or dumping some out of each glass, you can “tune” your glasses. You can use a free app (like Pitchlab on Android or IOS) to help you find the notes and tune.
- For more fun, add a few drops of different food coloring for a rainbow water xylophone.
Notice how the amount of water in each glass affects the pitch. Less water makes a lower pitch, while more water creates a higher pitch. Why do you think that is?
If you have chopsticks, you can try using them like drumsticks to play your glasses.
Try wetting your finger and gently circling it around the rim of a glass. This works best with thinner glassware like wine glasses.
You can do a similar experiment with bottles filled with different amounts of water. If you blow across the top of the bottle, it will produce different pitched noted depending on how much water is in each bottle.
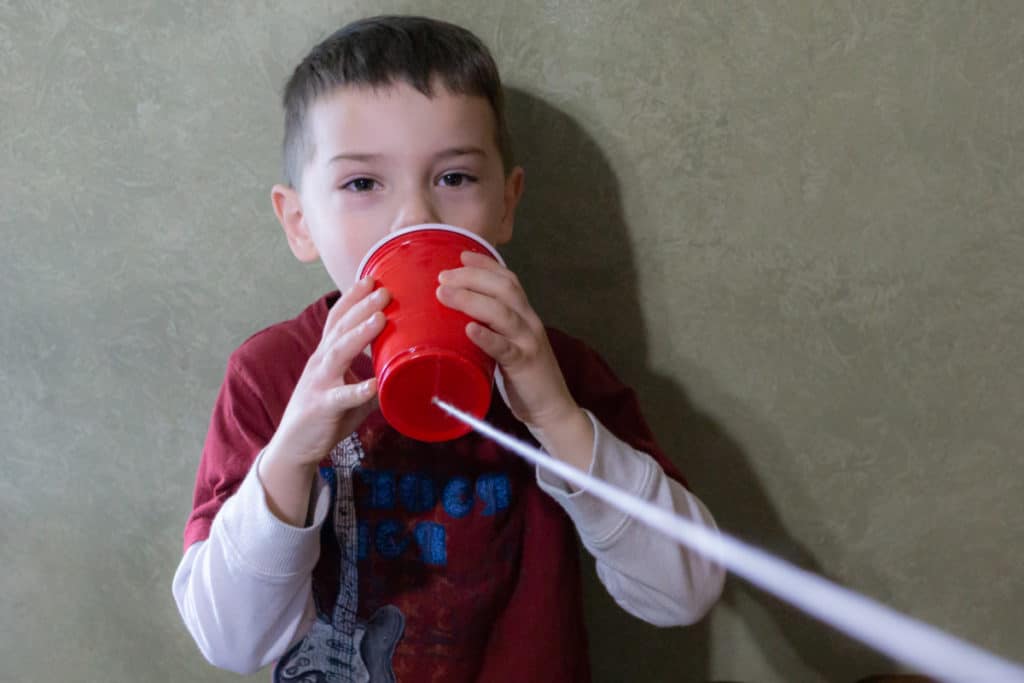
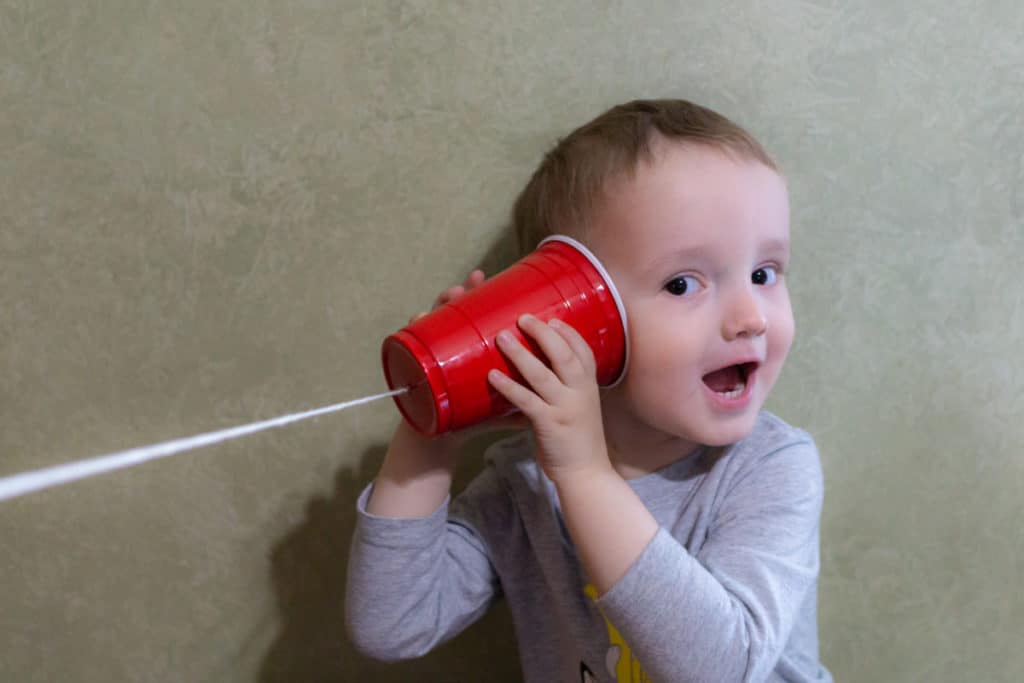
Cup and String Phone
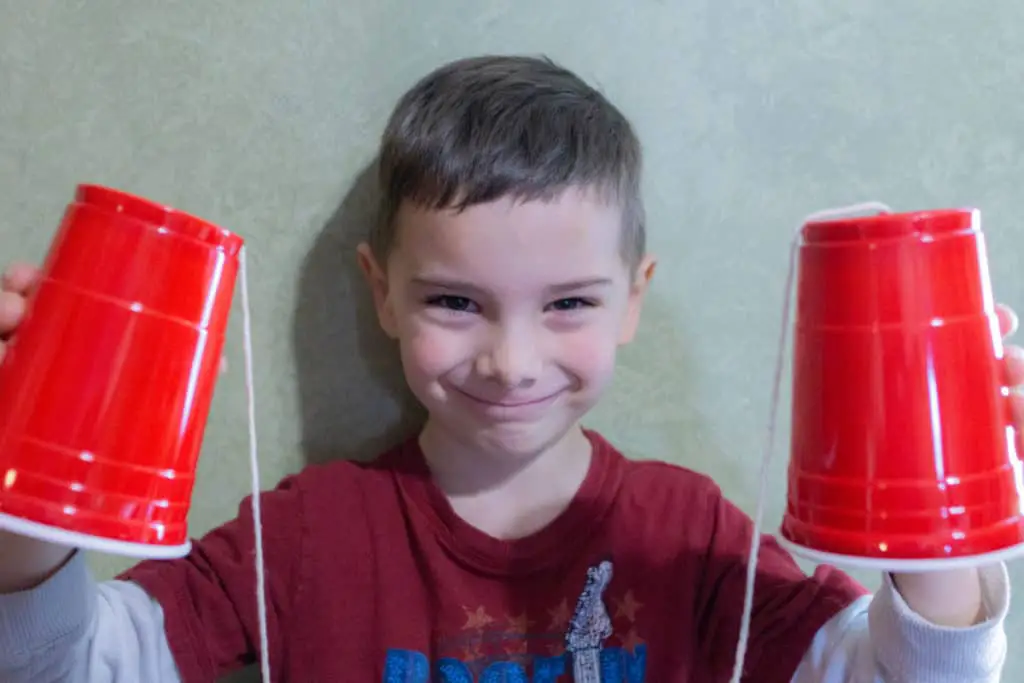
This is a classic, and can be done with plastic cups or tin cans. It’s a great way to experiment with how sound vibrations can travel. We had some plastic cups, which are easier to punch holes in, so this is what we used. Here’s what you’ll need:
- 2 plastic cups
- A piece of string
- A pencil or scissors
- A friend

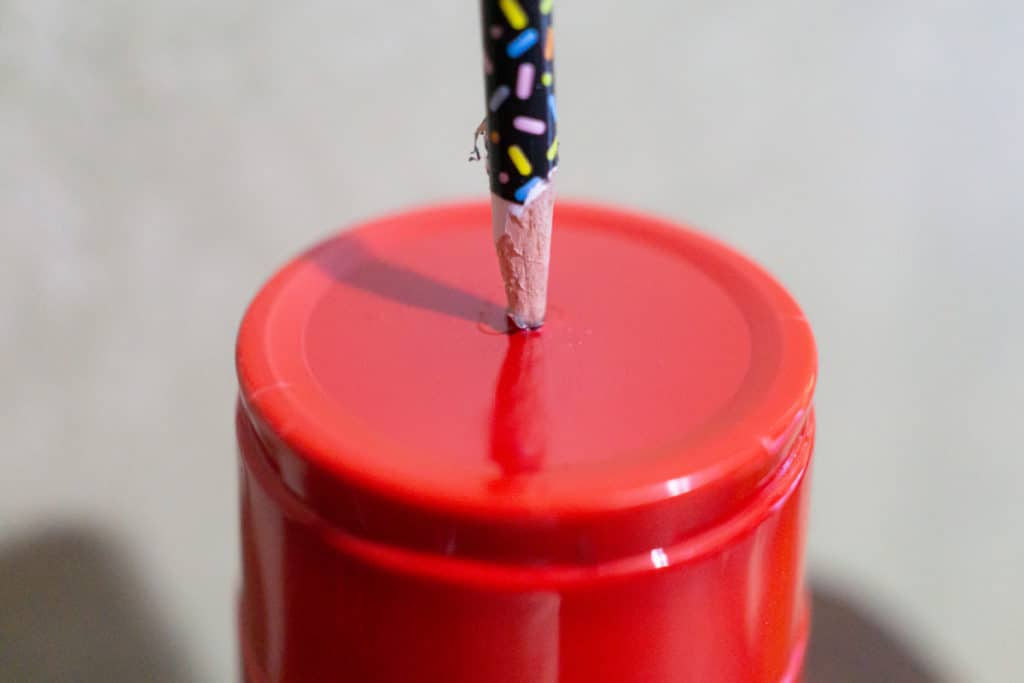

- Use the pencil or scissors to poke a small hole in the bottom of both cups, just enough to fit the string through
- Thread the string through the holes
- Tie knots in the ends of the string so that it does not fall back through the holes
- Give one cup to your friend and hold the other. Pull the cups so the string is tight.
- Have your friend put their cup to their ear and talk into your cup. Now listen as your friend talks back
What’s Happening?
Your voice, like any sound, travels through the air in waves. When you talk into the cup, the sound waves from your voice cause the cup to vibrate. These vibrations are carried along the tight string and into the other cup.
What happens if the string isn’t tight? The sound doesn’t travel nearly as well. Why do you suppose this is?
Related Posts: Check out our full posts on plastic cup projects and activities with household objects for some fun things to do with items you probably already have around the house. Great no-prep ideas for you and your child!
Big Box Bass
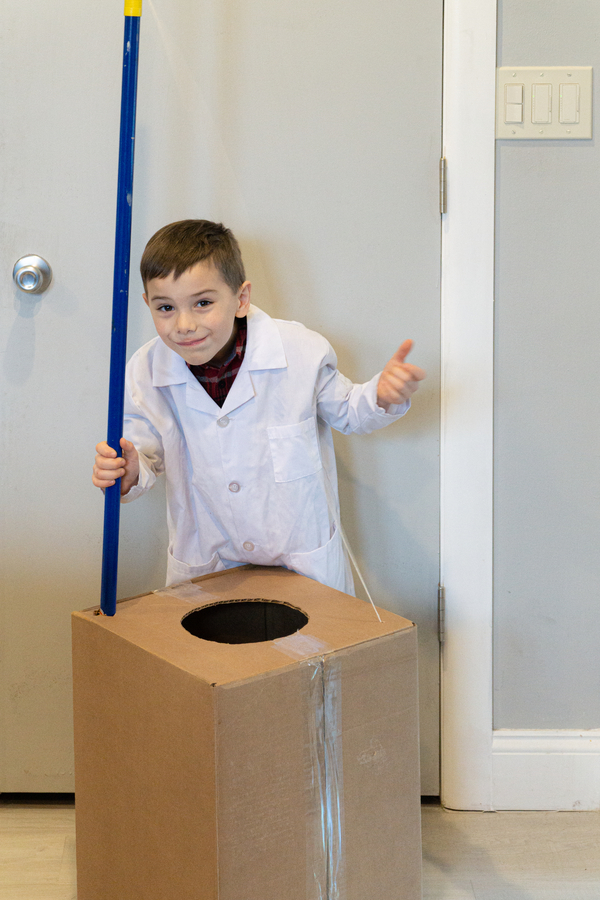
The washtub bass conjures images of old timey jug bands, with DIY home made instruments. Instead of putting a hole in a washtub, we’ll use a large box. The principles at work are the same as our other vibrating string experiments. To make your own Big Box Bass, you’ll need:
- Large cardboard box
- Broomstick
- String
- Thumbtack
- Scissors or utility knife
- Tape
- Popsicle or craft stick
- Paints or markers (optional for decorating your bass)
- Cut a hole on the top of the box, about 8-10 inches in diameter. This is the sound hole for our instrument.
- On the top of the box, poke a smaller hole or cut an “x” just large enough to fit the broomstick through
- Slide the broomstick through the hole and let it rest on the bottom of the box
- Attach one end of the string on the top of the broomstick, securing it in place with the thumbtack. Our broomstick had a convenient hole in it so we could just thread the string through and tie it.
- On the top of the box opposite of the broomstick, poke a small hole just big enough to fit the string through.
- Thread the sting through the hole and tie it around the popsicle stick, so that the stick prevents the string from going back through the top of the box
- Use the tape to seal the box.
- Pluck the string, and try moving the broomstick to adjust the tension on the string.
- Decorate or paint your box.
- Get Ready to Jam!

What’s Happening?
Plucking the string causes it to vibrate. The inside of the box is a resonating chamber, and the hold you cut in the top is a sound hole; much like an acoustic guitar. The tighter the string, the higher the pitch that will be produced. The more slack, the lower the pitch.
We found the box needed some weight inside the box to hold it down while playing it. Free weights, a few bricks, or whatever you can fit inside the sound hole should do the trick.
Push down a bit on the broomstick as you play so it is secure on the bottom. Make sure there is tension on the string as you pluck it. Try plucking it and shifting the broomstick so it’s looser or tighter to get some good twangs out of the string.
Practice your music skills and see if you can play a familiar tune.
Sound Tubes
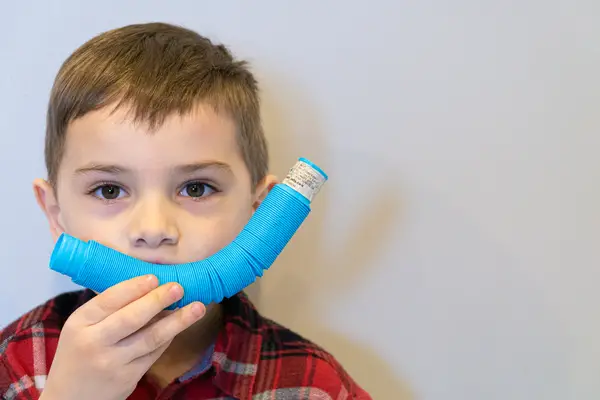
We got some of these “Pull and Pop” tubes for the kids to play with. They’re fun on their own, but we discovered a cool sound experiment playing with them. If you expand a tube all the way and swing it around in a circle, it makes a cool sound. The corrugated shape lends itself well to sound. These kids toys are also known as a whirly tube, corrugaphone, or bloogle resonator.
Our kids thought this was a fun activity, and science demonstrations don’t get much easier: Swing it slowly, and it makes a low pitch. Swing it faster and the pitch gets higher.
What’s Happening?
We’re hearing the difference in air pressure when swinging the tube. The end of the tube is swinging faster than the end being held, creating a relative increase in air pressure as the tube spins. This effect is known as Bernoulli’s principle. Bernoulli’s Principle tells us as the speed of air increases, the pressure decreases.
As the tube spins, the pressure lowers in the swinging end. The difference in pressure between the two ends of the tube causes air to travel through the tube from the end being held to the end that is swinging. The high pressure air in the fixed end travels through the tube to the low pressure area. The faster the tube spins, the greater the pressure. The air moves faster and increases the pitch.
Pro Tip: If you’re interested in these, get a larger pack. Our kids loved these so much they crinkled them to death, to the point where we couldn’t collapse some of them anymore. They’re great to play with, but will only survive so long.
Stretched Strings
Stringed instruments are capable of producing a wide range of pitches. We’re going to create a simple exercise with one string to experiment with how this concept works.
- A wooden board
- A Nail
- A Hammer
- A small bucket or container
- Rocks, stones or weights
- Nylon fishing line
- A popsicle stick or craft stick
- Using the hammer, drive the nail into the top of the board near one end
- Tie one end of the fishing line to the nail
- Cut the fishing line to approximately twice then length of your board
- Tie the other end of the fishing line around the handle of the bucket. With the board resting on a table, arrange it so the bucket hangs over the edge but does not touch the floor
- Place the popsicle stick on its edge on the side of the board opposite the nail, and position the string over it. The string should push down on the stick with the weight of the bucket holding it in place
- Pluck the string and note the pitch of the string
- Add some weight to the bucket, and pluck the string again
- Experiment with different weights
- Now experiment moving the popsicle stick and pluck the string
What’s Happening?
Adding weight to the bucket increases tension on the string. This makes the pitch higher, like tuning the string on a guitar, ukulele, violin, etc..
Moving the popsicle stick changes the length of the string that is vibrating. Notice how this affects the sound. Think about how this relates to our water glasses in the experiment above, where the amount of water in the glass changed the pitch.
The popsicle stick in this case is like the bridge on a guitar or violin. Adding or removing weight from the bucket is similar to adjusting the tuners. It changes the tension on the string which results in a change in pitch. More tension makes the pitch higher, and less tension gives a lower pitch. This simple principle is what makes stringed instruments work.
What do you think would happen if you tried a thicker fishing line or different string? How would it affect the sound?
Pipe Organ with Cardboard Tubes
We’ll be using a number of cardboard tubes to make a pipe organ. This is similar to an instrument used by Blue Man Group, which you can check out in this video:
Mailing tubes, or tubes from rolls of gift wrap work great. You can also use regular paper towel or toilet paper tubes.
- Cardboard Tubes/Paper Towel Tube
- Scissors
- A flip flop
- Rubber bands or tape
- Cut the tubes into various lengths, roughly 1 inch difference between the tubes
- Arrange the tube longest to shortest from left to right
- Make sure the tops of the tubes are level
- Use the flip flop to strike the top of each tube
If you want to get kick this sound activity up a notch, you can use PVC pipes cut to length instead of cardboard tubes.
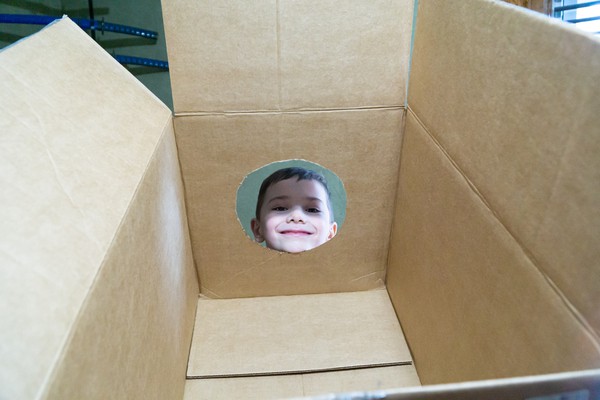
DIY Soundproofing
Now that we’ve looked at how sound travels in waves and made a bunch of noise, what about soundproofing? How can we dampen or quiet the sound? We’re going to experiment with some techniques that help diffuse the sound.
We’re going to look at two major factors: Materials and Shape. Have you ever noticed how some rooms or spaces echo sound and some do not? The surface materials have much to do with how sound waves travel within that space. Materials like tile or concrete reflect the sound, while softer materials like carpeting or foam absorb the sound.
Shape works similarly. Flat surfaces bounce the sound waves directly back, while irregular surfaces diffuse the sound by bouncing it back at different angles.
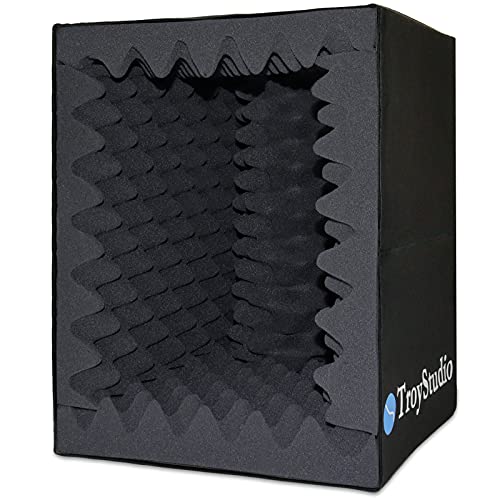
This is why bathrooms or stairwells seem to have echos, while recording studios tend to use foam tiles that look like egg crates. We’re going to use these principles to build a sound proof box, similar in theory to this:
To DIY something similar, you will need:

- Cardboard box
- Several Egg Cartons
- Towels or rags
- Tape or hot glue gun
- A radio, bluetooth speaker, or phone to make noise
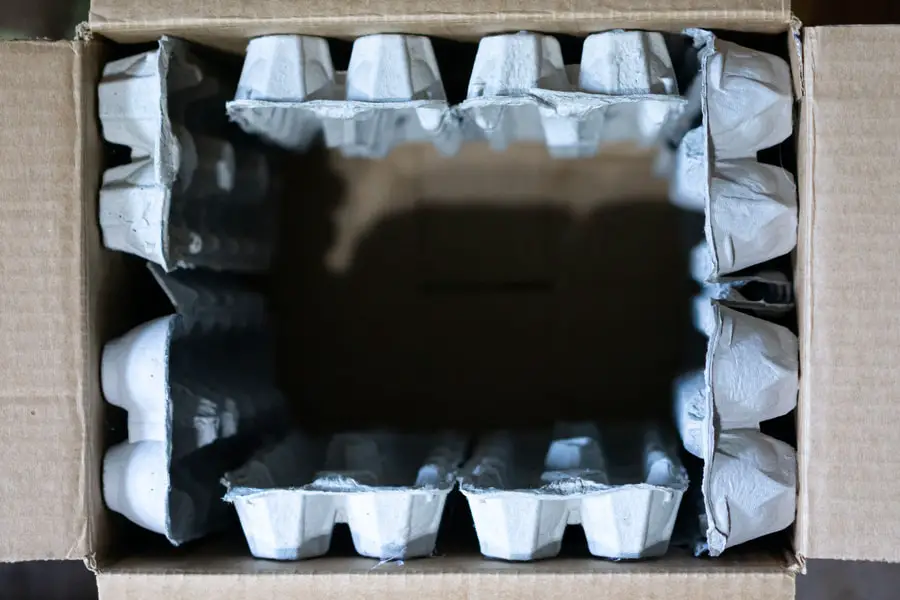
- Cut the egg cartons so you have the parts that the eggs rest in. You’ll need enough to line the entire inside of the box
- Use the tape or a hot glue gun to secure the cartons to the sides of the box, as well as the underside of the lid.
- You can fill in any gaps with the towels or rags.
- Place the radio or speaker inside of the box and turn it on so you can hear the noise
- Close the lid of the box
- Listen
How loud is the noise?
Can you hear it clearly, or is it muffled?
What’s Happening?
The sound is dampened by the egg carton and towels. The materials are soft, and absorb the sound instead of reflecting it. The surface of the egg carton is uneven and reflects the sound at a number of angles, weakening it.
Science Experiments with Sound – Wrap Up
We hope you enjoyed the science experiments with sound as much as we did. Sound surrounds us and moves through us. It’s not exactly “the Force” that binds the galaxy together, though we often take the effect sound has on us day to day for granted.
With some simple experiments for kids, we learned some of the principles that go into designing many musical instruments and had some fun playing (and making noise.) The kids liked how changing the length of a string or swinging a sound tube faster changed the sound. They also loved to learn that they were in control of it. The idea that their actions change what they hear is powerful.
I was surprised how big of a hit the Big Box Bass was, and how that lead to questions about my bass guitar. Once we did the Drinking Glass Bells every dinnertime has had a special performance.
Which sound experiment or activity was your favorite?
More Fun Activities
Looking for more fun activities? Sign up for access to our free printable library for some awesome activities for home, home school, or classroom:
Looking for more STEM Projects and Activities? Check out our other STEM Challenges.

