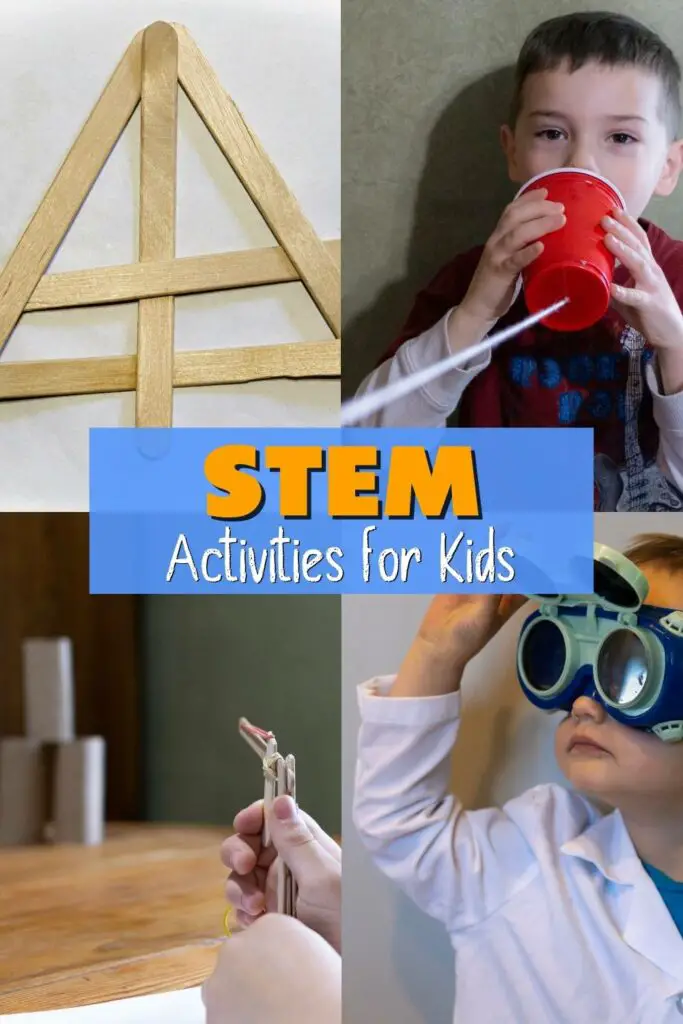
Learning doesn’t have to happen in a classroom. You can create awesome learning experiences in your home or homeschool! Here, the learning is most closely related to their everyday life, making it meaningful. We’ll share pointers to help you see endless opportunities for exploring STEM concepts on home turf.
The best STEM projects to do at home involve children’s everyday objects and hands-on experiences. In the home environment, children can apply science, technology, engineering, and mathematics concepts and principles in a relevant, familiar context, making the learning more effective.
While every experience is a chance to learn something, there are ways to increase the learning’s value. When selecting a home STEM project, keep the upcoming advice in mind to increase the chance your child will learn something that’s not only new but useful too!
Picking Home STEM Projects for Maximum Learning Potential
When planning STEM challenges to do at home, look for projects that have these characteristics:
Projects that support what your child is learning at school
Ask your child’s teacher what concepts the class is exploring, or chat to your child about STEM areas they find fascinating.
Aligning home projects with the school curriculum will give your child a chance to fully grasp the concepts they’re introduced to, as well as to delve into the details of particularly intriguing topics.
If you’re homeschooling, try and find topics in the curriculum you know will resonate with your child.
Selecting a topic your child is already interested in makes for a more engaging learning experience. They’re invested in the topic from the start.
Projects that are open-ended
Choose challenges that can be tackled differently and don’t have just one “correct” outcome.
Projects like these encourage creative problem-solving, boost self-esteem and confidence (because all approaches are the right approaches!) and suit different learning levels and ages.
Projects that encourage active learning
Children should observe, imagine, plan, experiment, create, test, make mistakes, and improve. Make it hands on, so kids are actively engaged.
A good STEM challenge supports learning through trial and error while doing real-life activities.
Projects using everyday objects
Pick projects that need only things you can find in your home. We have a whole post on STEM and science activities using household objects if you need more ideas and inspiration. For more ideas, we have posts for activities with paper, paper clips, popsicle sticks, or pipe cleaners to name a few.
Plus, for an extra engineering challenge, stretch your child’s creativity by encouraging them to think of substitute items for those specified. This is how engineers have come up with some of their greatest inventions!
Must-Try Home STEM Projects
Here are two projects to start your kid’s home STEM learning. They all have elements of the characteristics just mentioned – and make learning child’s play!
Build A Magnificent Marble Run
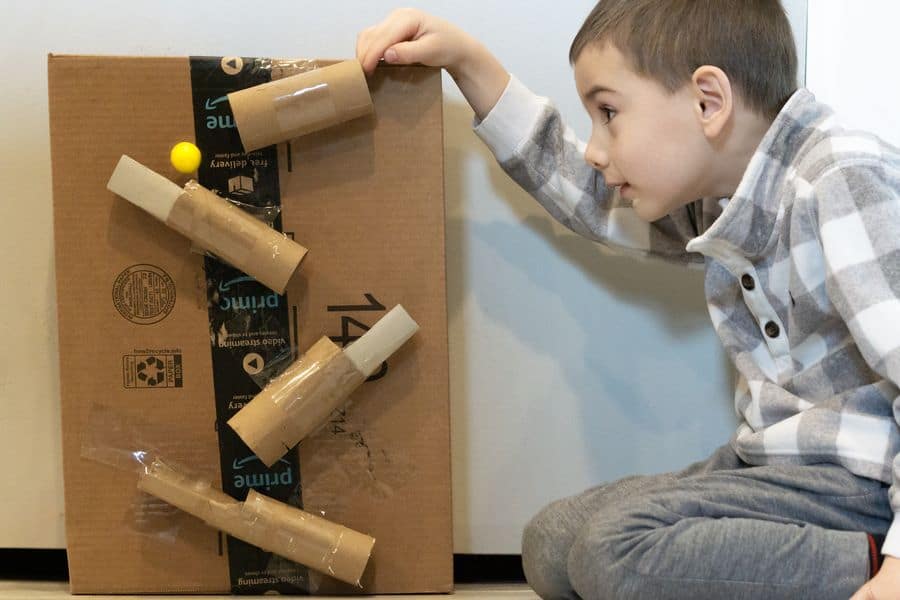
Transform an open wall into a marble adventure zone.
What You’ll Need
- Lots of cardboard tubes of different lengths and sizes (like toilet paper rolls and plastic wrap inners)
- Painter’s tape or masking tape
- Scissors
- Piece of paper and pencil
- Marbles (or small ball)
The Details
Scout out an empty section of a wall. Keeping in mind the space and materials you’ll be working with, draw a plan for your marble run, including where it will start, the route it will follow, and where it will end. If you don’t have any blank wall (or don’t want kids taping tubes to the wall), you can use a large piece of cardboard or cardboard box.
Ask yourself: Will I use the whole tubes or cut them in half vertically? Will my course zigzag from start to finish? Will it be all downhill or have flat and uphill sections too?
Start building your run, tube by tube (stick them to the wall – or cardboard – with long strips of tape). Once you’re happy with a section, test it by dropping a marble down. If the marble doesn’t make it through the section, try to figure out why not. Change the tubes’ positions until you get the marble rolling along smoothly.
Keep building, testing new sections as you go, until you’ve filled the wall with your incredible marble run.
Teaching Tips For Parents
If your child can’t figure out how to build a run that lets marbles roll from start to end, ask guiding questions to improve the tubes’ angles and connections.
Say a marble slows to a stop in a long, flat section, for example. Ask how its speed could be boosted before entering the flat section (by giving it a downhill first). Or if a marble jumps off the track, could too many slopes be making it too speedy?
For an extra challenge, ask your child if they can find a way to add a loop to their run (let them look for materials around the house).
Watch the marble rolling through the run and chat about what you notice. What happens when it moves from one tube to the next, changes directions, and goes through downhill, flat and uphill sections?
The STEM Link
This project helps improve spatial reasoning, practices engineering basics, and explores science concepts like momentum, velocity, and potential and kinetic energy.
Related Post: Check out more activities using cardboard tubes in our post on STEM Activities with Toilet Paper Tubes
Mastermind The Ultimate Parachute For Your Toy
Figure out the best design and materials for a parachute to carry your falling toy to safety.
What You’ll Need
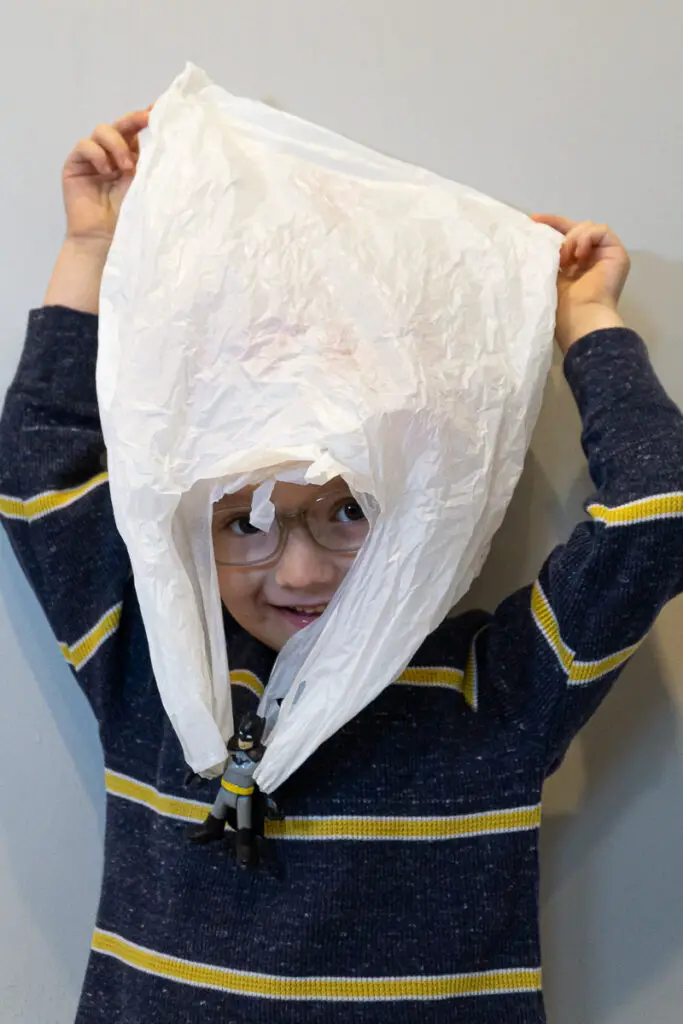
- Materials for the parachute’s canopy, like different kinds of fabric, tissue paper, a plastic bag, newspaper, and napkins (encourage your child to scavenge around the house for materials they think would work well)
- Cord for the parachute’s strings, like thread, string, and rope (again, ask your child for suggestions)
- Scissors, ruler, markers, tape, hole puncher
- A small toy that won’t break when dropped (repeatedly!) on the ground
- A stopwatch, pen, and piece of paper
The Details
One person drops a toy from a height of about 10 feet (from an open staircase, second-floor window, or balcony, for example) while someone else times how long it takes for the toy to reach the ground. Can’t find a second story or balcony? Try dropping the toy while standing on a table. Record the time taken.
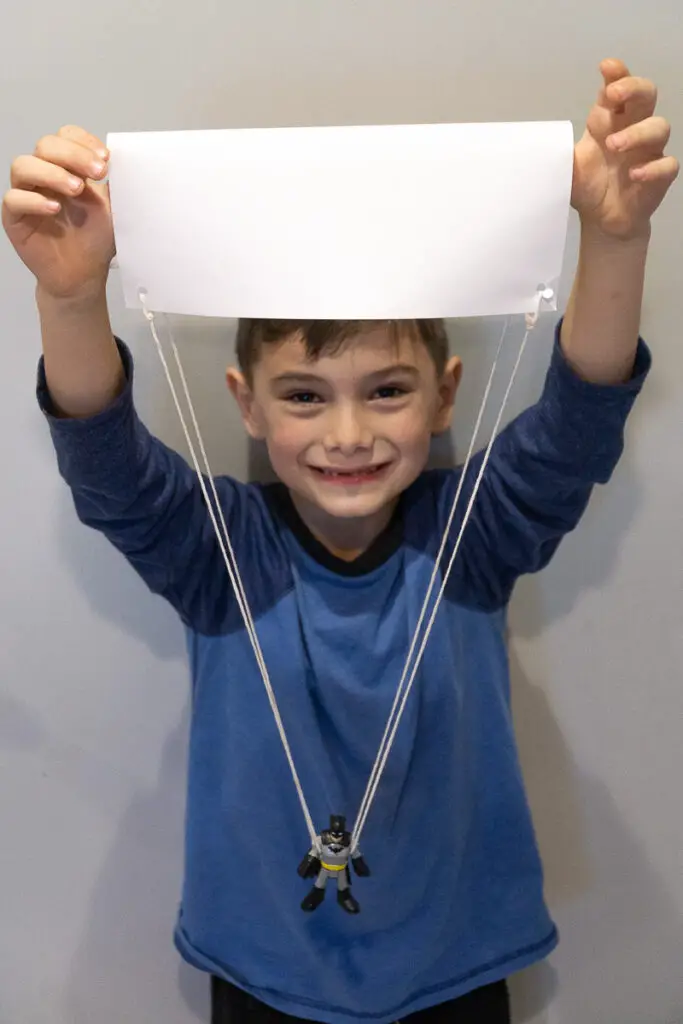
Now plan and make a parachute to slow down the toy’s fall and give it a softer landing. Consider which materials, size, shape, and length might work best for the canopy and its strings.
Attach the parachute to the toy and drop it again, from the same height. Record the time it takes for the parachute-protected toy to reach the ground.
Next, plan and make another parachute, aiming to improve the previous one’s materials and design.
Attach the new parachute to the toy and time and record how long it takes for them to reach the ground.
Keep planning and making more parachutes, refining them each time. If the drop times get longer and longer, you’re doing it right!
Teaching Tips For Parents
Want design inspiration? Here’s how to make a basic parachute:
- Select your canopy material
- For paper or napkins, stick tape on each corner for reinforcement, then punch a hole in each corner.
- Cut four equal lengths of string
- Attach one piece of string to each corner of the parachute. (Don’t tie too tightly as to rip through.)
- Tie or tape all four pieces of cord to the toy.
We tried a plain piece of paper using the steps above, as well as a towel (no need to punch holes in the towel, just tie the strings to the corners. We also made a parachute out of a market bag, and found we didn’t need the strings at all.
Your child can experiment by using different materials for the canopy and its strings. Plus, try with a bigger and smaller canopy, shorter and longer strings.
Chat about which materials worked best and why. Also, discuss design changes and whether these gave the toy a slower, gentler landing.
The STEM Link
This project shows the opposing forces of gravity and air resistance in action. The parachute increases air resistance, which works against gravity, giving a slower fall and softer landing.
Who Can Make The Longest Paper Chain?
Here’s a no-fuss STEM Activity to help kids fine tune their problem-solving and critical-thinking skills.
All that’s needed are two or more contenders, a stopwatch, and a piece of paper, a pair of scissors, and a roll of tape for each person.
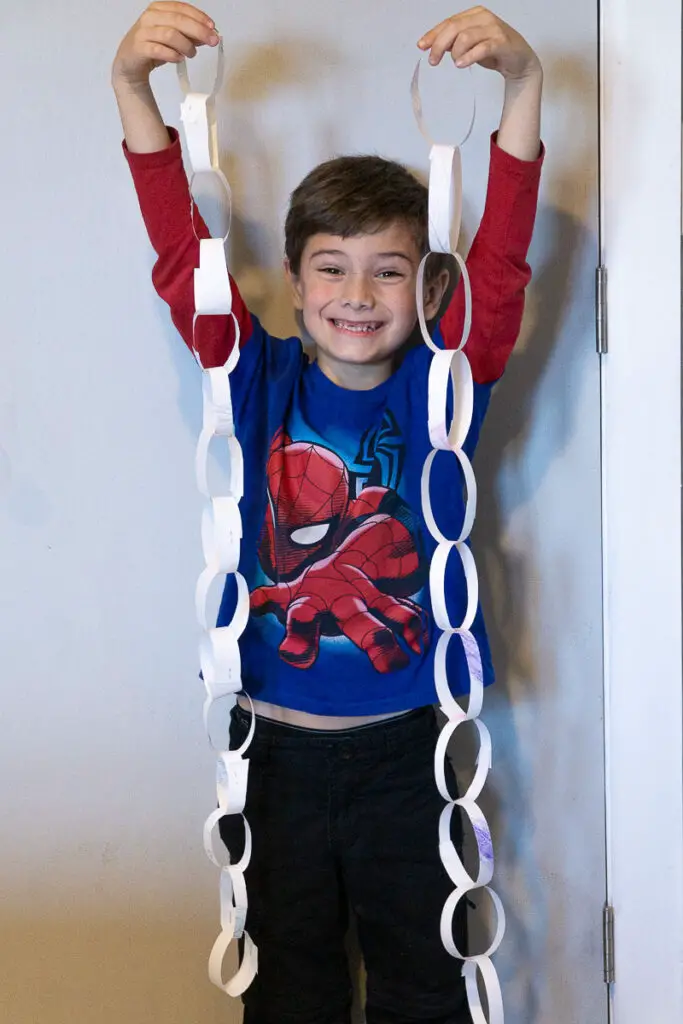
The goal: To create the longest paper chain from a single piece of paper.
Give the kids a few minutes to plan, decide on the time allowed to complete the challenge, start the timer… and prepare to be awed by how ingenious youngsters can be!
Related Post: We have a whole article with activities using paper
Use Upcycled and Recycled Materials
You can use materials that would normally be discarded in the trash or recycle bins to do a variety of STEM activities for kids. We have specific posts you should check out using plastic bottles, cardboard tubes, tin cans, paper, popsicle sticks, and other recycled materials.
These are easy and inexpensive using simple materials that can keep kids busy and learning.
Fun Activities in the Kitchen
Experiments don’t always happen in a lab. You’d be amazed how much science is involved in cooking, baking, and food. You can help kids hone their cooking and STEM skills at the same time with some fun projects for kids in the kitchen. Get cooking with our post on kitchen STEM activities.
Wrap Up – Fun STEM Activities for Kids at Home
It’s likely you’re now dreaming up your own enriching home STEM projects to get your little techno-savvy scientist-engineer-mathematician thinking, experimenting, discovering, and creating.
There really are unlimited ways to keep kids learning long after they’ve left the classroom.
Make sure you’ve got everything you need to make your own STEM makerspace!
