Water is a fascinating and versatile substance that is essential to life on Earth. It can take on many forms and can be found in oceans, lakes, rivers, and even in the air we breathe. Water is also a great medium for conducting STEM activities, as it is easy to work with and can be found in most households.
In this article, we will explore a variety of fun and educational water-based STEM activities that you can do with your kids. From exploring the properties of water density to conducting experiments on water pressure, these activities will help your kids learn about the world around them and develop their critical thinking skills.
Whether you are looking for indoor or outdoor activities, there is something here for everyone. So grab a bucket, fill it with water, and get ready to have some fun!
Here are a few fun and educational experiments and STEM activities involving water that kids may enjoy:
Jump to your favorite science experiment:
Water Displacement
Light Refraction in Water
Frozen Science
Melting Ice
Sink or Float Experiment for Kids
Water Density Experiment
Water Glass Xylophone
Water Pressure Experiment
Water Absorption
Water Cycle in a Bag
Color Mixing with Water
DIY Lava Lamp
DIY Water Filter
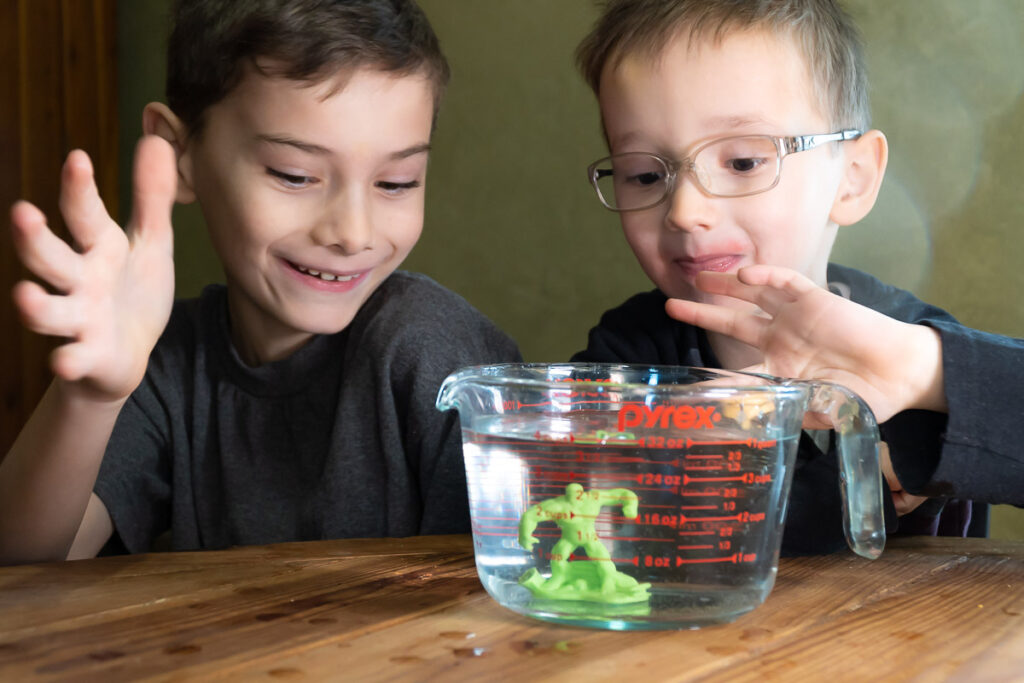
Water Displacement
Ever drop ice cubes in a glass and had some of the water spill out? Or wonder why the water level in the tub goes up when you get in? That’s water displacement at work. We’re going to do a simple water experiment to demonstrate how this works.
To do the water displacement experiment, you will need the following materials:
- A bowl
- Water
- A small object, like a rock or plastic toy – something that’s okay to get wet
- A measuring cup or a ruler
- Towels to sop up any water spilled
Here are the steps to do the water displacement experiment:
- Fill the bowl to the top with water.
- Add a small object, such as a stone or a block, to the bowl.
- Ask your kids to predict how much water will spill over the sides of the bowl when you add the object. Encourage them to think about the properties of the object and how it might affect the amount of water that overflows and spills out.
- When you take the object back out, notice how much water is missing. If you like, you can get a bit more precise by measuring the water before and after it spills out. You can use a ruler or tape measure to measure from the top of the bowl to the water level.
- Encourage your kids to think about why the water behaved the way it did. What properties of the object and the water might have affected the amount of water that spilled?
- Repeat the process with objects of different sizes and shapes to see how they affect the amount of water that spills.
- Encourage your kids to come up with their own hypotheses about what factors will affect the amount of water that spills and test their predictions through trial and error.
Water displacement is when an object is placed in water and pushes the water out of the way as it sinks (or floats.) The amount of water that is displaced, or pushed aside, is equal to the volume of the object. Ultimately, the water level rises relative to the mass of the object.
Water displacement helps us understand how much space different objects take up. It can also help us understand why some objects float and some objects sink. If an object has a volume that is smaller than the amount of water it displaces, it will float. If an object has a volume that is larger than the amount of water it displaces, it will sink.
Light Refraction in Water
Light refraction is an interesting scientific phenomenon and can help us understand how light travels through different materials. It can also help us see things in a different way, like when we look at an object through a jar of water and it appears to be in a different place than it really is. Cool, right?
To do an experiment with light refraction in water, you will need the following materials:
- A clear glass or plastic container
- A pencil or drinking straw
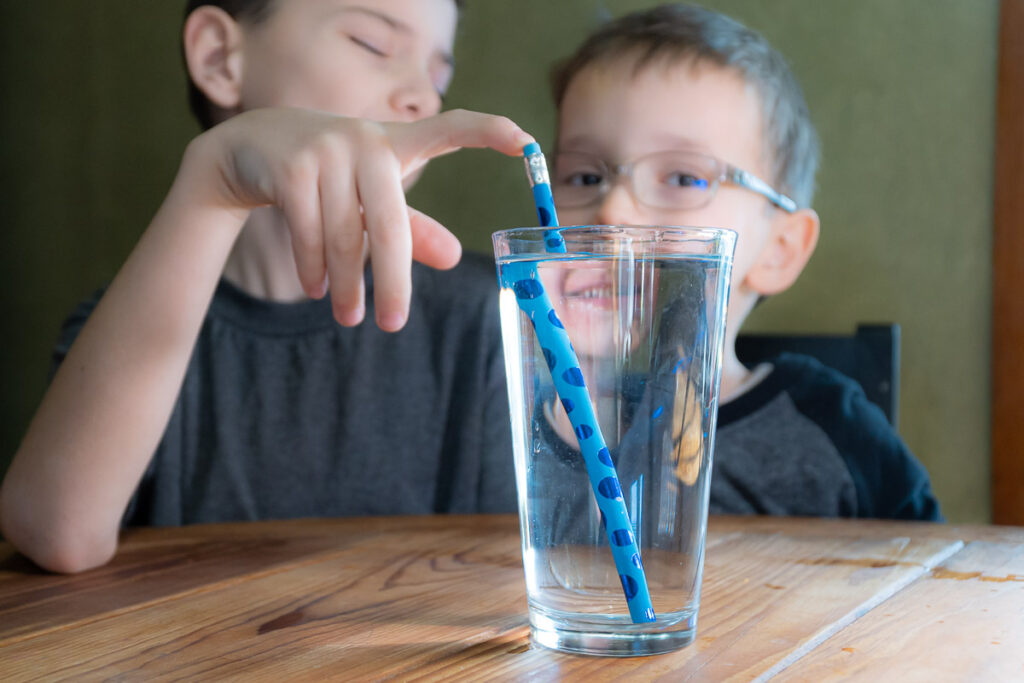
Seeing light refraction in water experiment is one of the easiest experiments you can do. You’re just sticking a pencil in a glass of water and seeing what happens:
- Fill your glass or container with water.
- Put the pencil in the glass of water making sure some is submerged and some is above the water line.
- Observe the pencil, especially at the water level.
- Move the pencil around. What do you see? Does the pencil look like it’s in 2 pieces, or is the submerged part distorted looking?
What you’re observing is refraction, meaning the light is bending as it passes through the water. This affects the what we see. The light travels in a straight line through the air. Water is a different material than air, and the light travels more slowly through water. When the light hits the glass, it will bend and change direction as it passes through the water.
The amount of bending or refraction that occurs depends on the angle at which the light hits the surface of the water and the difference in the properties of the air and the water. When the light hits the surface of the water at a shallow angle, it will bend more than it will if it hits the surface at a steep angle. Similarly, the greater the difference in the properties of the air and the water, the more the light will bend as it passes through the water.
Encourage discussion about why the pencil appears that way when underwater. What properties of the water and the light might have affected its movement? Encourage your kids to come up with their own hypotheses about what factors will affect the movement of the light and test their predictions through trial and error. Use the scientific method to predict what may happen in different conditions.
Frozen Science
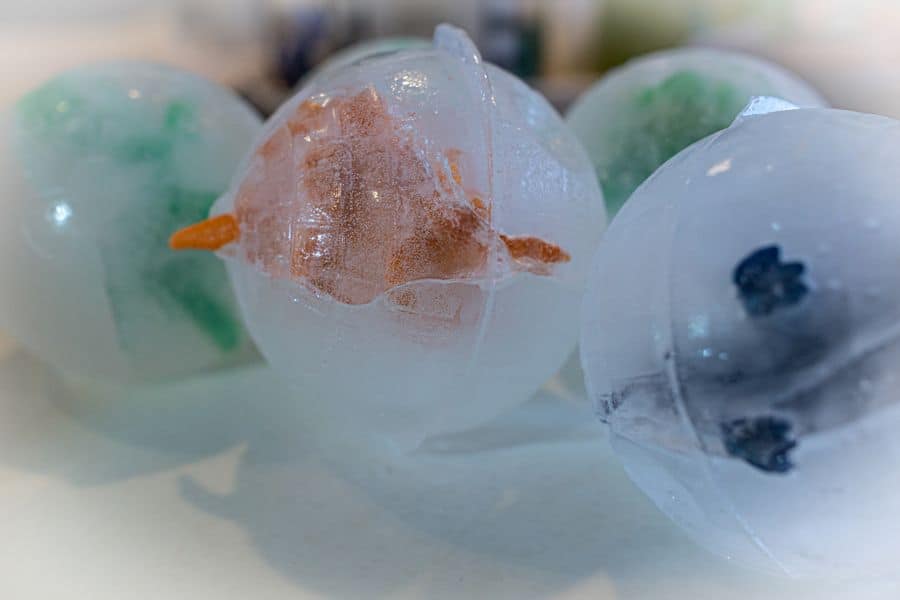
Fill a small container with water and add a few small toys or objects. Place the container in the freezer and have kids predict what will happen when the water freezes. Once frozen, observe and describe the changes that occurred.
We did this with plastic dinosaurs and made some frozen dinosaur eggs – check out our full post on dinosaur activities for more!
Water freezes at a temperature of 32 degrees Fahrenheit (0 degrees Celsius) and becomes ice.
Water freezes because the molecules, or tiny particles, in water slow down when it gets cold. When the molecules in water slow down, they don’t move around as much, and they start to stick together. When the molecules stick together, they form a solid, which is called ice.
Water changes states of matter from a liquid to a solid based on its temperature. What’s interesting is that the ice is lighter than water, which means that it floats on top of the water. This is why ice cubes float in a glass of water and why the ice on the top of a lake or pond doesn’t sink to the bottom.
Water is a very special substance because it can change from a liquid to a solid (ice) and back again, which leads us to our next simple science experiment:
Melting Ice
What makes ice melt? If you’ve frozen some object in ice, it’s time to thaw them out. Have kids predict how long it will take for the ice to melt in different conditions (such as room temperature versus outside in the sun or under a hair dryer.) Then, have them measure and record the melting times for condition.
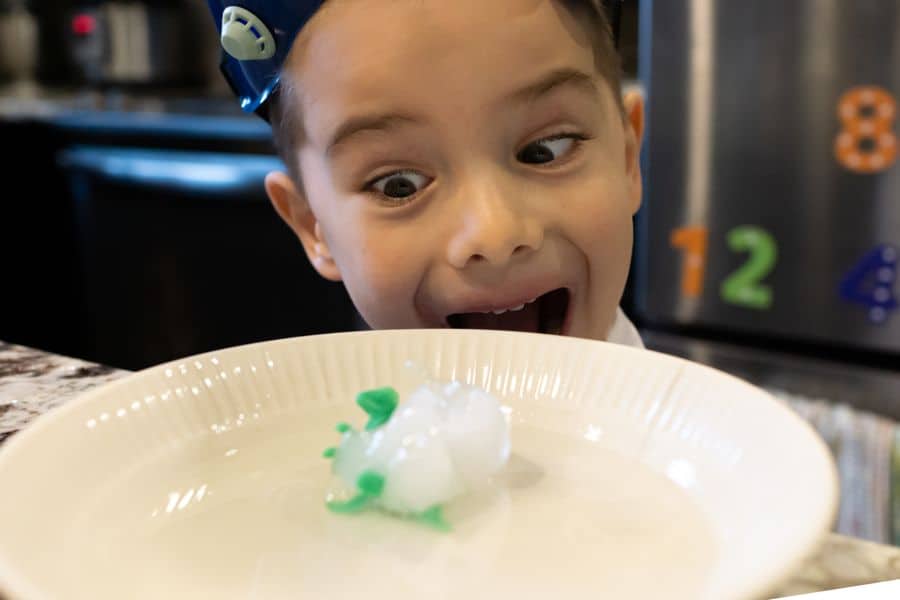
We left one in the freezer for a control (spoiler: it didn’t melt.) We left one in a bowl on the counter, we put one in our utility room with our furnace, and we put one under a hair dryer (yes, the hot air made it melt much quicker.)
Related Post: For more on the water cycle, check out our post on experiments with states of matter and see how water moves from a liquid to a gas or solid.
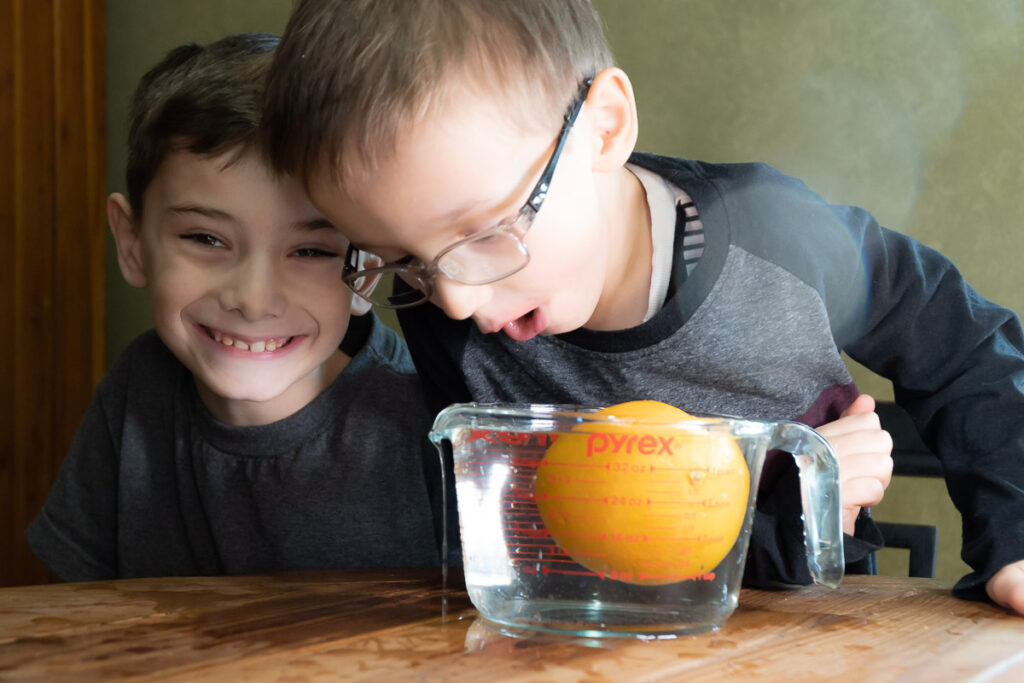
Sink or Float Experiment for Kids
Fill a bowl or large container with water and provide a variety of objects, such as balls, rocks, and blocks. Predict which objects will sink and which will float, then test their predictions by placing the objects in the water.
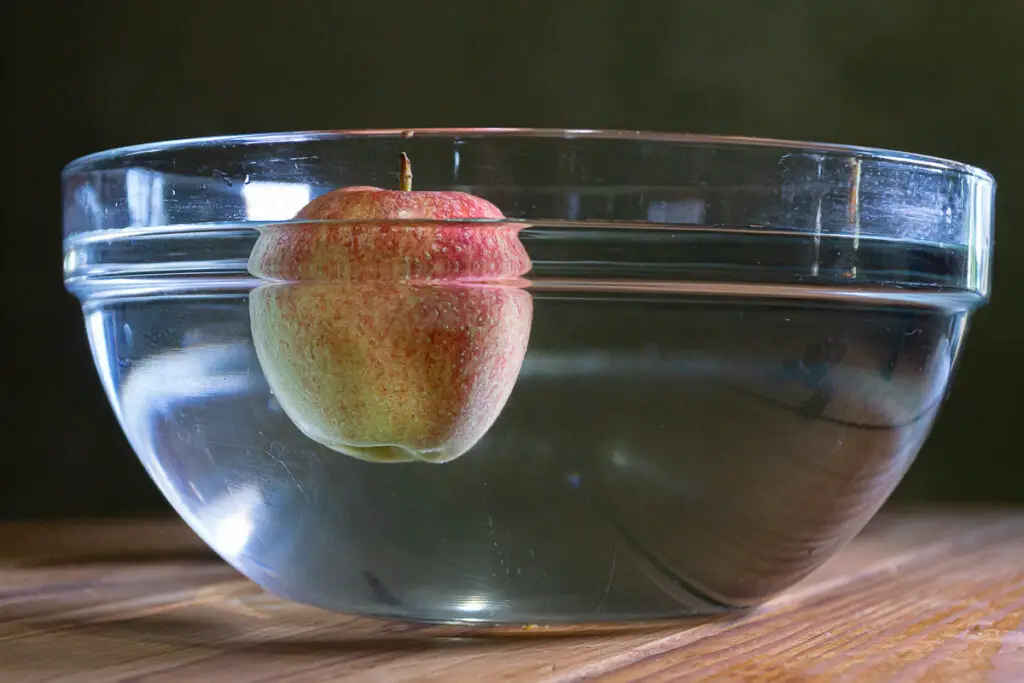
We did this with various pieces of fruit in our post on experiments with apples. You can do this in combination with the water displacement experiment, and measure how dropping the objects in the water affects the water level.
Related Post: Learn about surface tension in our floating paper clip experiment.
Water Density Experiment
Fill a clear container with water and carefully add different objects (such as coins, paperclips, and feathers) to see which objects sink and which ones float. Observe what happens when you add a spoonful of salt to each cup.
To do the water density experiment, you will need the following materials:
- A clear container, such as a bowl or a jar
- Water
- A variety of small objects, such as coins, paperclips, and feathers
- Salt
- A spoon
- Measuring spoons (optional)
Here are the steps to do the water density experiment:
- Fill the clear container with water.
- Carefully add different objects to the water, such as pennies, paperclips, and feathers.
- Have your kids predict which objects will sink and which ones will float. Encourage them to think about the properties of the different objects and how they might affect their movement in water.
- Observe what happens to each object as you add it to the water. Which ones sink and which ones float?
- Add a spoonful of salt to the water and observe what happens. Does the salt dissolve in the water or does it sink to the bottom?
- Have your kids observe what happens when you add the salt to each object. Does the salt affect the movement of the objects in any way?
- Encourage your kids to think about why the objects behaved the way they did. What properties of the objects and the water might have affected their movement?
- You can also try adding other substances to the water, such as sugar or baking soda, to see how they affect the movement of the objects.
- Encourage your kids to come up with their own hypotheses about what factors will affect the movement of the objects and test their predictions through trial and error.
Water Glass Xylophone
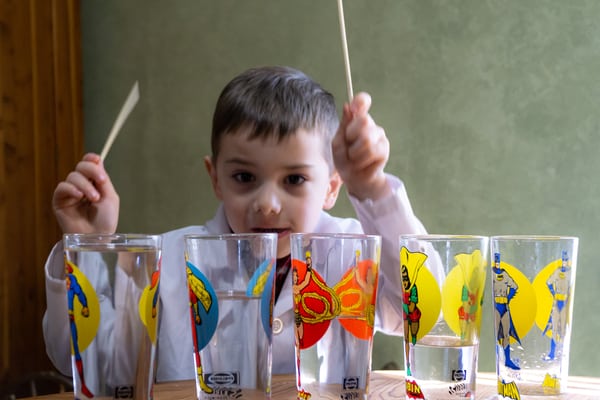
To create a xylophone using drinking glasses filled with water, you will need a set of glasses of different sizes and a mallet or spoon to strike them with. First, fill the glasses with different amounts of water.
The amount of water you add will determine the pitch of the note produced when the glass is struck. For example, a glass filled with more water will produce a lower pitch than a glass filled with less water.
Once you have filled the glasses with the desired amount of water, you can play them by striking the rim of the glass with the mallet or spoon. Experiment with different combinations of glasses and water levels to create a wide range of pitches and sounds.
Form more on this (and some other cool experiments) check out our post on science experiments with sound.
Water Pressure Experiment
Fill a small plastic bottle with water and have kids predict what will happen when they squeeze the bottle. Then, have them carefully squeeze the bottle and observe the results.
To do the water pressure experiment, you will need the following materials:
- A small plastic bottle
- Water
Here are the steps to do the water pressure experiment:
- Fill the plastic bottle with water.
- Have your kids predict what will happen when they squeeze the bottle. Encourage them to think about the properties of water and how it might behave when it is subjected to different types of pressure.
- Have them carefully squeeze the bottle and observe the results. What happens to the water as they squeeze the bottle? Does it flow out in a steady stream or does it spray out in all directions?
- For more pressure, place the bottle on the ground and have your kids stand on it. Observe what happens to the bottle as they apply more weight. Does the bottle collapse or does it remain intact?
- Encourage your kids to think about why the bottle behaved the way it did. What properties of the water and the bottle might have affected the results?
- You can also try using bottles of different sizes and shapes to see how they affect the results of the experiment.
- Encourage your kids to come up with their own hypotheses about what factors will affect the stability of the bottle and test their predictions through trial and error.
Water Absorption
We’ve all found ourselves spilling something and scrambling for something to wipe it up with. What materials are best to sop up a mess? Here’s a fun science experiment to help out.
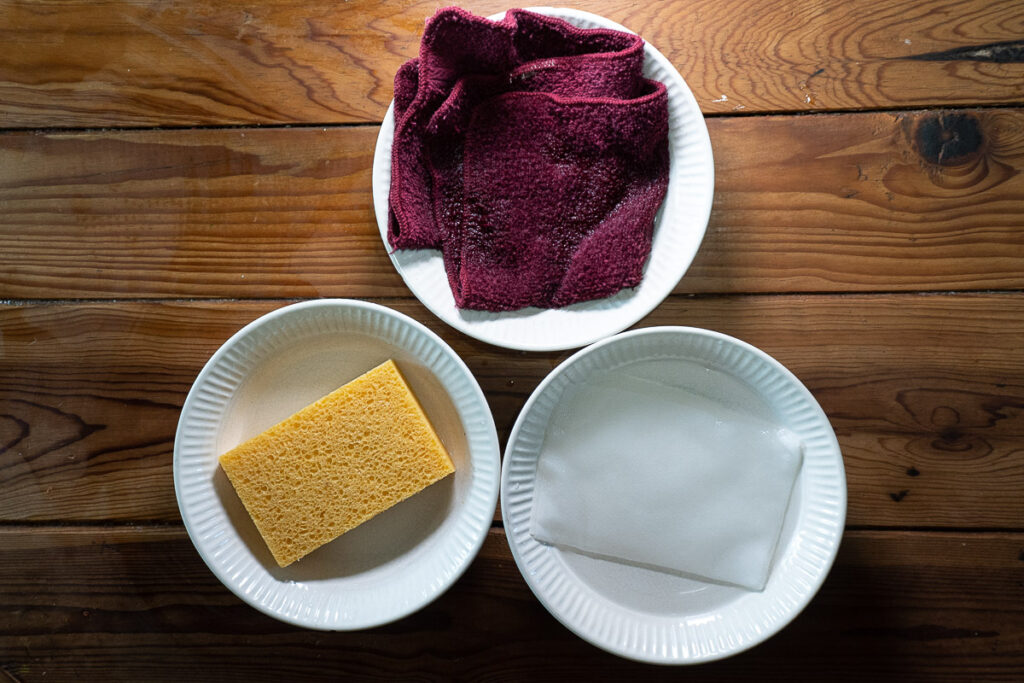
We’ll use some paper towel, a dish cloth, and a sponge to see how much water each material absorbs over a set period of time. Encourage your kids to come up with their own hypotheses about what factors will affect the water absorption of different materials, and which ones will absorb the fastest and the most water.
To do the water absorption experiment, you will need the following materials:
- Paper towels, Cloth Towels, and a sponge
- Measuring Cup
- Water
- Bowls or trays
- A timer or clock
- Pen and Paper to record your findings
Here are the steps to do the water absorption experiment:
- Pour a cup of water into each of your bowls
- Place your paper towel in one bowl, a dishcloth in another bowl, and a sponge in the last bowl.
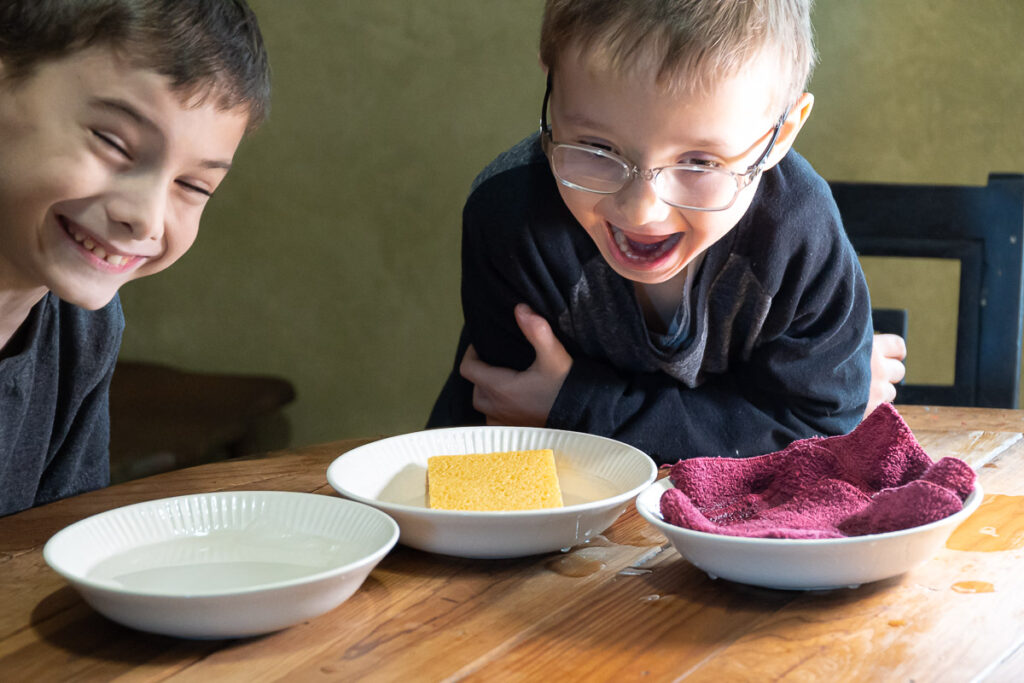
- Determine your time (3-5 minutes should be plenty) and start your timer
- Once your time has elapsed, observe and record how much water each material absorbed.
- You can remove the saturated items one at a time, and dump the water from each back into the measuring cup to record how much water remained in the bowl.
What did you find? For us, the time didn’t matter too much; everything was super saturated after a minute or so. The dishrag picked up the most (to be fair, it was the largest), followed by the sponge, and lastly the paper towel.
Encourage some discussion about why the different materials absorbed different amounts of water. What properties of the materials might have affected their ability to absorb water? You can also try using different materials, such as cotton balls or felt to see how they compare to paper towels or sponges.
Now, what will you grab the next time you need to clean up a spill?
Self Contained Water Cycle in a Bag
For a quick and easy experiment, fill a small zip lock plastic bag with water and seal it tightly. Place the bag in a sunny spot and observe what happens over the course of a few hours.
The heat generated from the sunlight will evaporate some of the water and form water vapor inside the bag, then condense on the sides of the bag. The water is changing from a solid to a gas as it heats up, and back to a liquid as it cools. Check out our post on experiments with states of matter for a more visual take on this and build a cloud in a jar with us.
We did a bit more involved version of creating a small self contained ecosystem in a jar as well. Check it out in our post on activities and experiments with plants and build your own.
Color Mixing with Water
Kids can learn about color science with this simple experiment.
To do the color mixing with water experiment, you will need the following materials:
- 3 clear plastic cups
- Food coloring in different colors (such as red, yellow, and blue)
- Water
- A fourth cup for mixing the colors
- Measuring spoons (optional)
Note: You may also want to have paper towels or a sponge on hand to clean up any spills.
- Fill three clear plastic cups with water and add a different food coloring to each cup. You can use any colors you like, but it is often best to start with the primary colors (red, yellow, and blue) as they can be mixed to create a wide range of colors.
- Have your kids predict what will happen when you mix the colors together. Will the colors blend together to create a new color, or will they stay separate? Encourage them to think about what they already know about color mixing and how different colors are created.
- Pour the colors into a fourth cup and observe the resulting color. What happened? Did the colors blend together to create a new color, or did they stay separate?
- Encourage your kids to think about why the colors behaved the way they did. Was their prediction correct? If not, why do they think the colors behaved differently?
- You can also try adding different amounts of each color to the fourth cup to see how it affects the resulting color. For example, what happens if you add more blue than red? Or if you add equal amounts of each color?
- You can also try adding more water to the fourth cup to see how it affects the intensity of the color.
- Encourage your kids to come up with their own hypotheses about what factors will affect the resulting color and test their predictions through trial and error.
DIY Lava Lamp
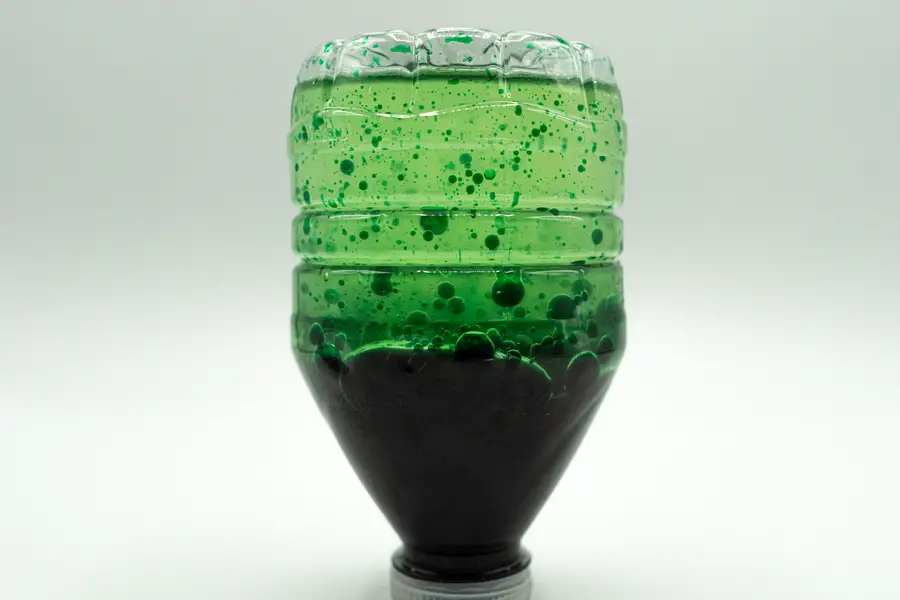
You can make your own lava lamp with some water, food coloring, and vegetable oil.
We made ours in an empty water bottle, and you can check it out in our post on fun projects using recycled water bottles.
DIY Water Filter
Cut a plastic bottle in half and fill the bottom half with layers of materials such as gravel, sand, and charcoal. Add a few drops of food coloring to a cup of water and pour it through the filter. Observe how the water changes color as it passes through the different layers.
To do the DIY water filter experiment, you will need the following materials:
- A plastic bottle
- A sharp knife or scissors
- Gravel
- Sand
- Charcoal
- Food coloring
- Water
Here are the steps to do the DIY water filter experiment:
- Cut the plastic bottle in half using a sharp knife or scissors. The bottom half of the bottle will be used as the filter, while the top half can be discarded.
- Fill the bottom half of the bottle with layers of materials such as gravel, sand, and charcoal. The order in which you add the layers is up to you, but you may want to start with the gravel at the bottom and finish with the charcoal at the top.
- Add a few drops of food coloring to a cup of water. The food coloring will represent impurities in the water that you want to filter out.
- Pour the colored water through the filter. Observe how the water changes color as it passes through the different layers.
- Encourage your kids to think about why the water changed color as it passed through the filter. What properties of the different layers might have affected the movement of the impurities in the water?
- You can also try using different materials as layers in the filter, such as cotton balls or coffee filters, to see how they affect the results of the experiment.
- Encourage your kids to come up with their own hypotheses about what factors will affect the movement of the impurities and test their predictions through trial and error.
The sand, charcoal, etc. are used to filter, or clean, the water as it passes through the bottle. When the water passes through the different layers of materials, it helps to remove impurities, or unwanted substances, from the water.
The gravel at the bottom of the filter helps to remove larger impurities, such as sticks or rocks. The sand helps to remove smaller impurities, such as dirt or sand particles. The charcoal helps to remove even smaller impurities, such as bacteria or viruses.
Wrap Up – Simple Water Science Experiments for Kids
We can learn about a variety of science concepts by doing a few STEM activities with water: Refraction, density, states of matter, sound and pitch, basic physics concepts and more. These activities are fun, and kids love to splash around. The key thing is to take a moment and observer what’s happening, and simply ask, “Why?”
By doing experiments like these, we can help kids learn about the world and the water we use every day. Which water science activity was your favorite?