Kids love plants! They’re colorful, interesting, and full of life. Plants play a huge role in our lives by providing oxygen and food. Plants are an amazing and integral part of our world.
We’ve got a ton of awesome plant activities for kids to do. From growing plants indoors to planting seeds outside, we’ve got everything covered.
We’ve also included fun gardening games and crafts for kids to make. Whether you’re looking for something educational or just fun plant activities, these botany and gardening projects will get your kids excited about plants.
Kitchen Scrap Gardening
Rain Forest Garden in a Glass Jar
Growing Plants from Cuttings
DIY Self Watering Planter
Egg Carton Seed Starters
Seed Bombs
Grow a Mango Tree from a Seed
Colored Plants
Learn how Plants Breathe
Bark Rubbings STEAM Activity
Plant Pigment Art
Composting
*We’re an affiliate – we may earn a commission through qualifying purchases from the links on this page. As always, thanks!*
Kitchen Scrap Gardening: Growing new plants from leftovers
Kitchen Scrap gardening involves using scraps from cooking and gardening to grow new plants.
Not only does this activity provide new plants and additional herbs or food, this activity teaches kids about recycling and growing plants from leftovers.
Carrots
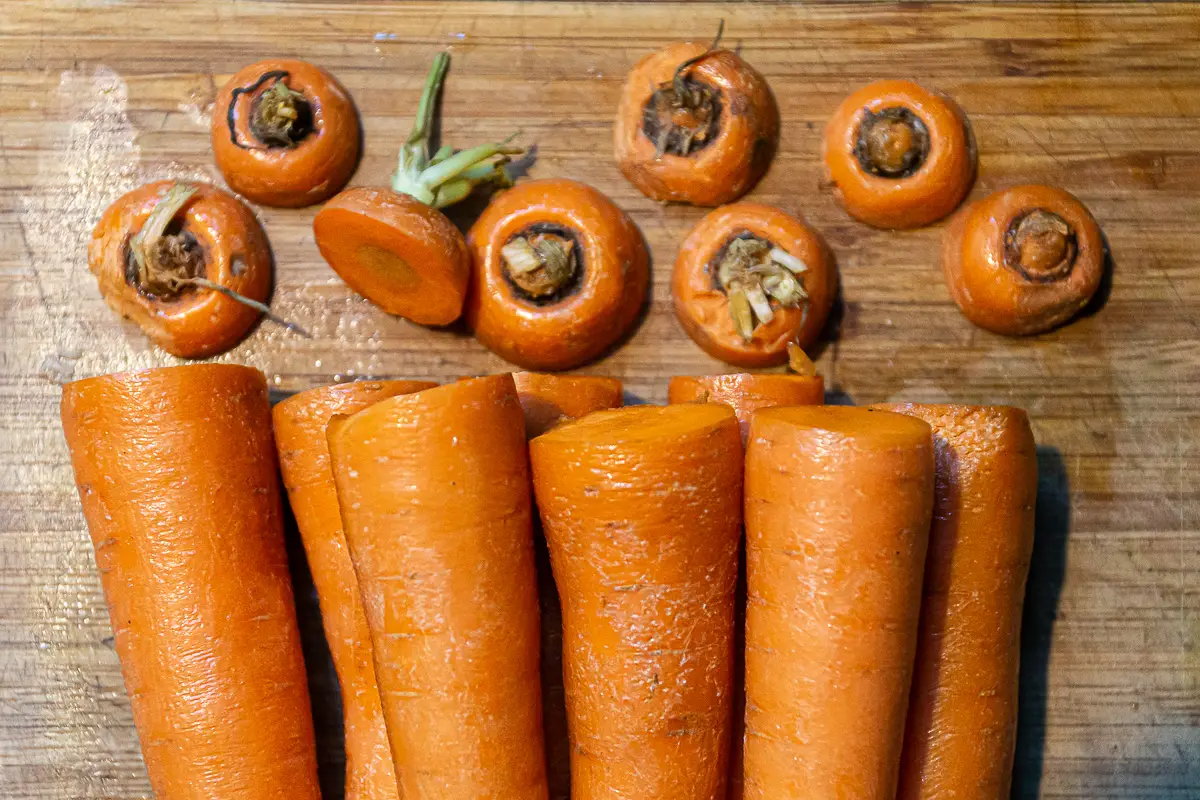
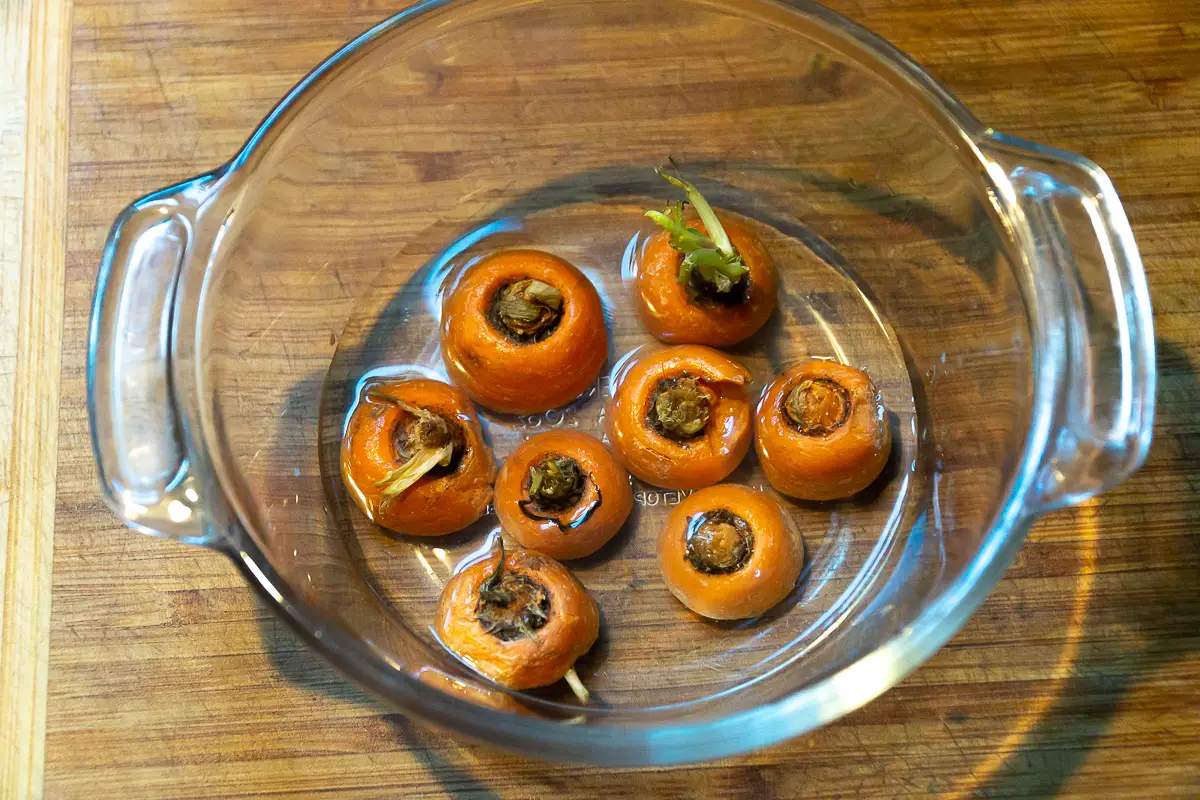
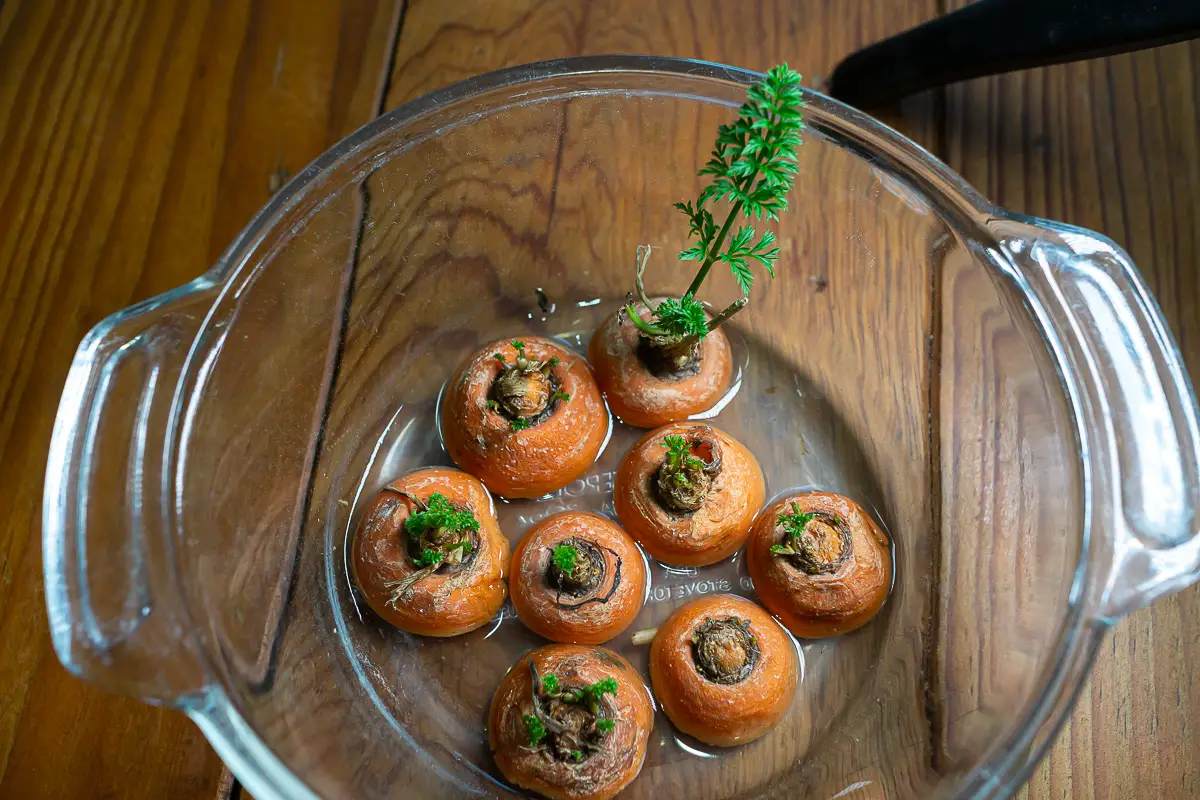
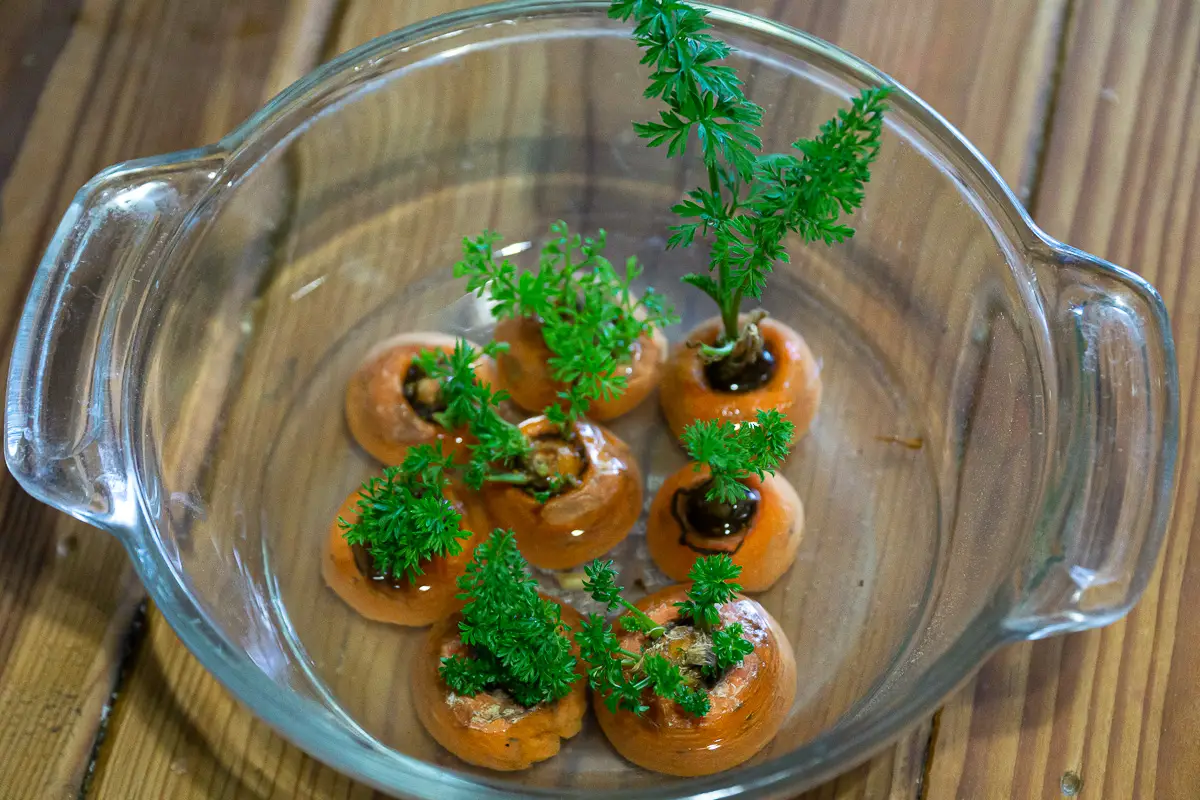
We’ve seen several methods for growing carrots from scraps, though had success with this simplest approach:
- Trim off the top of the carrot
- Place the cut side down in a shallow bowl of water.
- Refill the water as needed.
Within a few days, new growth should appear on the top of the carrots. Let this grow to at least a few inches before transplanting to a flower pot or garden bed.
Green Onions
Once you use the green onions, you can put the roots in a small jar of water and they will sprout again. We keep them on our kitchen windowsill where they can get plenty of sun. You can keep cutting them as you need to use them and they will grow back. We’ve also planted them in our garden and they do even better.
You can us other vegetables like potatoes or lettuce to regrow new plants. Experiment and see what you can grow!
Rain Forest Garden in a Glass Jar
You can create a self sustaining garden in a sealed glass jar. Plants need water and sunlight to grow, and we’re going to provide a self contained environment for your plants to grow.
- Glass Jar
- Potting Soil
- Small Stones
- Plants/moss
- Spray Bottle
- Water
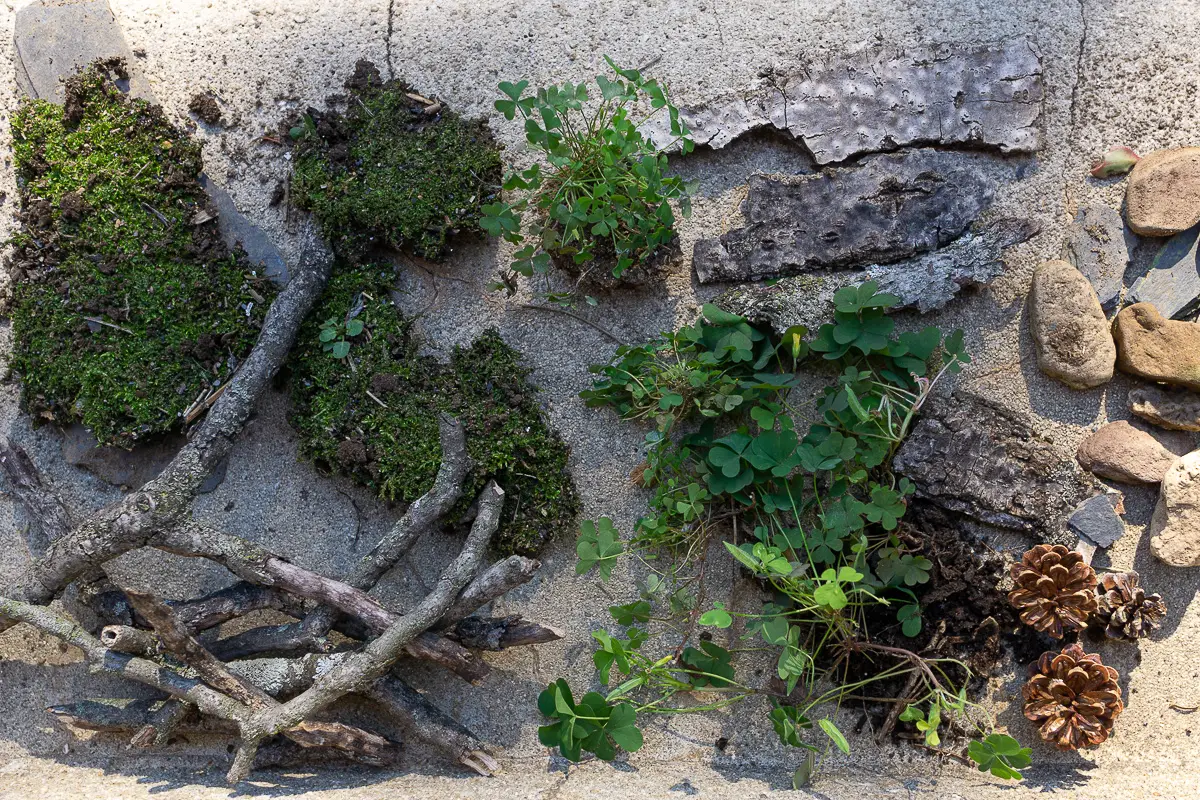
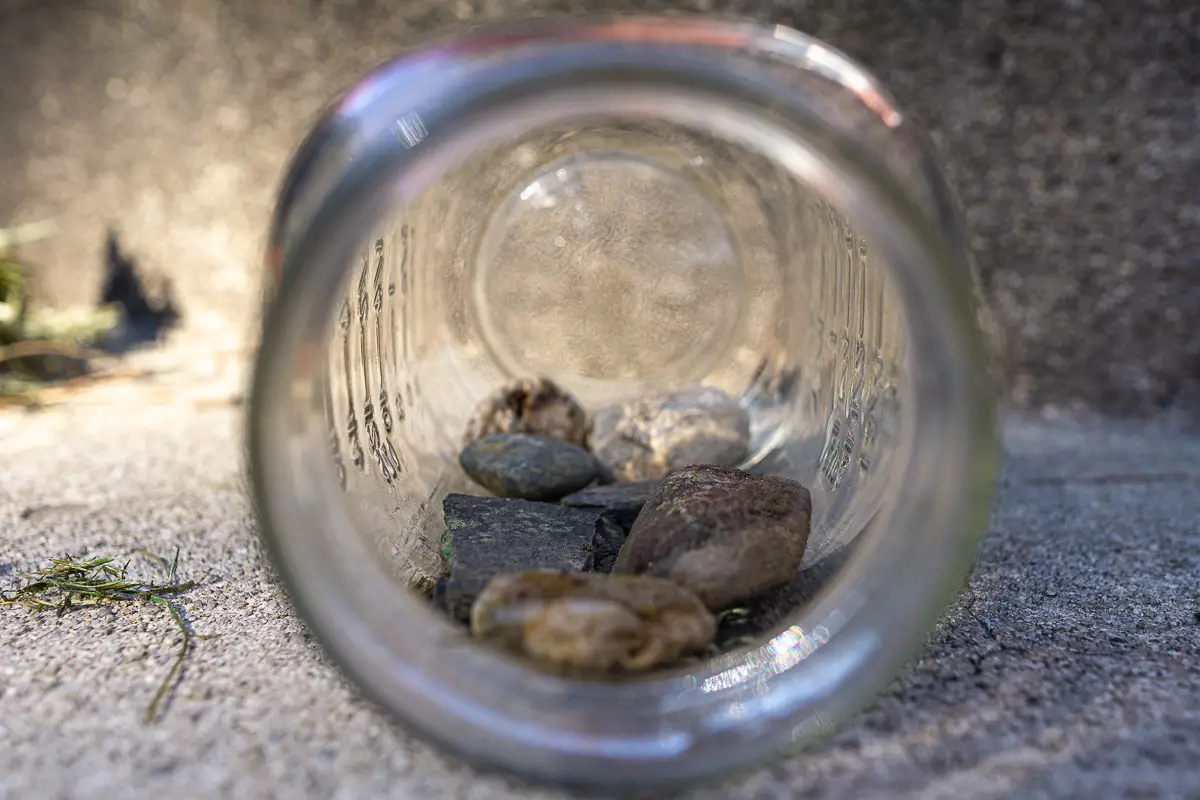
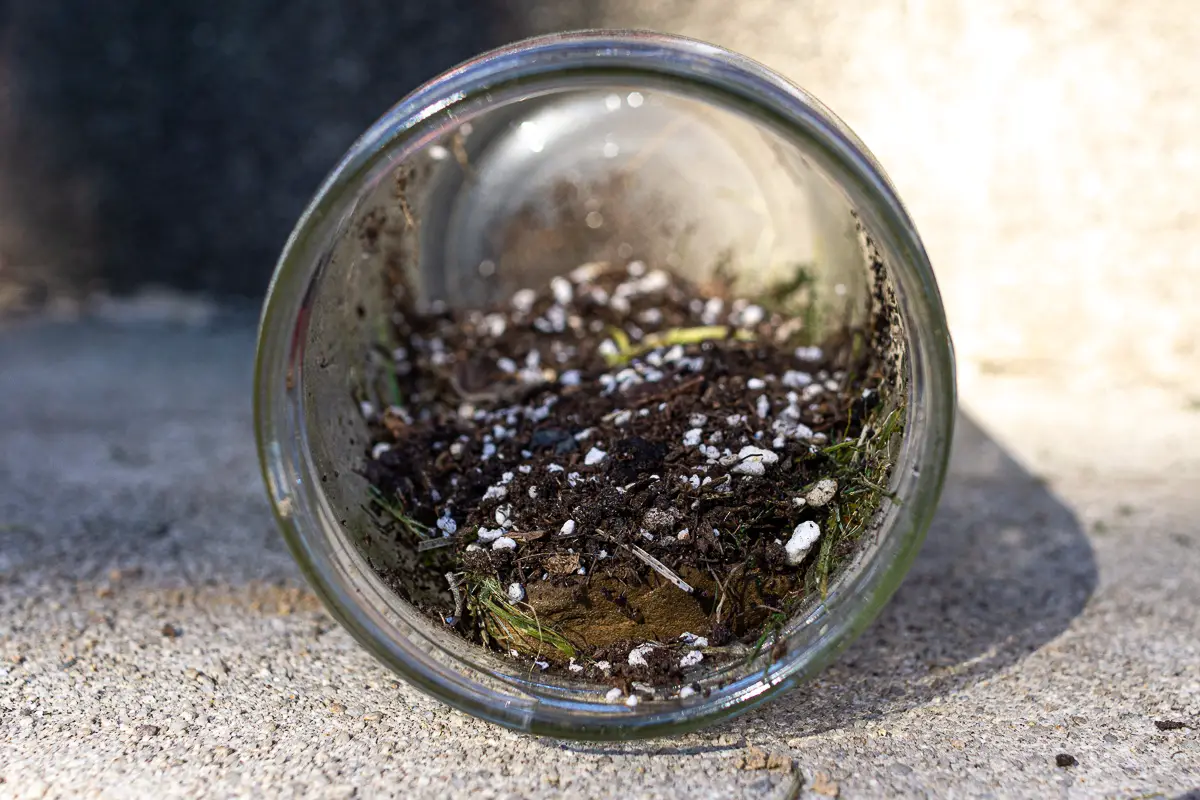
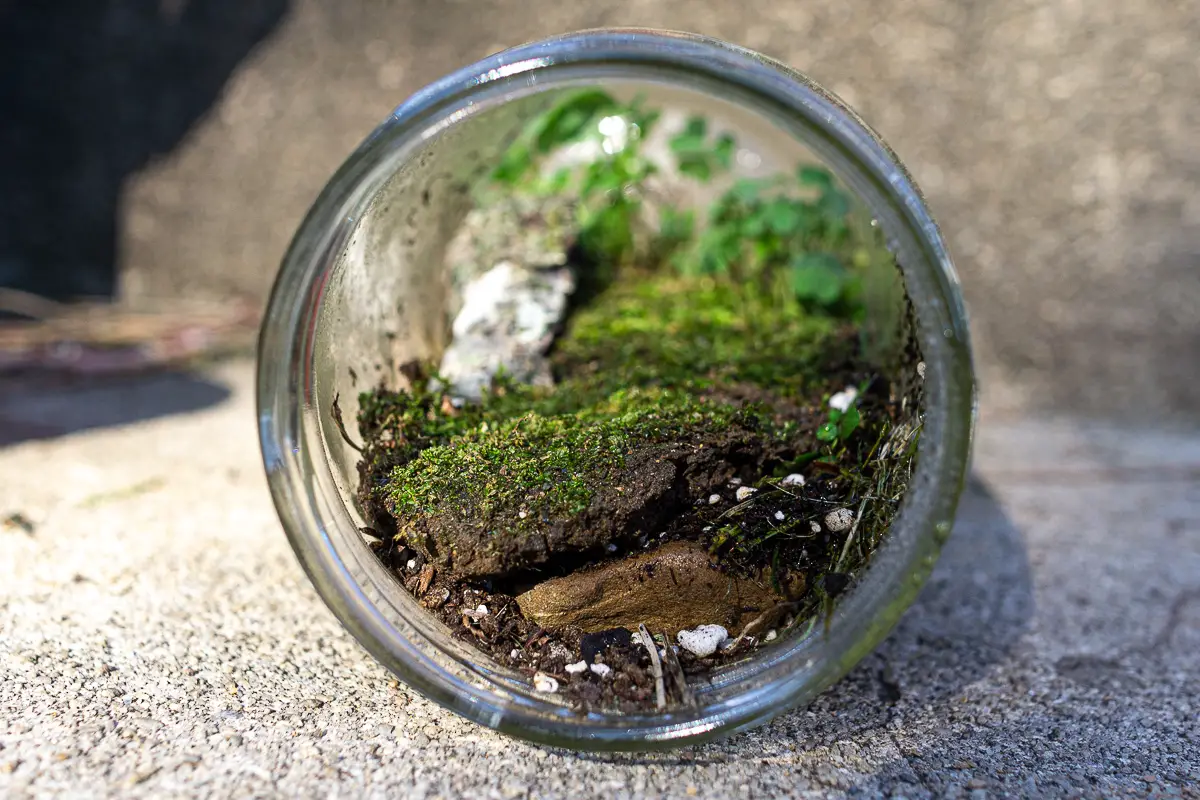
- Find a glass jar and wash it out thoroughly. Tip – a jar with a wider mouth will be easier to work with.
- With the jar open and on its side, place some rocks in the jar. These will add some weight and keep your jar steady.
- Spread your soil in a layer over the rocks
- Root your plants into the soil. Place your moss along the side. If you like, you can add some wood or small branches for decoration. Our kids found a few small pine cones to add.
- Give a few squirts of water from the spray bottle to dampen your soil and plants.
- Seal the jar, and place it where it’ll get some light.
How will our plants stay alive in a sealed container?
It’s all about the water. Plants use a process called transpiration to draw water from the soil. The water passes through the roots of the plant and ultimately passes as water vapor through the leaves. (Did you know plants breathe? Check our activity to learn how plants breathe.)
Water condenses as droplets on the glass and is absorbed again by the soil and the process repeats.
If you want to have some more fun with it you can add a few small figurines or decorations and make your jar into a gnome or fairy garden!
Alternately, you could do a similar project with a 2 liter soda bottle. Check out our activities with plastic bottles to see how.
Make a Self Watering Planer with a Recycled Bottle
You can make your own DIY self watering planter and recycle at the same time. Use different size bottles depending on the size of your plants. Follow along with us on our post on activities with plastic bottles.
Growing Plants from Cuttings
One of the easiest ways to learn about plants is to grow new ones. Propagating plants is one of the easiest – and quickest – ways to start. You don’t always need to grow plants directly from a seed. Many plants will grow new roots when you cut a piece off. To try this, you’ll need the following:
- Scissors
- A jar or cup
- Water
- A Plant
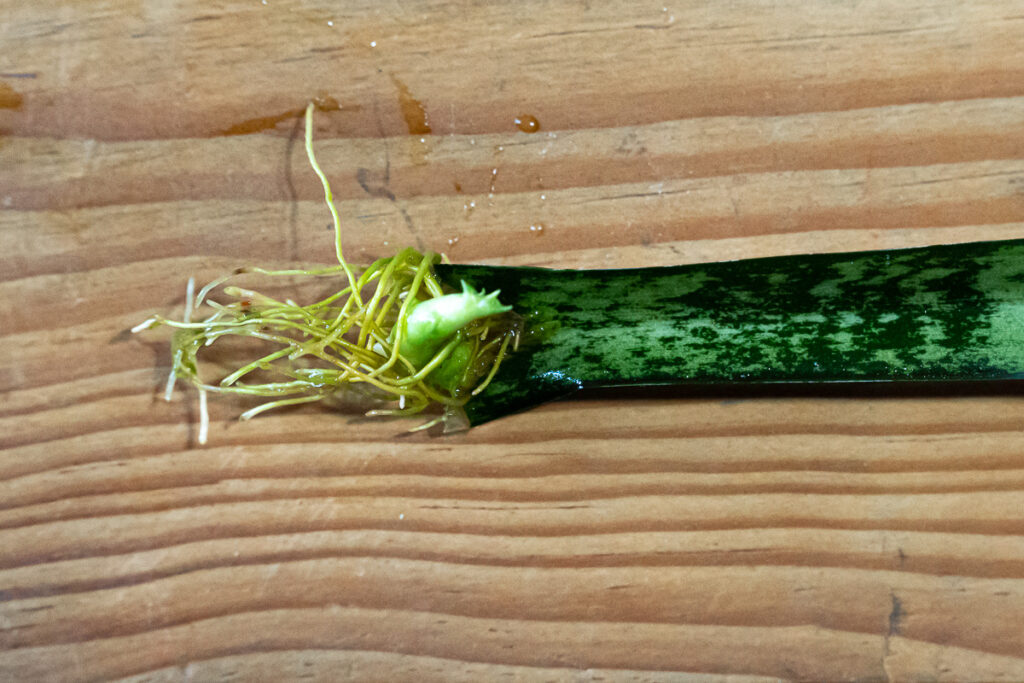
Kids can grow plants from cuttings if they follow these steps. We have an abundance of catnip in our yard, which is easy to propagate from cuttings. (Our cats are very thankful.)
- Cut an appropriate sized piece of stem from a healthy plant. Cutting the top 4/5 inches of new growth works best
- Fill your jar with water
- Cut the leaves from the bottom few inches of your plant.
- Put the plant into the jar of water so the segment without leaves stays submerged. Keep the jar topped up with water
- Place your jar in a place that gets sunlight.
- Observe as roots grow into the water
- Once the roots are a few inches long, you can plant it in some compost or potting soil.
- Some plants do best with a bit of humidity. You can cut the bottom off of a plastic soda bottle and place this over the pot to keep the plant and soil from drying out as it takes root.
What to know about growing plants from cuttings:
- Cuttings are pieces of a plant that has been removed from its parent plant.
- While we let our cutting grow new roots in water, some cuttings can be planted directly into soil or placed in containers filled with potting mix.
- Cuttings can be grown indoors or outdoors.
- Cuttings should be kept moist until they sprout roots.
- Once the cuttings have rooted, they can be transplanted into larger pots or moved outside.
Egg Carton Seed Starters
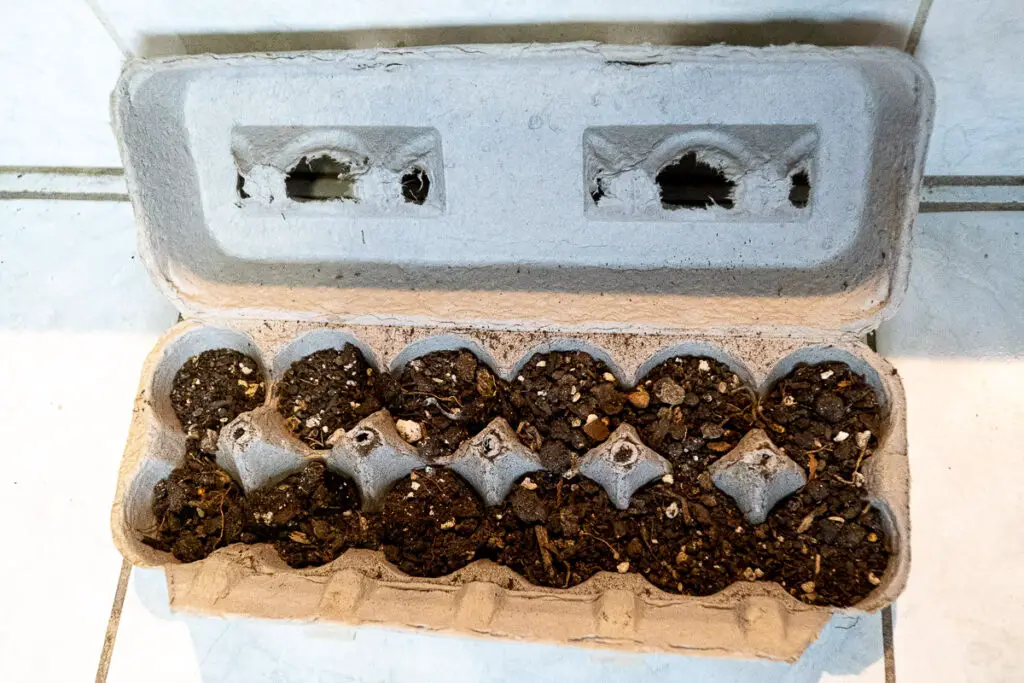
Growing from seeds is a great way to learn about the entire life cycle of plants. You can use egg cartons filled with potting soil or compost as mini biodegradable starter pots so you can transfer your plants easily.
- Fill the empty carton with soil or compost (Read on below to find out how to make your own compost.)
- Plant your seeds in each of the compartments
- Water and wait for the seeds to sprout
- You can cut apart the carton and plant each directly into the soil
The egg cartons will decompose over time. It’s a great way to recycle your egg cartons and save money on pots. It’s also lots of fun for kids to get involved in the planting and growing process.
Seed Bombs
Kids love to get messy and throw things! Seed bombs hit the mark in both of these areas and is a perfect way to do both while adding some flowers to your garden space. This is a great idea to get kids involved in garden activities. All you need is:
- Dirt
- Water
- Flower Seeds
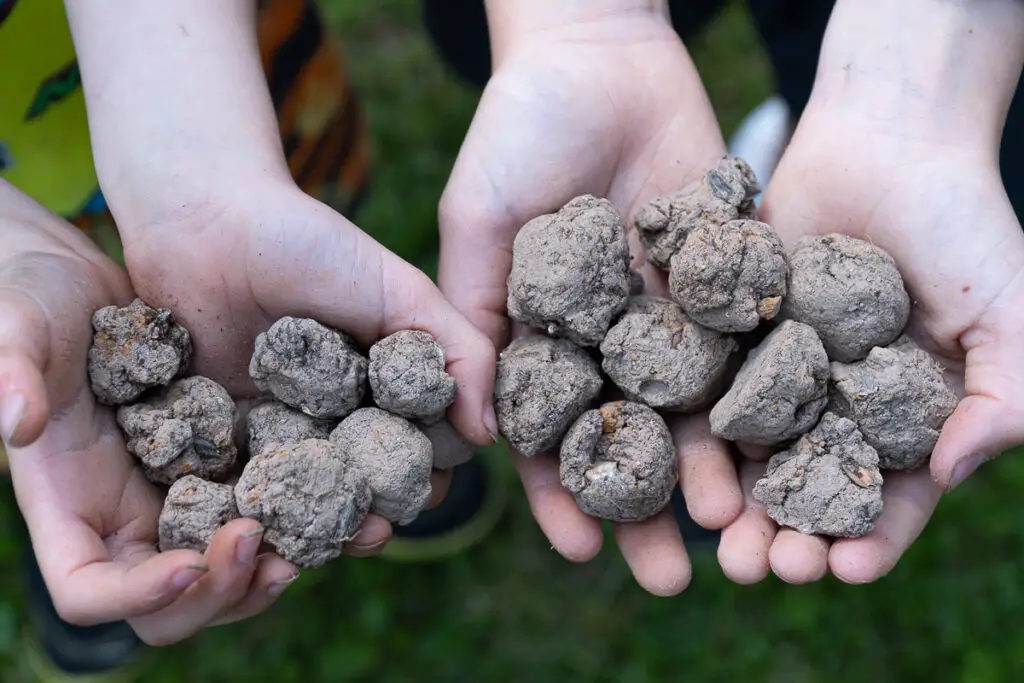
Simply combine the dirt and water to make mud balls. As you form your mud balls, roll them in the seeds. You can use different types of seeds for a variety of flowers. This is best is you use native plants for your area.
Once you have your seed filled mud balls, allow them to dry out. Pick a special spot in your yard were you want some flowers and let the kids throw the seed bombs. Make sure the area gets some water if there is little rain in your forecast, and wait for your flowers to grow!
We did this activity at a local park on Earth day; it was awesome to see so many kids getting muddy and getting ready to plant some flowers. For larger groups, it’s best to have several water bowls positioned on the tables and large pieces of cardboard to work on for easy cleanup.
Grow a Mango Tree from a Seed
Growing a tiny tree from a seed can be fun and satisfying, and you can start with seeds from fruit that you eat. We recently did this with some mango seeds.
- Mango Seed(s)
- Sharp Scissors
- Paper Towel
- Plastic Bags
- Pot
- Potting Soil
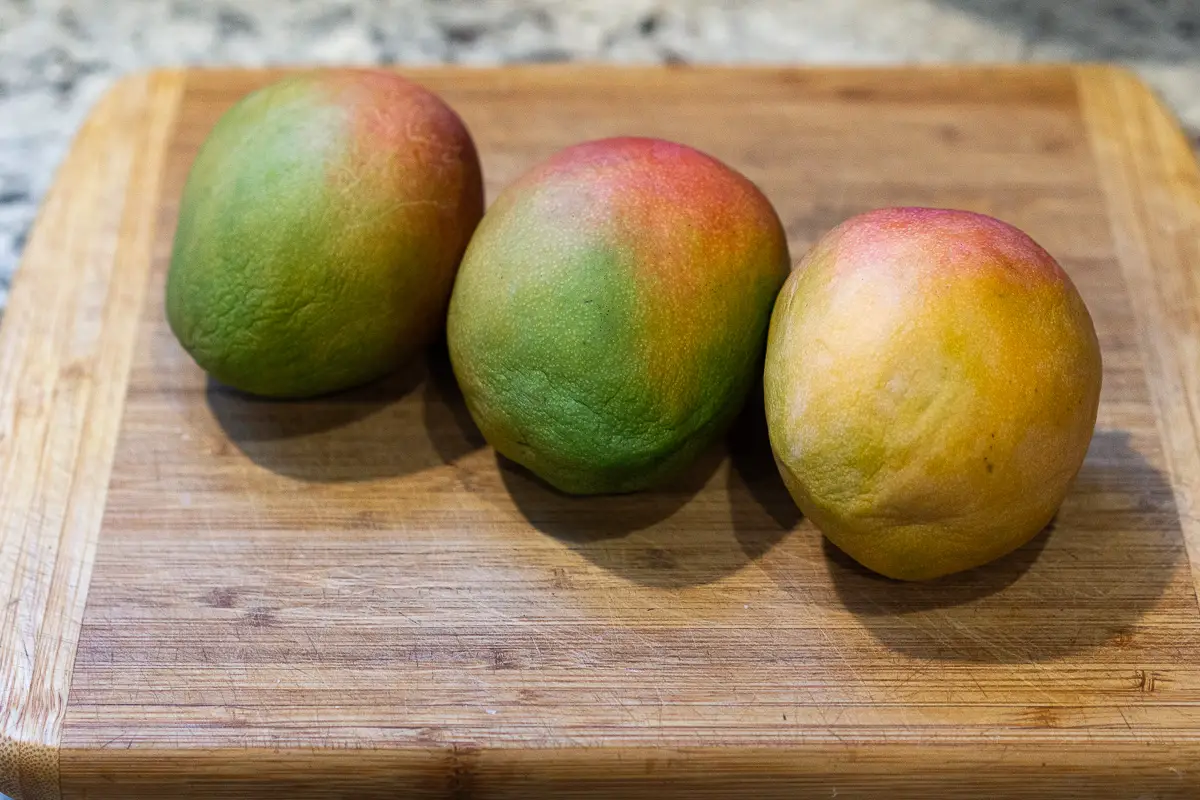
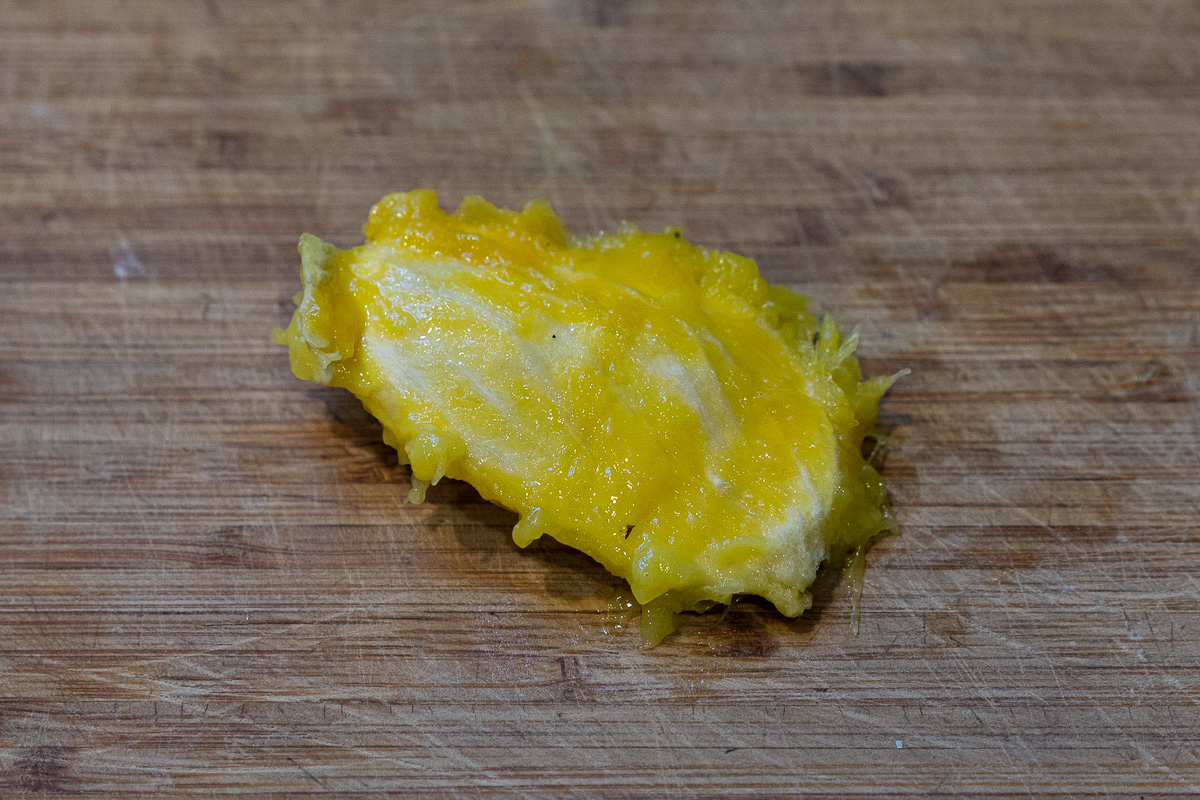
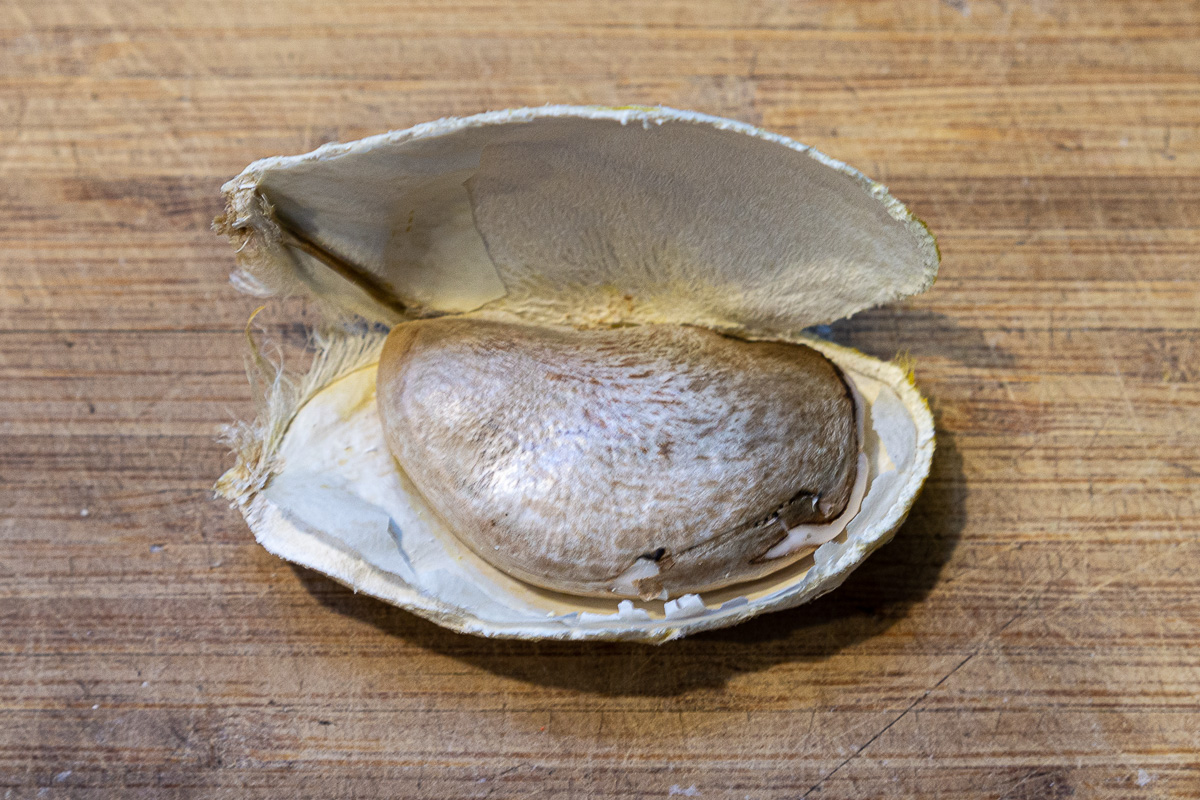
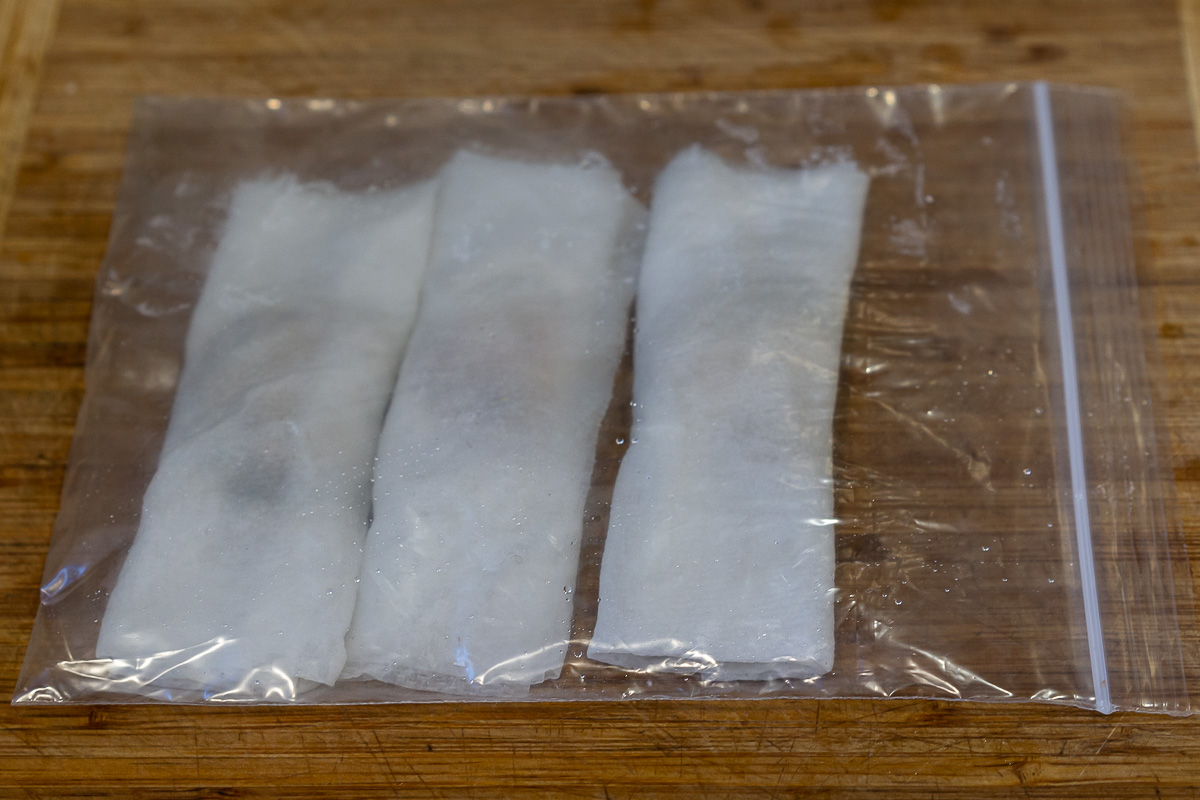
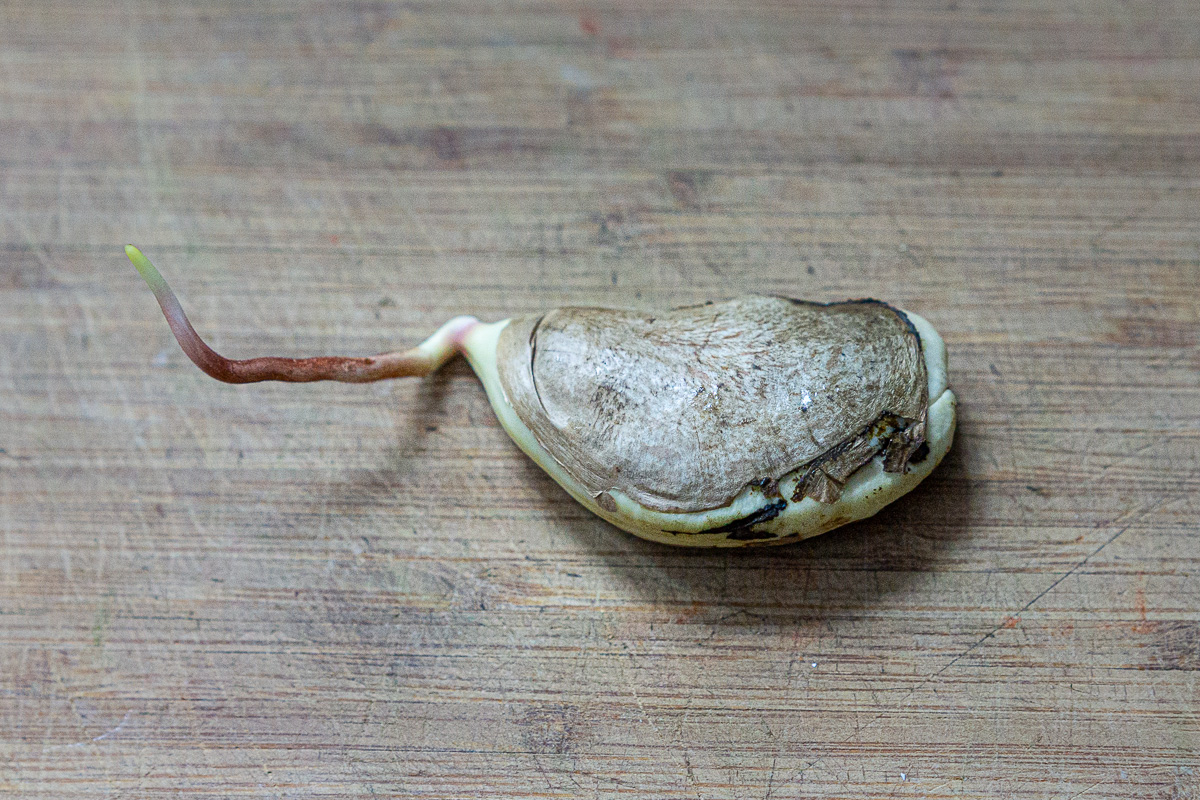
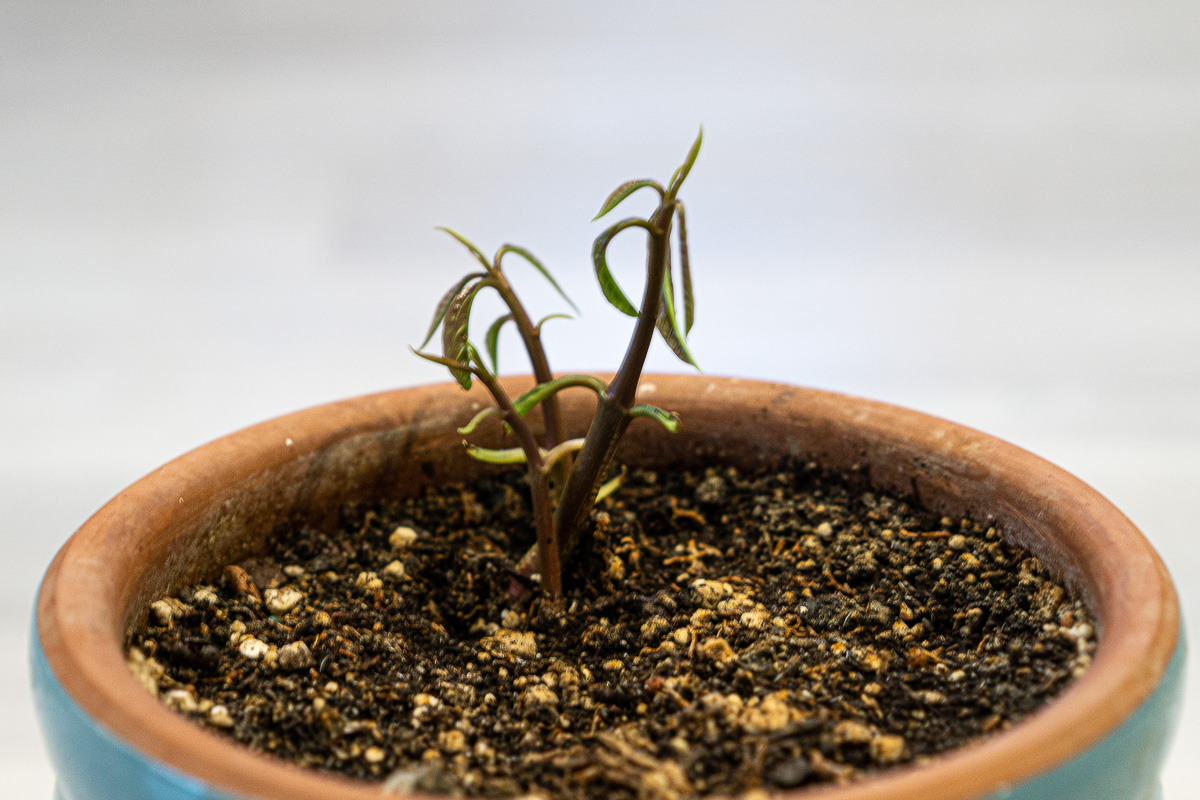
Once you have your materials together, here’s what you need to do.
- Enjoy a fresh mango!
- Allow the seed to dry out for a few days
- Use the scissors to cut through the husk to reveal the seed
- Wrap the seed in damp paper towels and seal it in the plastic bag. Leave it somewhere dark and warm for a week or two, checking on it occasionally. Make sure it stays moist, but not moldy.
- After a few weeks, you should see some growth sprouting. At this point, your seed is ready for planting.
You may want to try this with several seeds at a time. We tried did this with a handful of seeds, and found that not all of them sprouted.
Colored Plants Experiment
This is a great experiment to demonstrate how plants draw water from their roots.
- One or more Glass Jars
- Food Coloring
- Water
- Flowers or Celery Stalks
You can do this experiment with a single jar, though it’s more effective to have several jars each with a different color of food coloring.
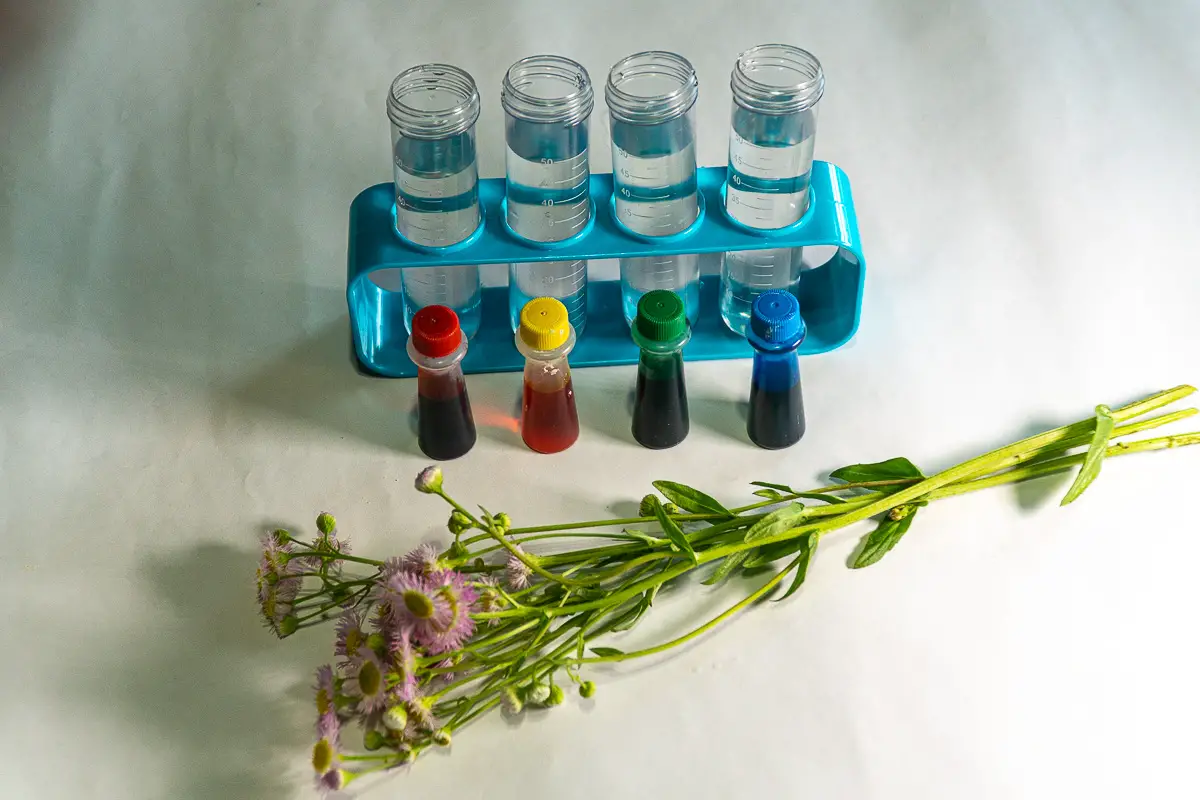
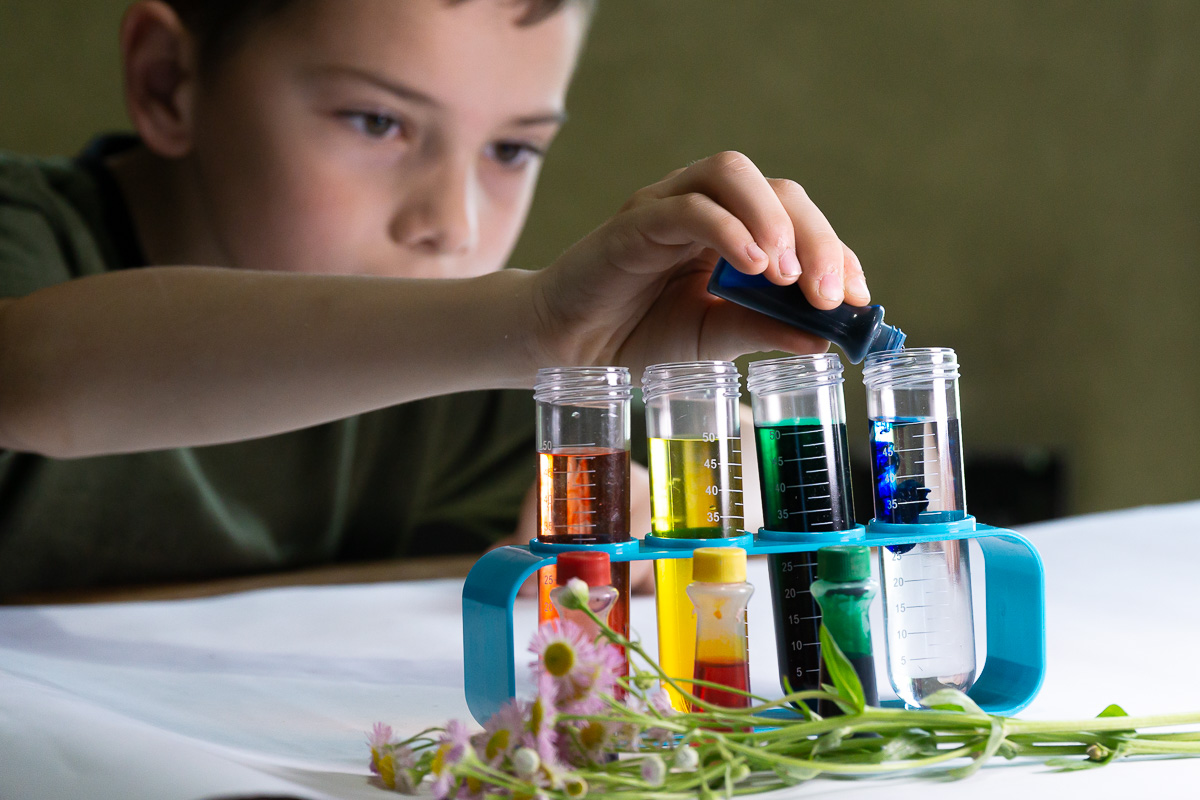
- Fill each jar with water (we used some test tubes)
- Add a few drops of food coloring in each jar
- Place a cutting of each a plant or flower into each jar.
- Wait and observe.
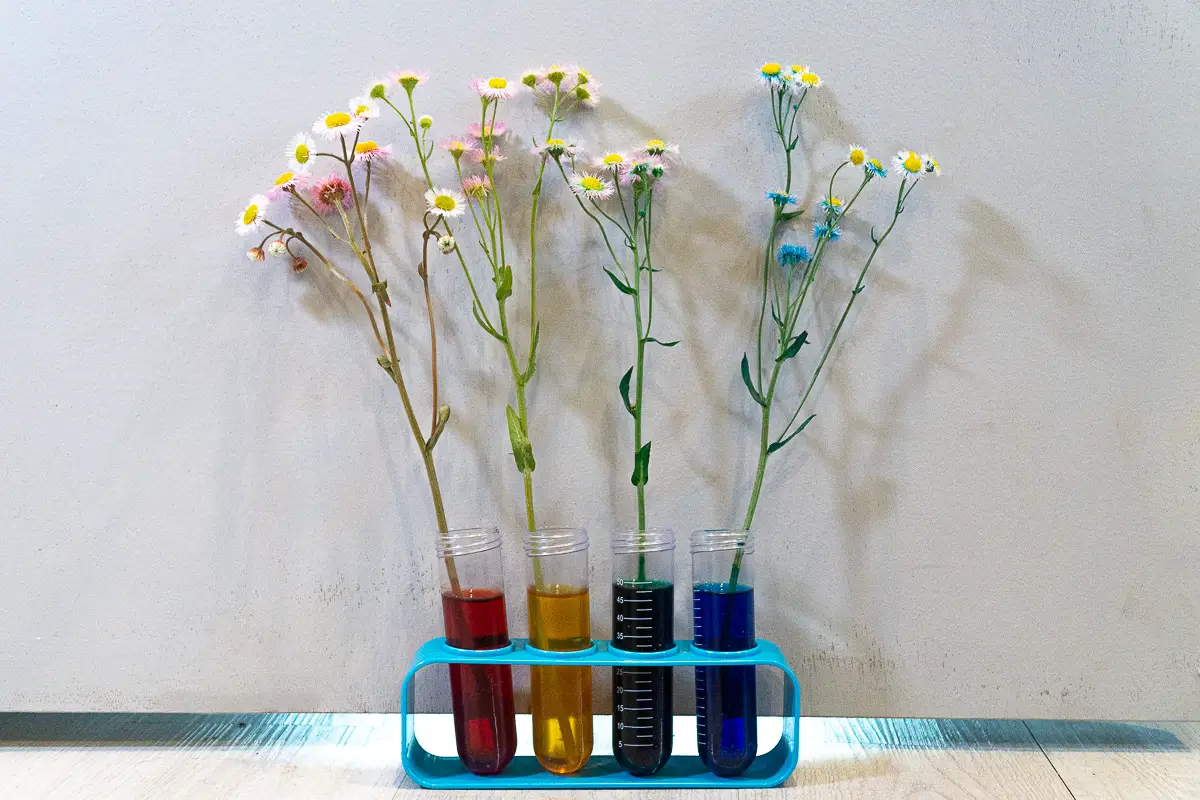
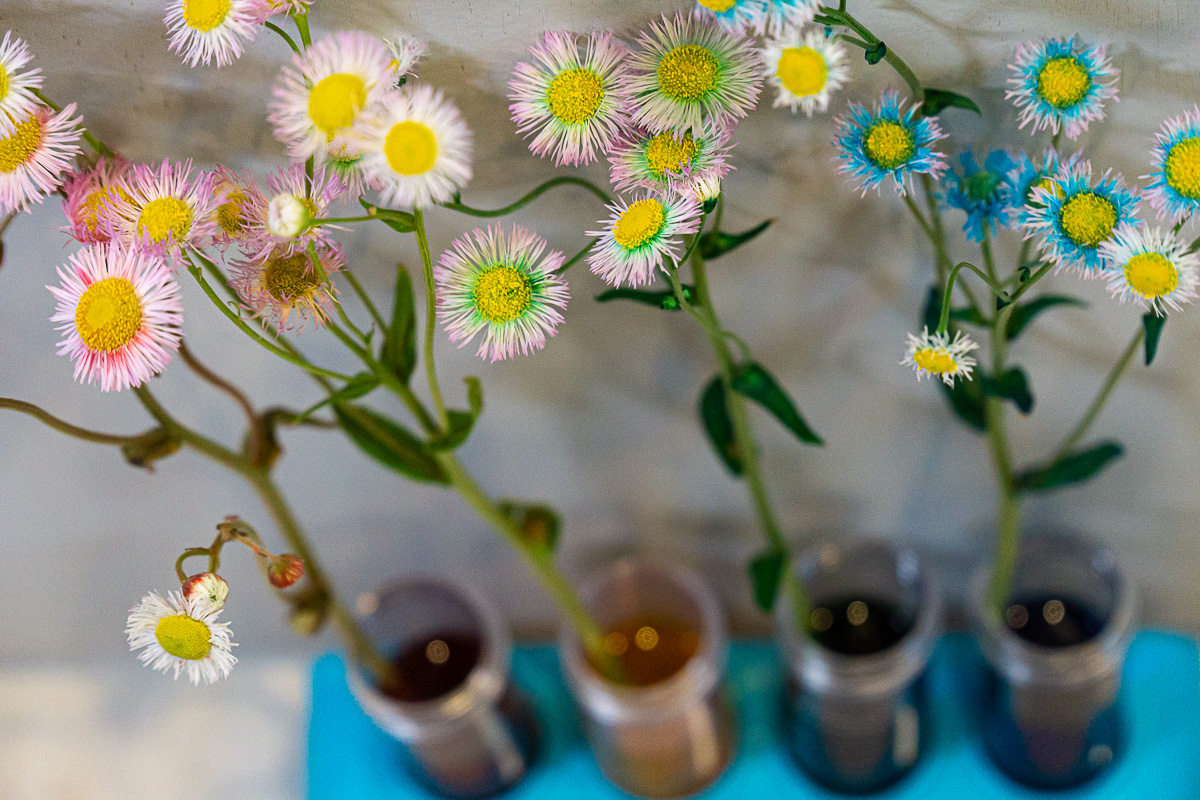
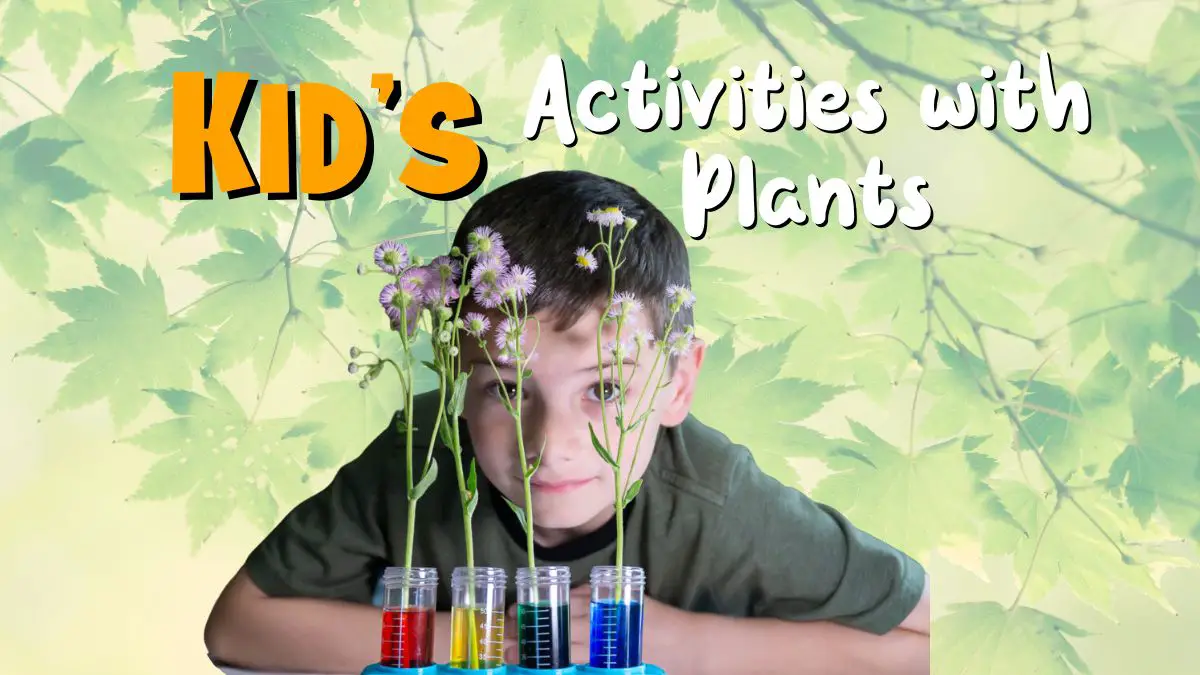
You’ll notice the plant or flowers start to take the shade of the color of the water they are in. The plant draws the colored water through up through its stem, including the dyes in the food coloring. As the plant absorbs more of the dye, the color comes out in the plant itself.
Learning how Plants Breathe
Did you know that plants can breathe? Much the way we breathe in various gases into our lungs to use the oxygen in the air, plants have a similar process. Plants use their leaves to exchange carbon dioxide gas, sunlight, and water for oxygen.
We’ve got a simple experiment so you can see it happen! Check it out to learn more about how plants breathe in our post about photosynthesis activities.
Bark Rubbings STEAM Activity
Here’s a fun STEAM activity where we’ll get outside and make some Bark Art. You’ll only need a few thing for this simple art project:
- Paper
- Crayons
- A Tree
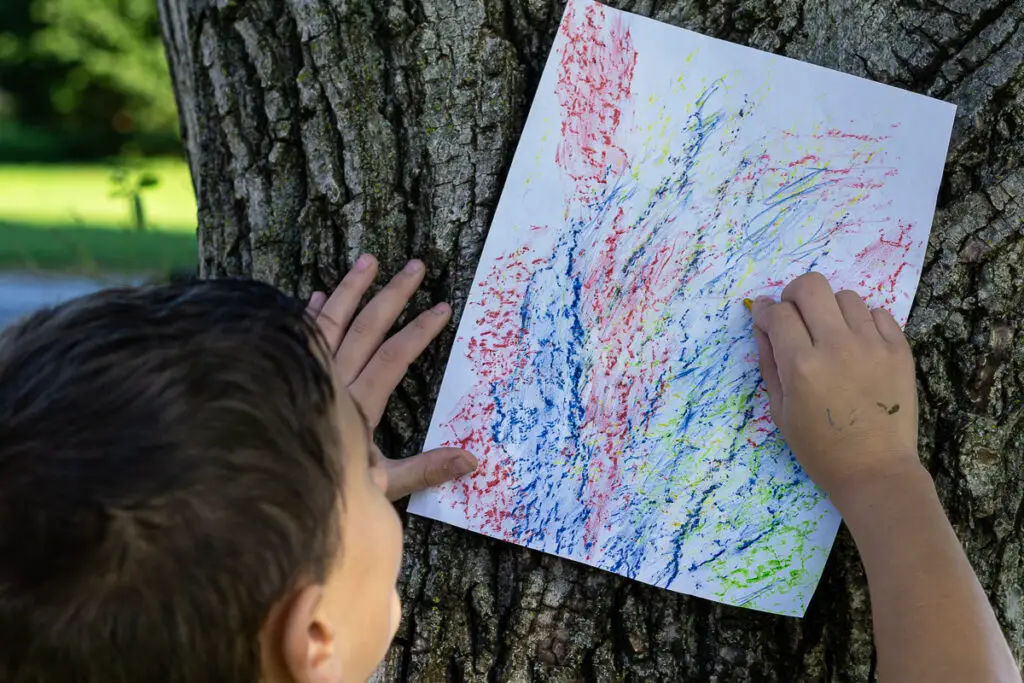
This is a quick and easy art project that’s great for kids of any age. Once you have your paper and some crayons, here’s what to do.
- Find a tree with an interesting bark texture
- Put the paper against the bark
- Rub the crayon over the paper. It may help to remove the crayon wrapper and use the side of the crayon.
As you’re doing your rubbing, take some time to observe the tree and examine the bark. Why did you select that particular tree? What makes its bark different from other trees around it or other trees you have seen?
You can do a similar art project with leaves. Check out our leaf rubbing art project to follow along, or try painting with chlorophyll.
Plant Pigment Art
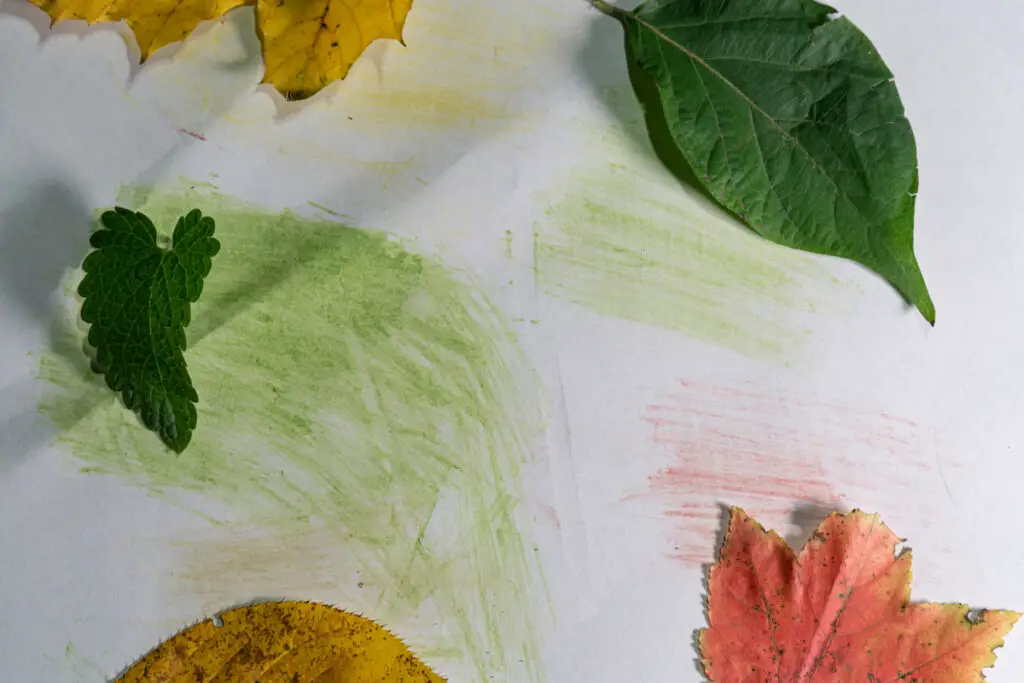
This is a great STEAM art project, especially in autumn when the leaves are changing colors. Simply gathering up different colored leaves and rubbing them on paper is enough to use the color of the leaves to create some unique artwork.
Create with us in our post about activities with photosynthesis.
Composting
Composting is a great way to recycle organic waste and turn it into nutrient-rich soil for growing plants. It’s also a wonderful way to reduce household trash and save money at the same time.
Not everyone knows where to find compost bins, or how to use them properly. So here are some tips for making compost at home. If you don’t already have a compost bin, it’s easy to make one out of a storage tote by drilling drainage holes in the bottom. You’ll need to open up the container and stir it every so often, so there is some maintenance involved. We started with a storage bin, and upgraded to a “real” compost bin once we saw how much we reduced our garbage by composting. You can easily find bins like this one we use online or at local hardware stores.
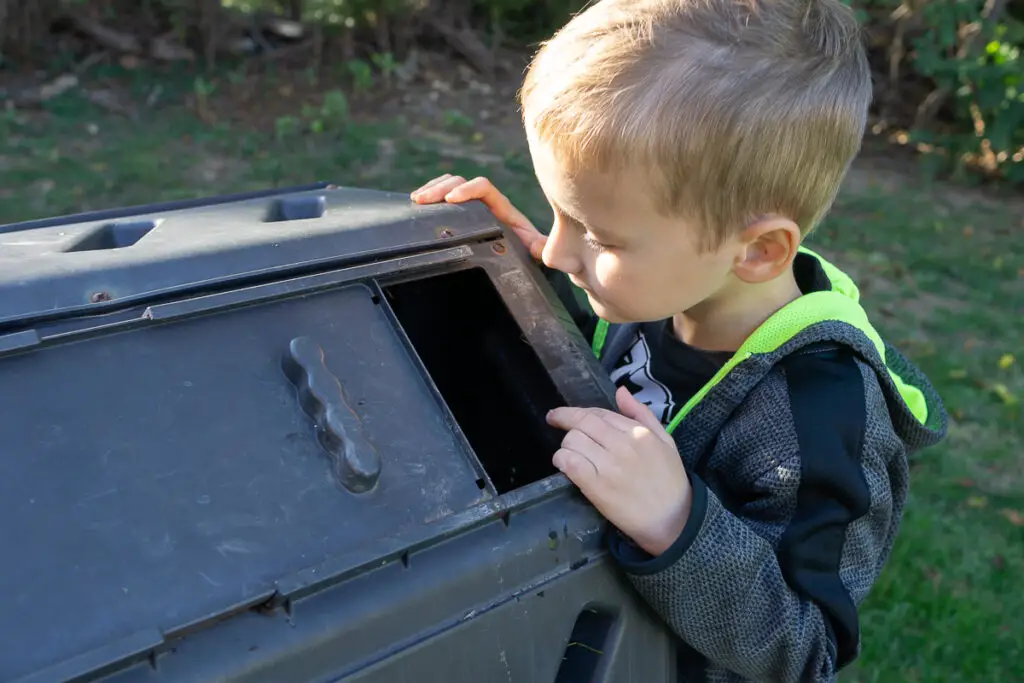
Now that you have your bin ready to go, you can follow some simple steps to get started:
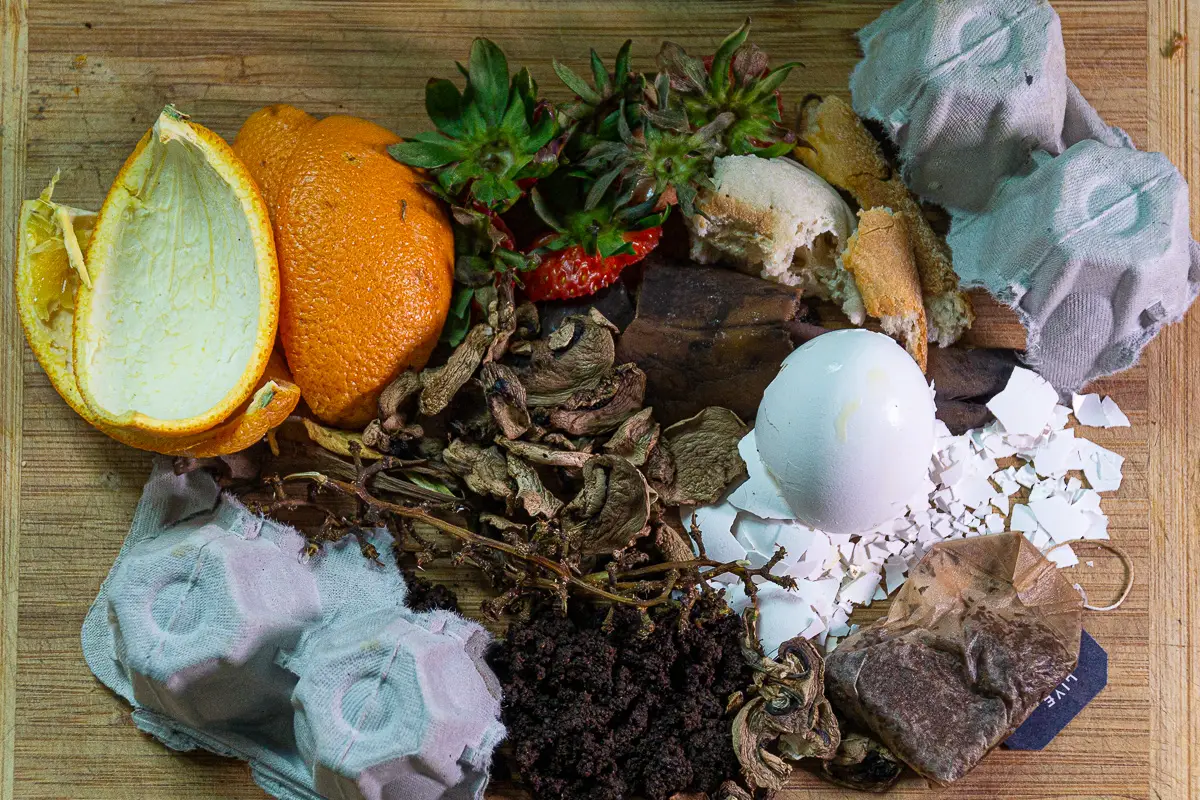
- First, you need to collect organic material. This includes fruit or vegetable scraps, grass clippings, leaves, scrap paper or cardboard (non-glossy) etc.
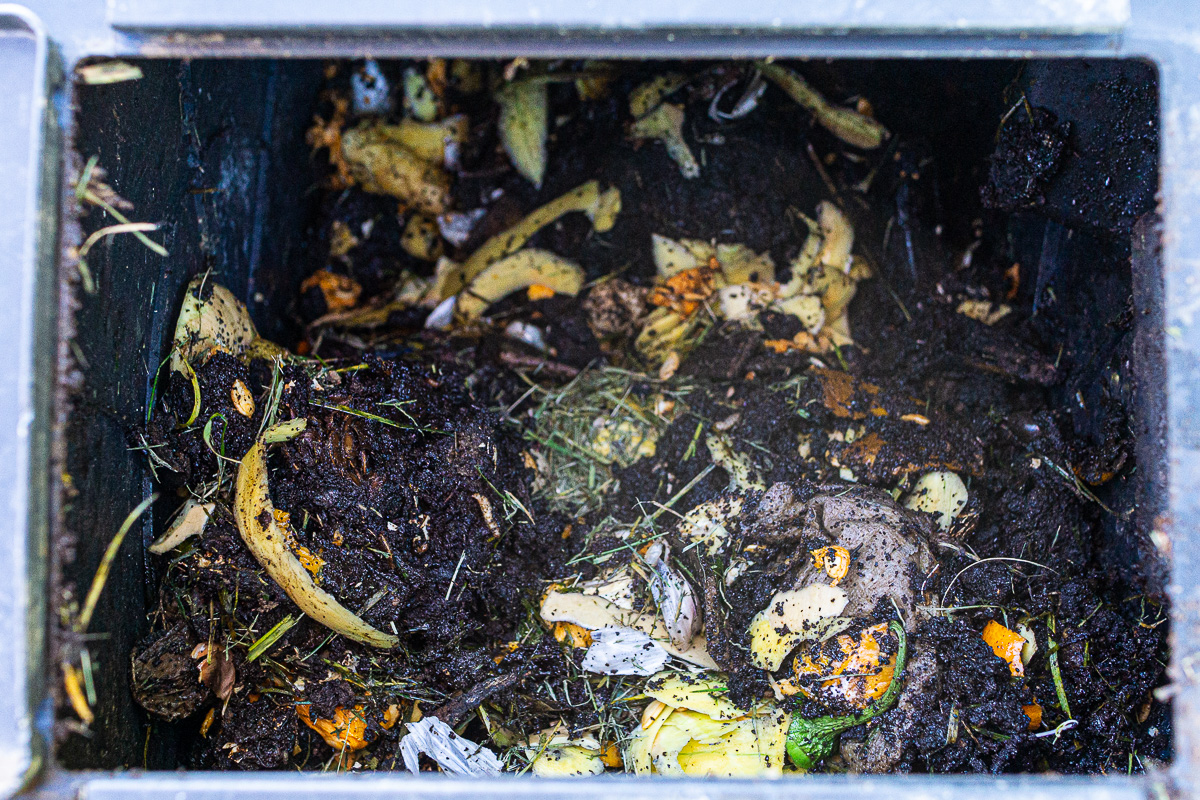
- Next, place these materials in your bin. Make sure there’s enough room inside the bin for air circulation.
- Then add water (1/2 inch deep) and stir up the mixture to aerate the compost.
- Wait for your compost to decompose, aerating it from time to time.
You probably don’t want to run out to the compost pile every time you have a scrap of something to add. Let’s face it: if it’s not easy, we’re less likely to follow through.
To make it easier, we keep a ceramic container on the kitchen counter to temporarily hold items destined for the compost bin. Coffee grounds, tea bags, vegetable scraps, orange or banana peels, apple cores, egg shells, tissues, paper towels, etc. all go in the bin. You can easily find kitchen compost bins like this online.
Once our container is full, we’ll dump it outside in the compost bin and give it a spin. We’ll sometimes add paper materials like shredded junk mail or egg cartons. If you want an even easier way to compost, you can get fancy and look into composters that are designed to operate inside like this one.
Composting is an effective method of recycling organic materials. It is a natural process that breaks down food waste into rich soil. In addition to being environmentally friendly, composting is easy and inexpensive.
Composting quick facts:
- Composted material adds nutrients back into the soil.
- Compost makes fertilizer for your vegetable garden, flower beds, or house plants
- Compost is a great way to recycle organic waste.
- Compost bins are available at most hardware stores.
- Compostable materials include grass clippings, leaves, paper products, and kitchen scraps.
- Compost contains beneficial bacteria that help break down organic matter.
Wrap Up – Botany and Gardening Plant Activities for Kids
Plant and gardening activities can provide some fun ideas for hands on learning experiences for kids. Some plant projects are great for home or classrooms, while others provide the opportunity for outdoor activities.
Learning to propagate plants and learn how they grow is a great introduction to plant science, while composting cuts down on waste while helping plants grow.
For more on plants, check out our activities with photosynthesis.



6 responses to “Awesome Plant Activities: Botany and Gardening for Kids”
Your writing really resonates with me, thank you for sharing.
This article is an essential read for those seeking a comprehensive view of the subject.
Your content adds value to the online community.
Your blog always provides great insights.
A well-researched and thought-provoking article. Kudos to the author.
This is one of those articles I’ll be sharing with everyone. Too good to keep to myself.