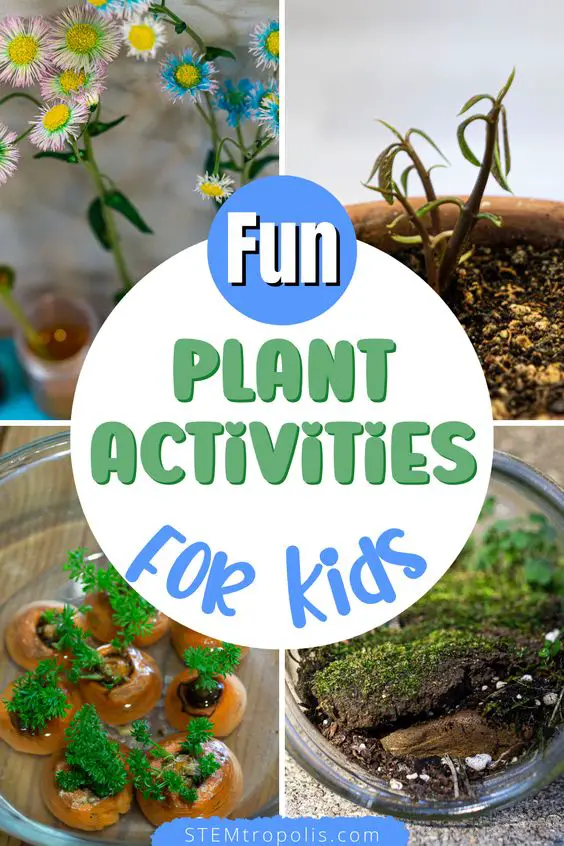
Teaching Young STEM students about how plants get their energy, how they grow, and why it’s so important for our ecosystem is no easy task. However, a few simple learning activities can make it easier for them to understand through experience. Let’s look at some of the educational STEM activities that you can use to teach the process of photosynthesis.
Photosynthesis is the process where plants use water (H2O), carbon dioxide (CO2), and energy from sunlight to create sustenance in the form of glucose (C₆H₁₂O₆) and release oxygen (O2)into the atmosphere. A few activities, experiments, and projects help demonstrate how photosynthesis works, making it easy for young children to understand.
*We’re an affiliate – we may earn a commission through qualifying purchases from the links on this page. As always, thanks!*
Photosynthesis can appear complicated, and some of the finer details of our knowledge of the process will definitely aid you in unpacking the concepts on a basic level for young children. So let’s take a look at what photosynthesis is and then inspire you with some STEM and STEAM activities that can help kids “learn by doing.” Let’s explore!
What Is Photosynthesis?
Photosynthesis is how plants convert water, sunlight, minerals in the soil, and carbon dioxide into glucose and oxygen. Put that way, it sounds simple, though the chemical process is a bit more complex. Let’s look at the three stages of photosynthesis and the scientific explanation of exactly what’s behind this life-creating phenomenon:
Stage 1: Absorbing CO2 & H2O
Carbon dioxide is produced by animals (and humans) when they breathe, through the decomposition created by human activities, such as burning fossil fuels, and natural events like volcanic eruptions.
Unlike animals who breathe in oxygen from the air and release carbon dioxide, plants absorb carbon dioxide through stomata. Stomata are microscopic pores that you can find on plants’ stems or the underside of their leaves. Furthermore, they will absorb water and minerals through their roots (note that some plants like mosses do not).
We’ll do an activity that will show us evidence of plants “breathing.”
Stage 2: Add Sunlight & Energy
Plants need energy to turn carbon dioxide and water it into glucose and oxygen. This chemical reaction is powered by absorbing sunlight into the plants’ leaves. This is why sunlight is so important to plants.
The chloroplast within the leaves of a plant use chlorophyll, the pigmentation within the leaves that makes a plant green, to absorb energy from sunlight in the form of red and blue light waves.
The chemical equation for photosynthesis is expressed like this:
6CO2 + 6H20 + Sunlight → C6H12O6 + 6O2
The light energy from the sun creates a reaction within the chloroplasts (organelles that conduct photosynthesis) that will separate hydrogen and oxygen molecules from water. When carbon dioxide and pure hydrogen are combined in a chemical reaction, the result is glucose, which is a major source of energy for the body’s cells.
The glucose is used to help the plant grow and repair. Glucose is a sugar stored within the plant that can be consumed by people and other animals and serve as a source of sustenance.
Stage 3: Storing Glucose & Releasing Oxygen
Plants store glucose to grow and stay alive and use the minerals and other nutrients absorbed through their roots and from the soil to grow more leaves, flowers, and fruits.
Glucose is also used to create carbohydrates like cellulose, which helps strengthen plant cells, or starch, a molecule used to store energy.
Grazing animals like cows and horses can eat grass for energy and nutrition because their biology allows them to digest cellulose –unlike humans, who cannot. The fibers found in cellulose foods like broccoli or celery can aid with digestion, however. (And they can also reduce your risk of cancer or be used to create synthetics.)
Photosynthesis, in short, is a critical process to ensure the survival not only of plants but of the animals that eat them and all living organisms on the planet.
Now that we understand how the process works, let’s explore a few activities!
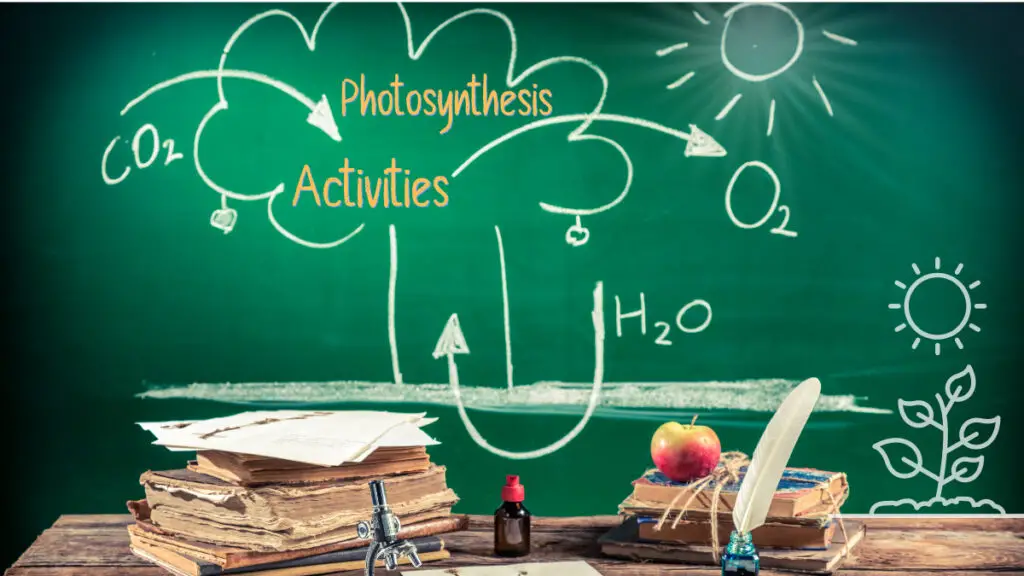
Fun STEM Activities For Photosynthesis (and STEAM!)
While it helps as an instructor or parent to know all of the ins and outs of photosynthesis, the concept may be difficult to fully understand at first (especially for elementary school age.) A few fun and simple hands on activities can help explain the basics and make the process easier to understand.
Photosynthesis Diagrams
A good place to start with photosynthesis is to explain it visually through 2D or 3D diagrams or models.
For example, you can draw diagrams of leaves, both the topside and underside, to show where the photosynthesis takes place (i.e., fibers using stomata and chloroplasts.)
Another option is to use their arts and crafts skills to use paper cutouts that explain the photosynthesis process, indicating how carbon dioxide, sunlight, water, and minerals combine to create glucose and release oxygen.
Another great activity that can help visualize photosynthesis is to use envelopes attached to leaf cutouts to exemplify what comes in and what goes out through the process.
Use post-it notes to represent molecules and arrange which molecules are absorbed by the plants and add them to the “IN” envelope and add post-it note molecules to show what is released in the “OUT” envelope.
Simple Experiments & Observations With Leaves
As you may have gathered by now, leaves are critical to photosynthesis. Therefore, you can conduct various experiments and observe what happens to leaves under certain conditions and explain how their environments shape their color, composition, and overall health.
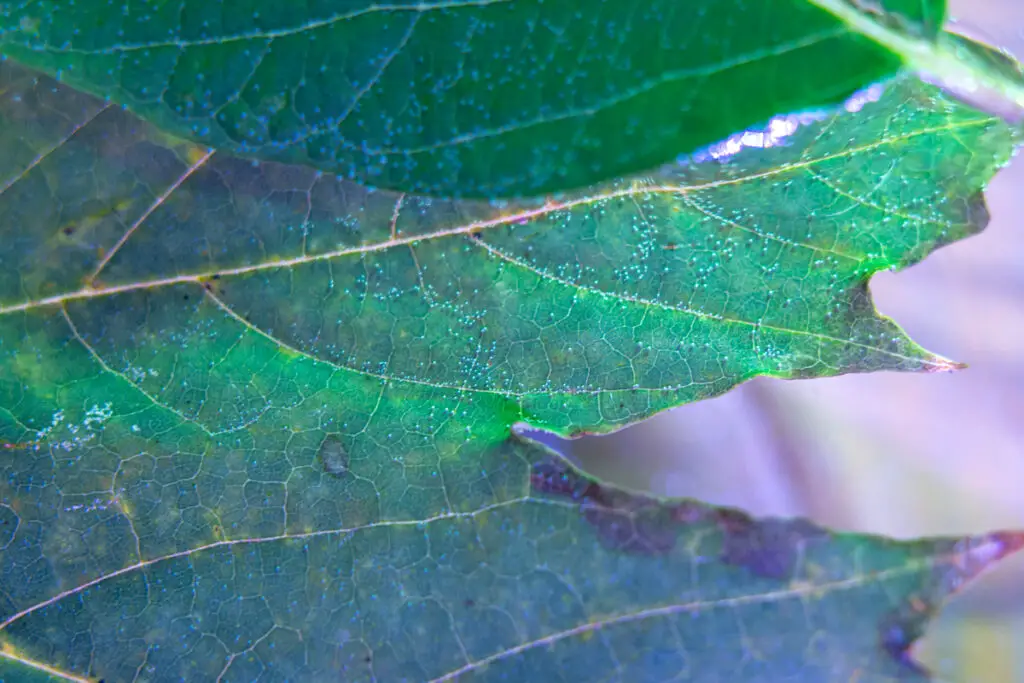
Watching Plants Breathe
One such example is to explain plant respiration by submerging leaves in water. The typically invisible process of exchanging carbon dioxide gas, sunlight, and water for oxygen is visualized when you submerge leaves in water, with the oxygen forming small bubbles around the leaves.

You will need:
- A clear glass bowl – you can use clear plastic as well, though we found glass bowls were easier to see through
- A leaf from a live plant. Fallen or dry leaves won’t work for this experiment (We used leaves from several different green plants to compare.)
- Fill a glass bowl with water
- Place the leaf in the bowl. Make sure the leaf is submerged under water.
- Try to find a sunny spot for your bowl. In the summertime, you can place the bowl outside. In the winter, try to find a window where a lot of light comes in. (We did our experiment in autumn just as the leaves started changing, and used a grow light to supplement the sunlight.)
- Wait – This is the hard part. You will need to wait a few hours as photosynthetic activity takes time to happen.
- Observe – As the leaves give of oxygen, you should see bubbles start to form on the underside of the leaves. The little dots on the leaf below are oxygen bubbles forming underwater.
Another example of how to simply observe plant structures is by inspecting leaves’ stomata through a microscope. You can also observe other parts of plants to see how they gain mass and their structure changes over time.
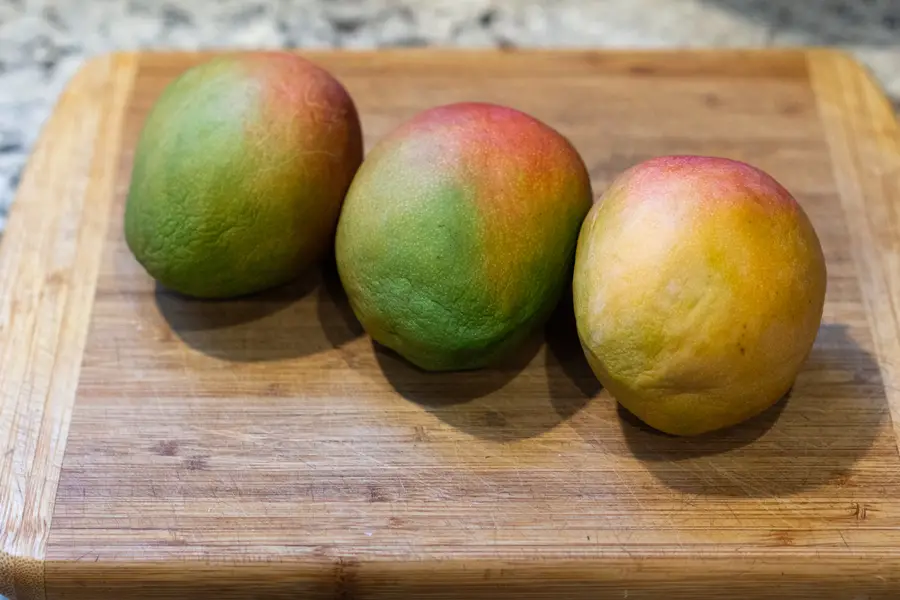
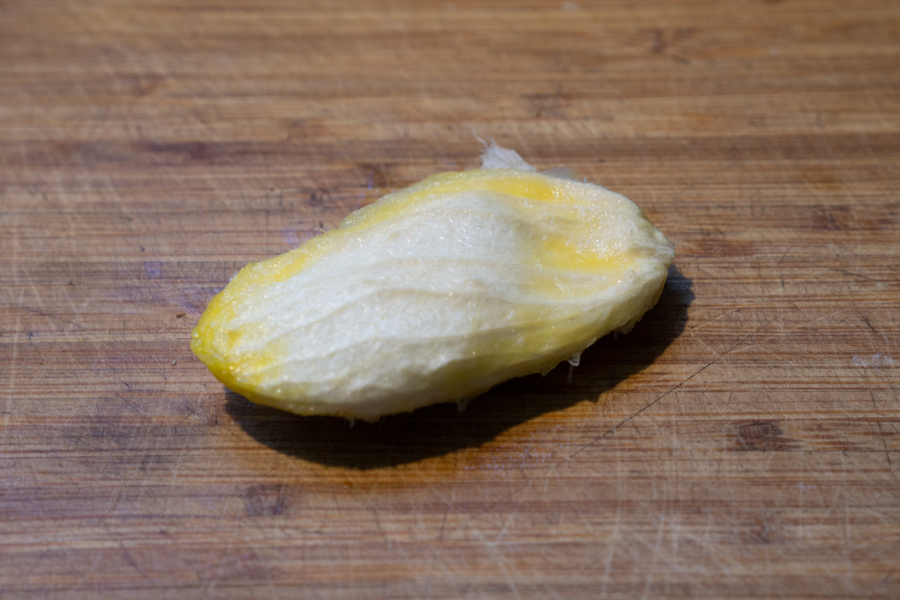
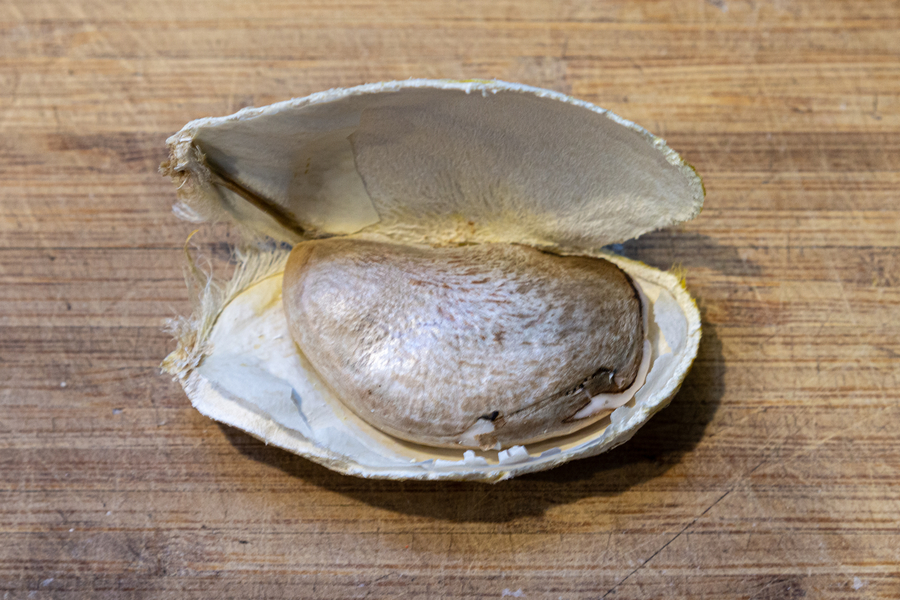
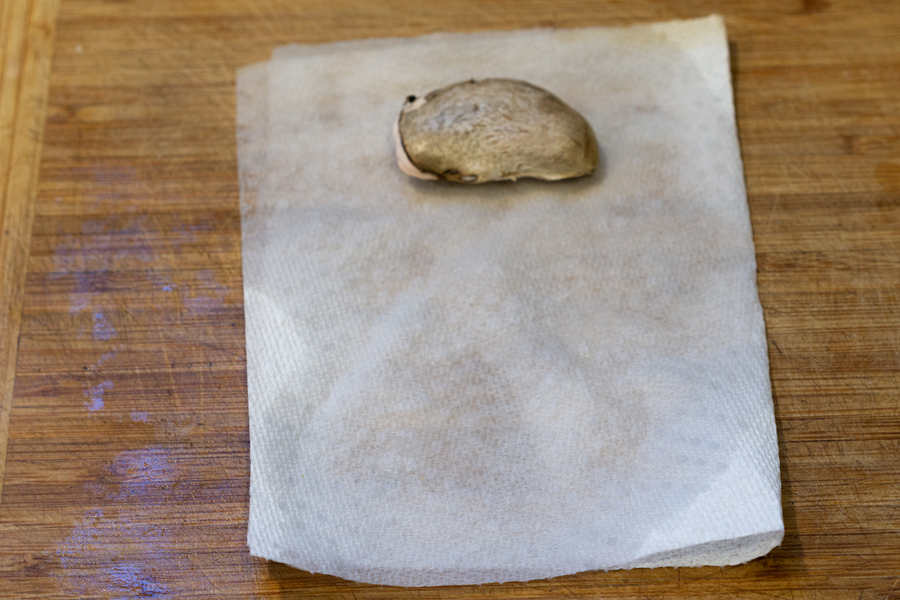
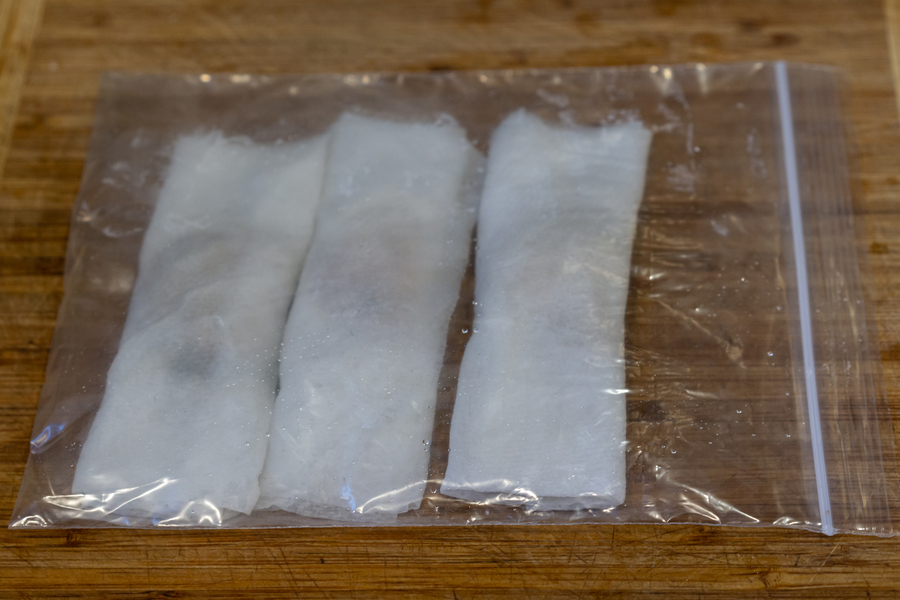
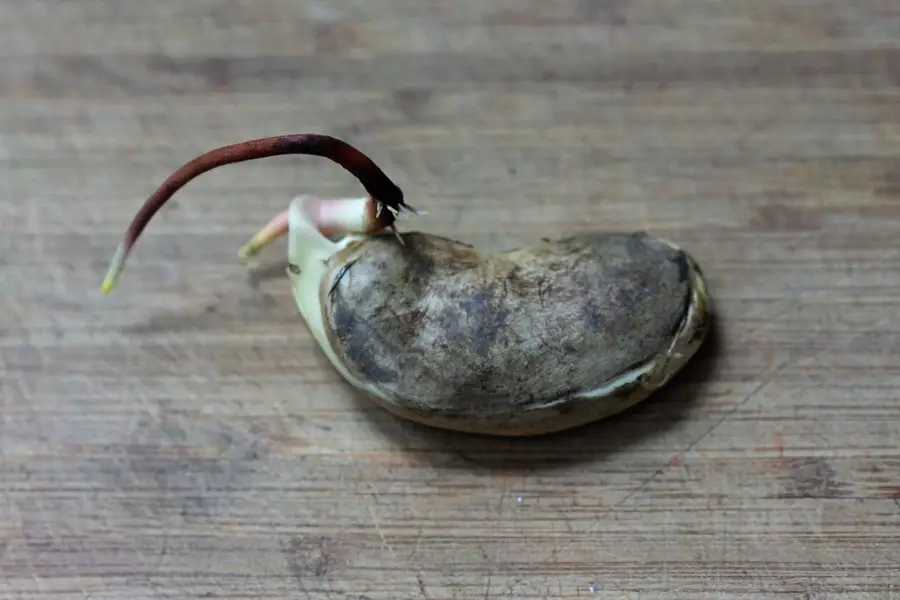
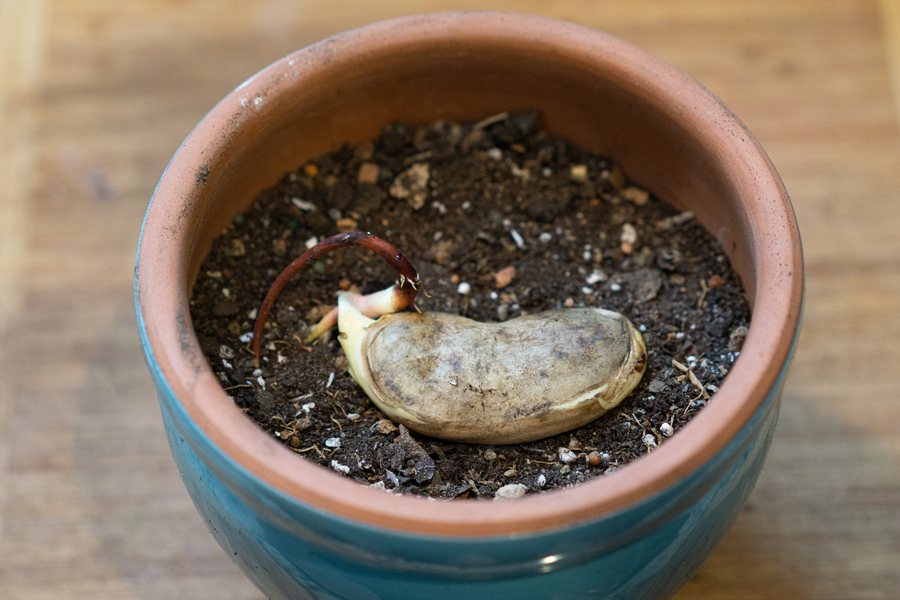
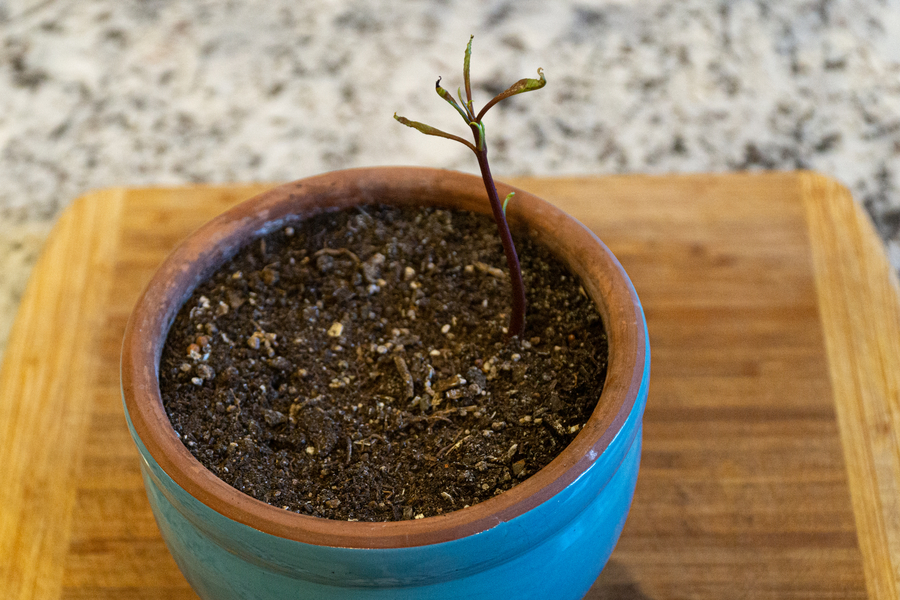
Growing Plants from Seeds
The best way to understand photosynthesis is to simply recreate the process by letting nature do what nature does and getting your students to grow their own plants from seedlings. It is a long-term exercise and perhaps best reserved for individual assignments, projects, or even year-end assessments.
One of the best ways to learn is by growing the plants by placing them in varying levels of sunlight over time to see how they grow over time, in accordance with their changing environments.
We grew a mango tree from a seed. You can see this process in the photos here:

Observing plants positioning themselves to follow the sunlight
It’s also useful to show your kids how active plants are and how they move and position themselves to absorb as much sunlight as possible. They will be amazed at how different conditions can completely change the color and composition of the plants, giving them greater insight into how useful photosynthesis really is.
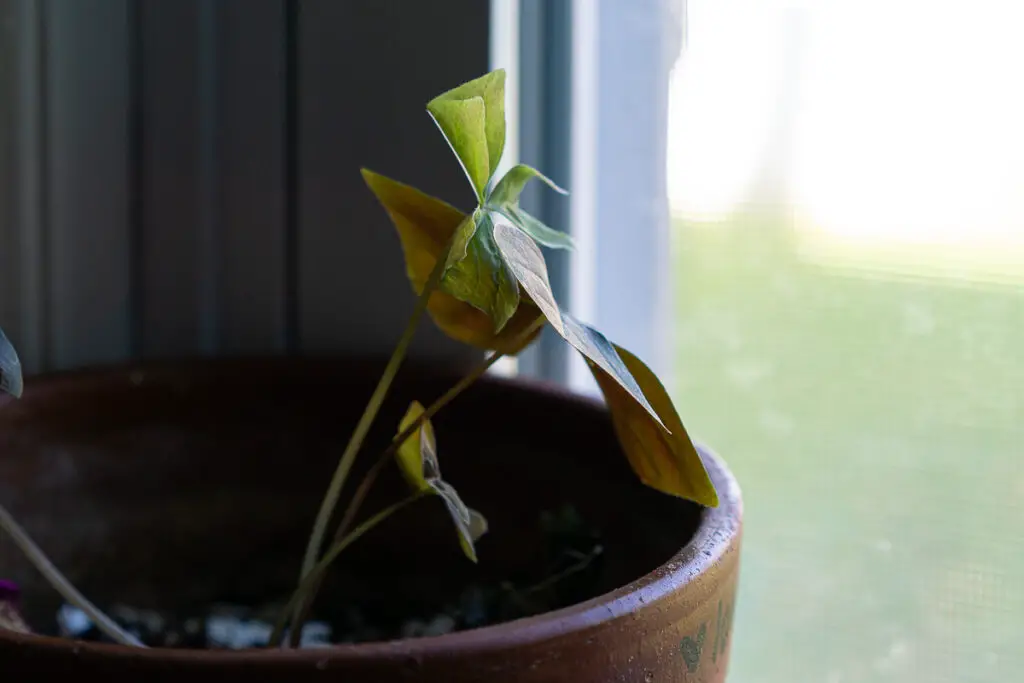
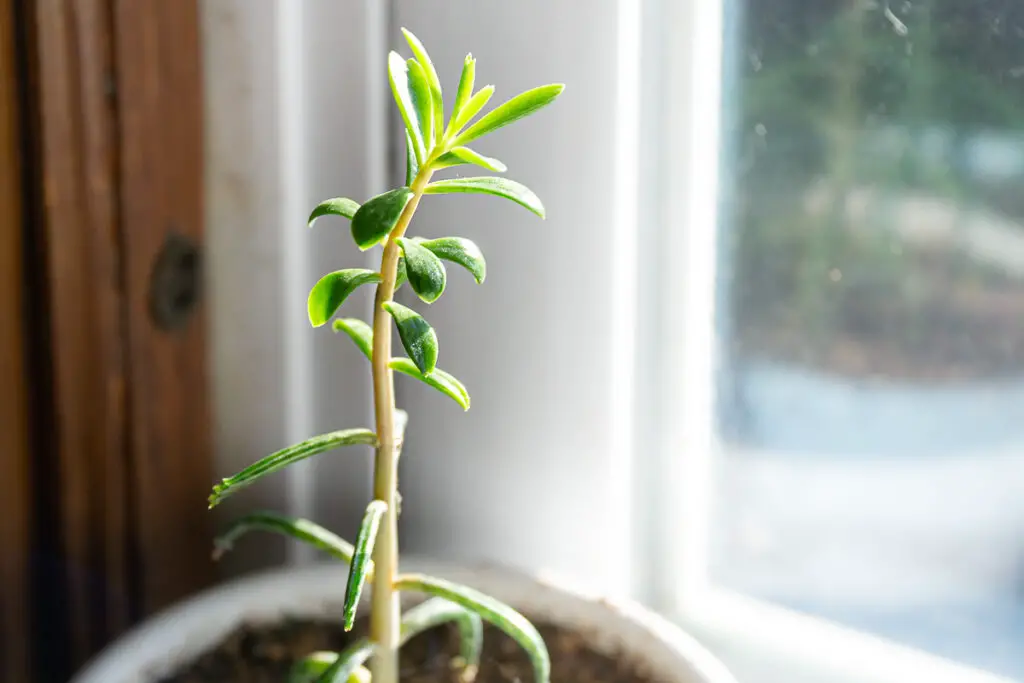
This can be observed by simply turning a potted plant on a windowsill. Typically, a plant will angle its leaves to absorb the most sunlight, especially when sitting in a window where it may get direct sunlight for only one direction. In the evening, observe the position of a plant’s leaves, and rotate the pot 180 degrees so the leaves are angled toward the interior of the room. You can peek at it throughout the next day, though if you check toward the end of the day you should find that the plant is now pointing back towards the window as it tries to get the most sunlight.
Exploring Plant Pigmentation and Chlorophyll – STEAM Art Project
The pigments in chloroplasts, a.k.a. Chlorophyll, are green, and kids can understand why leaves are green and how the photosynthesis process makes it so.
One fun way to demonstrate this is through chlorophyll paintings to tap into kids’ creative sides for an artsy STEAM project. You can do this by using leaves as a stand-in paintbrush and rubbing the pigment off onto papers as a medium for a “green” art project.
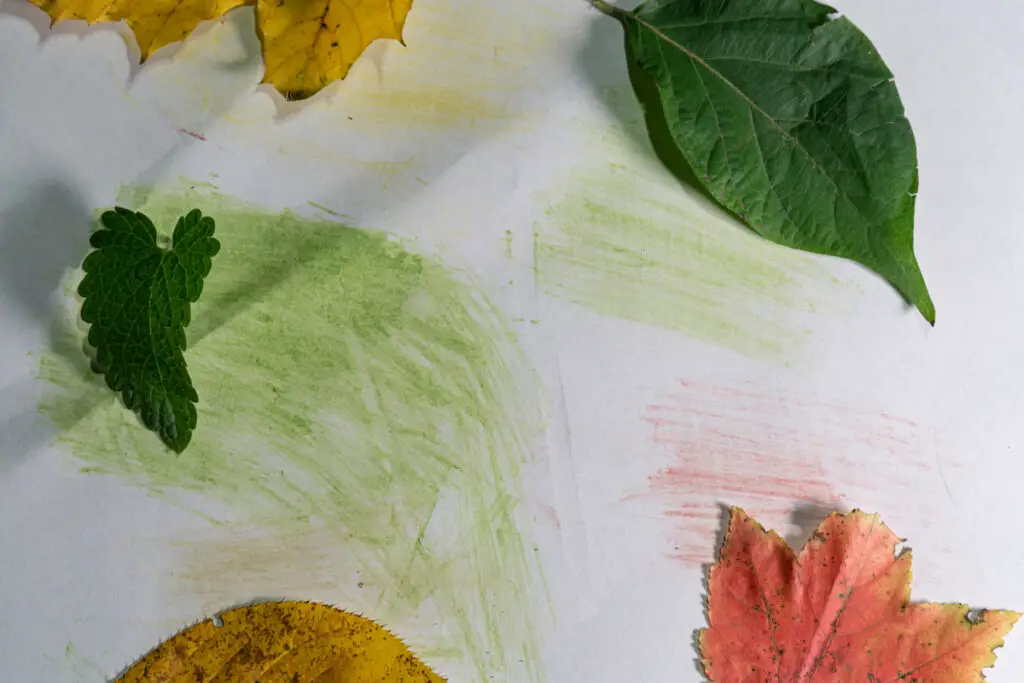
Furthermore, you can conduct a year-long exercise to explain how the pigmentation on leaves will change over the seasons, going from the green color they take in the spring and summer and how they turn brown during the fall and winter. This can be especially fun if you use the leaves from the same tree in summer into autumn, and can get different colors from the same tree. Note the colors that come from the green leaves in the summertime vs yellow or red leaves in the fall.
Leaves change color due to the amount of sunlight; without sunlight and the photosynthesis process, leaves will not produce chlorophyll and will therefore lose pigmentation.
Which colors were the most vibrant? Which ones were the easiest to use? (For us it was the green pigments!)
You can also experiment with exposing leaves to rubbing alcohol, coffee, and other household items that cause discoloration.
Leaf Rubbing Art Project
For another STEAM art project, you can use leaves to do some neat rubbing art.
You will need:
- A leaf
- A piece of paper
- A crayon or pencil.
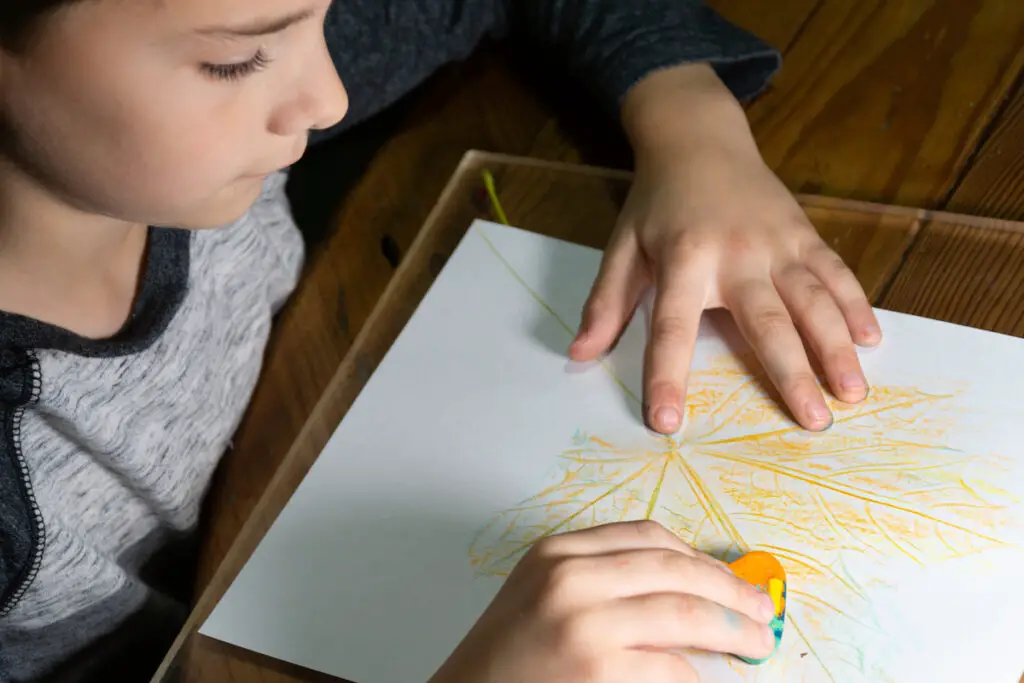
Simply place a piece of paper over your leaf, and rub the crayon over top of it. The texture of the leaf will come out in the paper. (If you’re using colored pencils, use light pressure at first and increase pressure until you start to see details of the leaf.)
Pro tip: Try using the side of the crayon instead of the tip. This lets you cover a greater area, and spreads the pressure across the length of the crayon instead of focusing pressure at the tip. We made our own “geode” crayons from crayon scraps which were perfect for rubbings – find out how to make your own in this post on STEM activities with Household Items,
Experiments with different leaves and colors. You can also try different types of paper and for different looks and effects.
Wrap Up – Photosynthesis STEM Activities for Kids
Photosynthesis is a complex biochemical process where plants convert carbon dioxide, water, and minerals into oxygen using energy from sunlight. These activities are a great way to learn about photosynthesis and how plants grow. For more fun with plants, check out our post on gardening, botany, and plant activities for kids.