The mBot2 is a popular robot kit in both classrooms and homes. It’s a friendly way to introduce kids to coding and robotics – and it just got an upgrade. You need to check out the mBot2 Rover Robotics add-on.
The mBot is great in classrooms, STEM lab settings, or indoors at home. It’s famous for following tracks and paths on placed on the floor. The Rover Robotics Add-On Pack opens opportunity for outdoor exploration, enabling users to take their robotics projects beyond the classroom or living room floor.
This kit introduces customizable expressions, empowering users to personalize their mBot2’s appearance and behavior.
Whether it’s traversing new terrains or initiating imaginative programming challenges, the mBot2 Rover Robotics Add-On Pack is a worthwhile upgrade. Let’s explore!
mBot Rover Add On
Key Features of the mBot2 Rover
Key Features
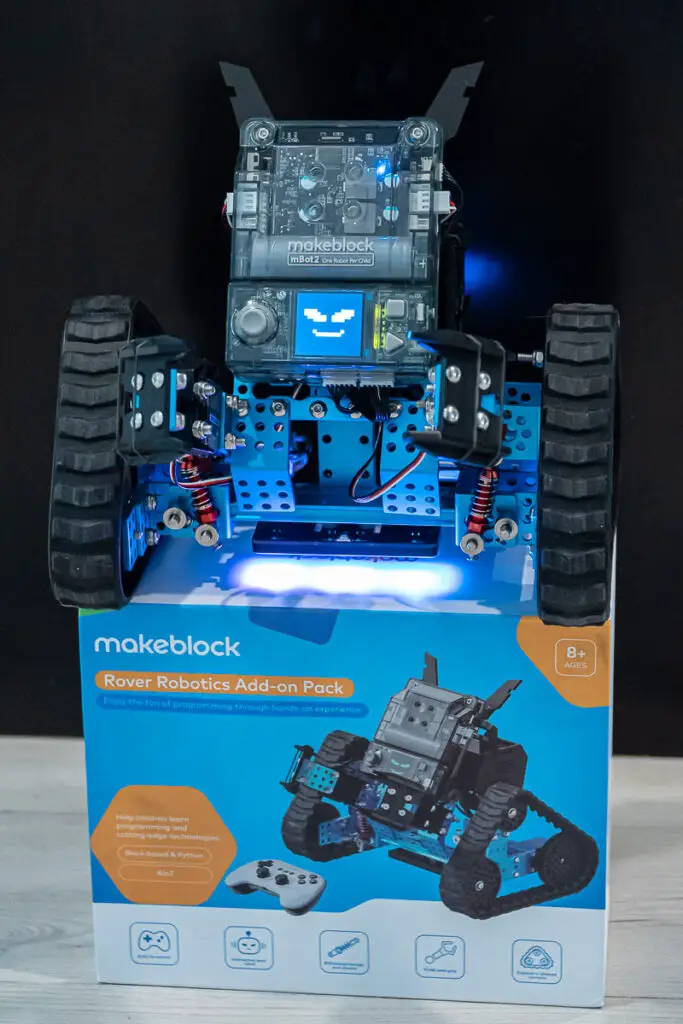
Tanks treads – Take your mBot into the wild! Even though your upgraded mBot can traverse rough terrain, Makeblock says this will reduce damage risk by 90% over the original mBot2.
Better mobility – The treads let you take mBot Rover outside and over a variety of unlevel surfaces, which isn’t possible for the original mBot. The turn radius and tracking are much more precise, giving it more the mobility of a zero-turn.
AI Enhancements – The Rover add on brings emojis and expressions to the mBot. We’ve seen emotes in the Codey Rocky robot (our younger son loves Cody), though with some AI features, this is next level.
CyberPi – The same CyberPi unit is still the brains of the Rover, so it still has all the capabilities to program on its own, along with a few new tricks.
Overview of the mBot2 Robot
The mBot2 is an educational robot designed to enhance learning in STEM and STEAM disciplines. Students and hobbyists get hands on with hands-on experiences building the robot kit and developing their coding skills.
Equipped with an array of sensors and components, such as ultrasonic sensors, line-following modules, and programmable LED displays, the mBot2 offers versatility in projects and STEM challenges.
It supports both block-based and text-based programming languages, making it accessible for various skill levels. With the mBot2, users can explore robotics principles, improve problem-solving skills, and get creative through interactive and practical applications in a range of educational settings.
The mBot2 is a popular choice for classroom use, STEM clubs, and hobbyists alike. Check out our review of the mBot2 robot.
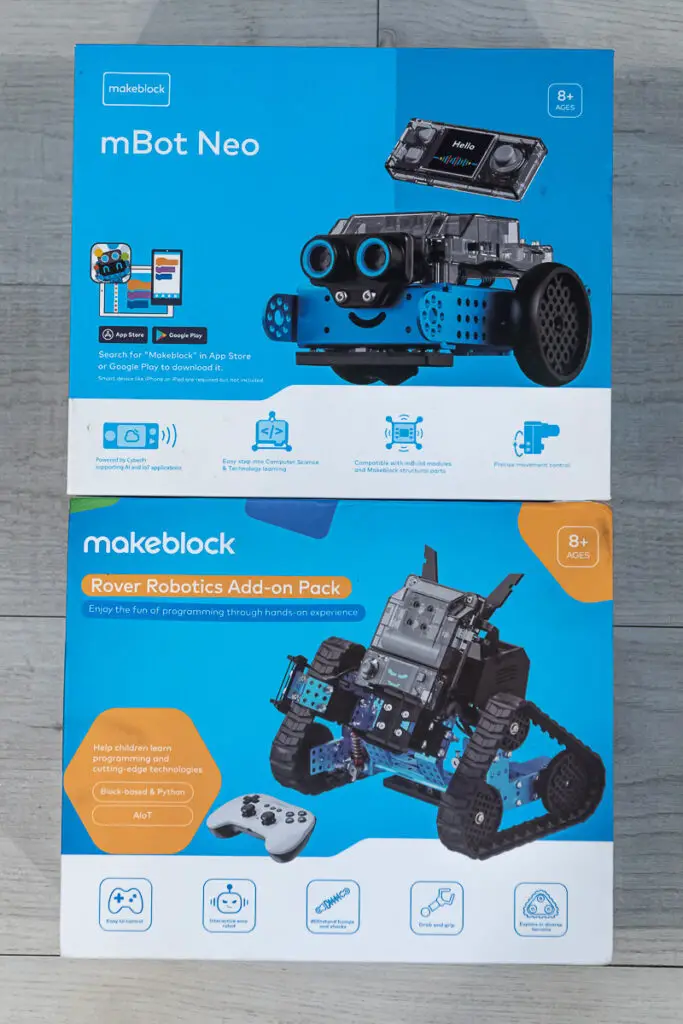
The Rover Robotics Kit is indeed an add-on, and requires a Makeblock mBot2 to build onto. Knowing that the Rover uses the parts from the mBot2 at its core, that means it still offers the best features of the mBot and the CyberPi.
We were a bit sad to dismantle our mBot2. It was a bit like saying goodbye to an old friend. We’ll look at it as a sacrifice in the name of progress and a change for the better. With the Rover Add on Pack, it has new parts and more capability.
Unboxing – What’s Included in the Rover Add-On Pack?
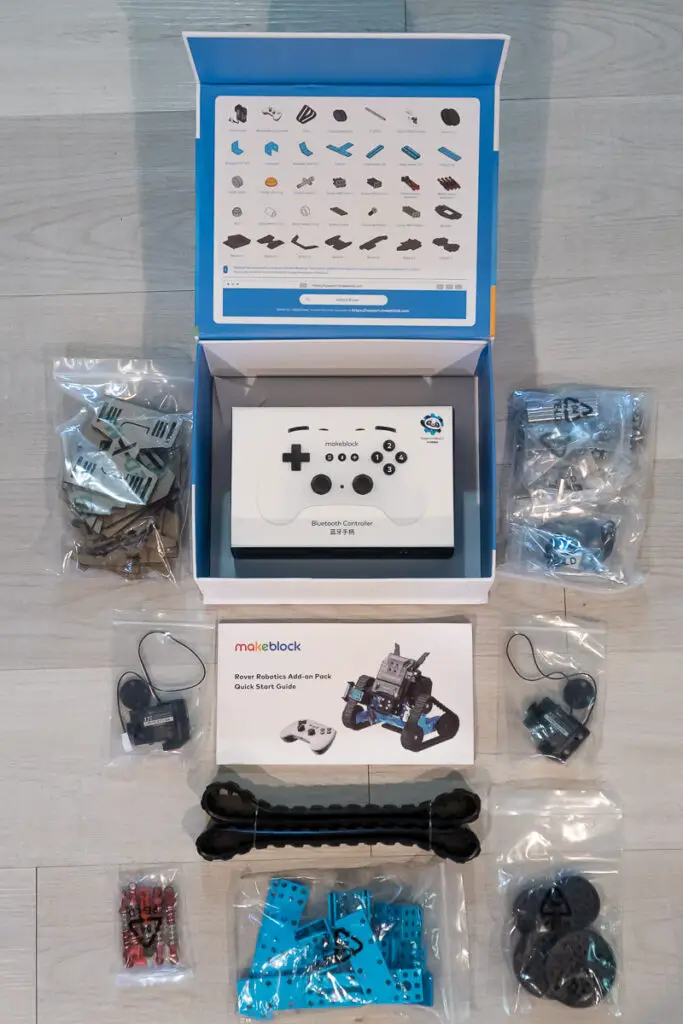
You’ll find a host of new parts in the Rover pack.
The Rover Robotics Add-on Pack significantly enhances the mBot2’s interactivity and functionality, opening up a new capabilities, projects, and activities.
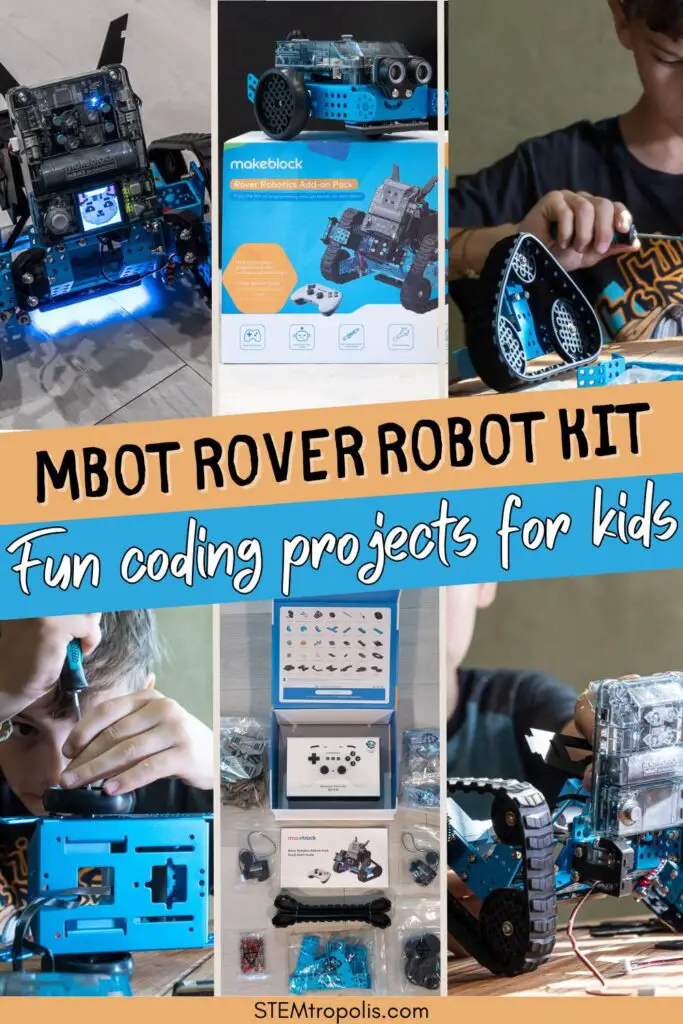
The treads were the first thing that we noticed opening the box, along with some servo motors, additional wheels, and more blue metal pieces to add on to the body. Of course there’s more screws, connectors, and some plastic body pieces to bring it all together into its new form.
Also included is a game console style Bluetooth controller with joysticks, buttons, and triggers. (You’ll need to upload the program from the mBlock site to your Rover to make use of the new features that are mapped to the controller keys.)
Build Quality
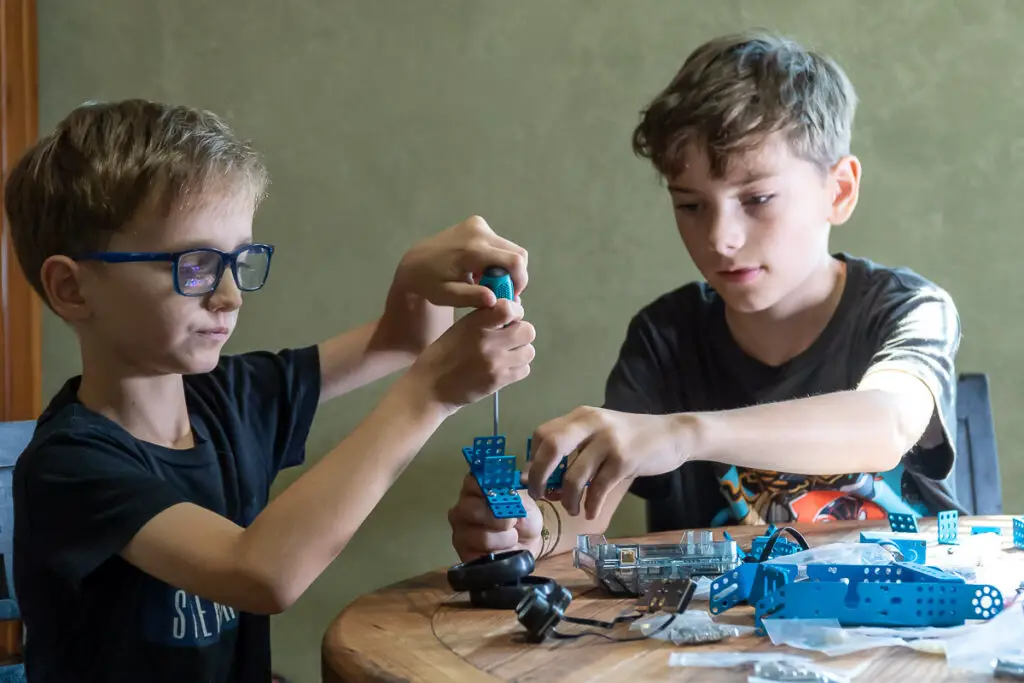
The mBot Rover add on is the same solid build quality we’ve come to expect from Makeblock. Just like other Makeblock robots, the metal framework is rugged. The new treads have some flex to them (and shock absorbers) so you can tell it’s designed to take some bumps.
The electronics are encased in durable plastic, so it’s shielded from bumps, scrapes, collisions, and a bit of rough handling.
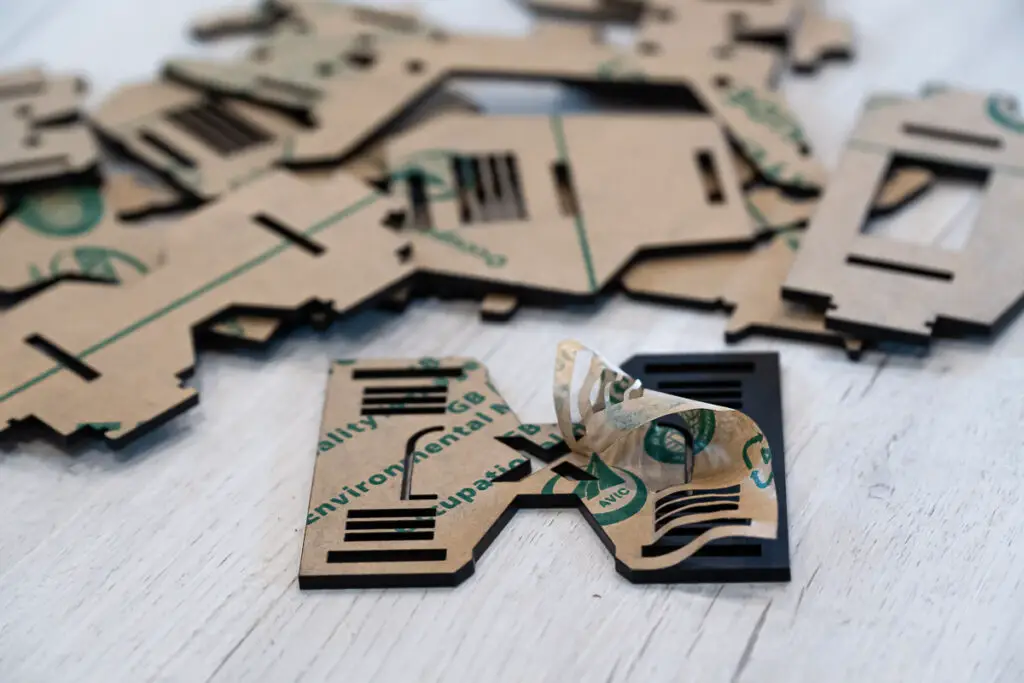
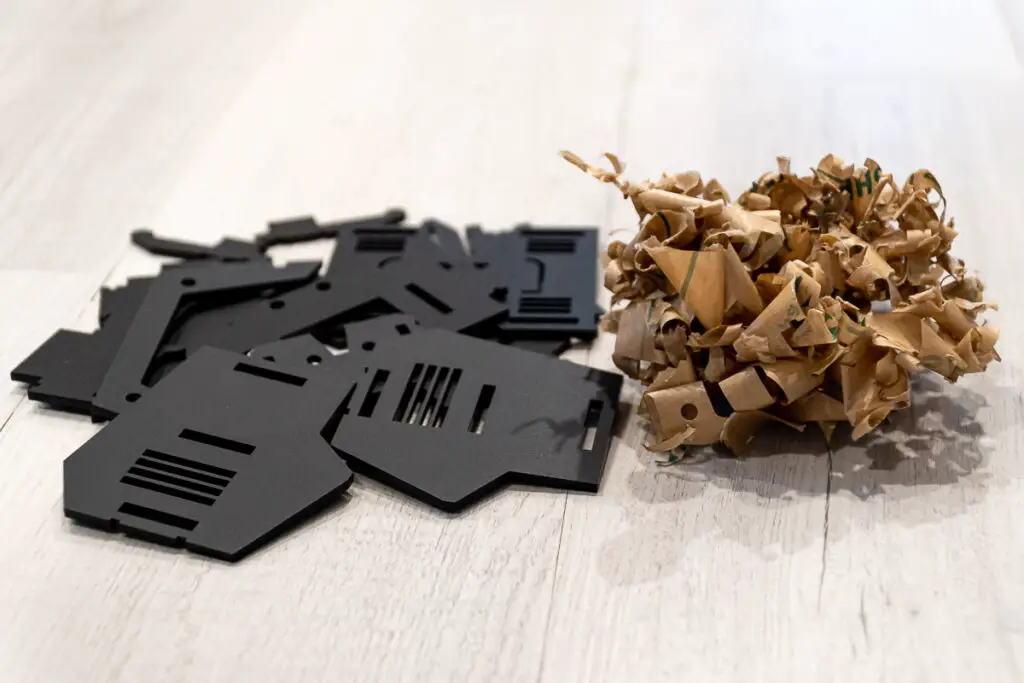
The additional plastic pieces and “backpack” are more for aesthetics. Other than protecting a few wires fed through the plastic, they don’t have much function beyond looking cool. Makeblock has some laser cut machines where you can design some additional pieces for the “backpack” if you have these available.
So, it’s a solid build with more capability than the original mBot2. But what can it do?
What’s New in the Rover Add On?
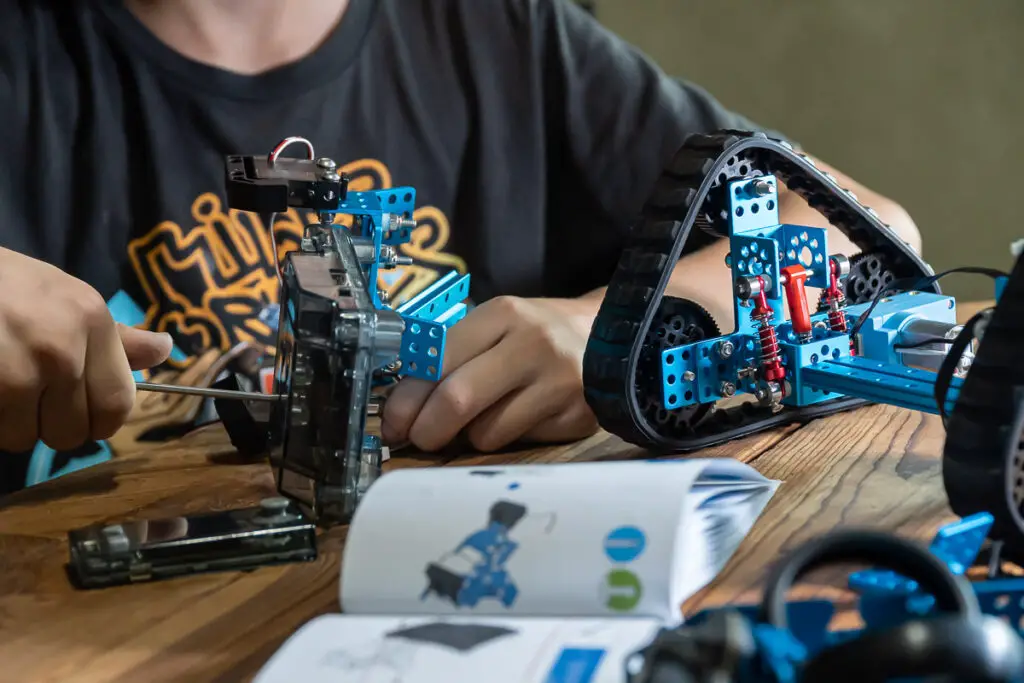
With the Rover add-on pack, the mBot2 includes some advanced hardware upgrades that transform it into a more agile and versatile coding robot and companion. Kids will get to exercise their building skills to combine the add on with the mBot kit.
The Rover trades in the mBot’s front wheel for a set of tank treads. You’ll use the same motors and a few additional wheels during the assembly to create the base you see in the above photo. It’s got shock absorbers now, which is something even the Ranger model doesn’t have.
The robotic arms allow the mBot2 to grab and manipulate objects.
Specifications and Technical Details
Since it’s built on the board and brains of the mBot2, the Rover shares much of the same input/output and connections as the base unit.
Sensors
The mBot2 comes equipped with an ultrasonic sensor that enables distance measurement and obstacle avoidance, teaching students about robotics and programming concepts. Additionally, its line follower sensor allows the robot to detect and track lines on the ground, providing insights into autonomous navigation.
It also has a light sensor and an accelerometer, enhancing its functionality for environmental monitoring and motion detection.
There’s a microphone for audio recognition that can use bits of human speech in projects. It also has a microphone that can play music and short audio clips.
Connectivity
The mBot2 connects to the included controller through Bluetooth. It can also connect to the internet through a 2.4G WiFi connection for some pretty cool coding functions.
You can see some of the code blocks available for establishing a WiFi connection and pulling live data from the internet.
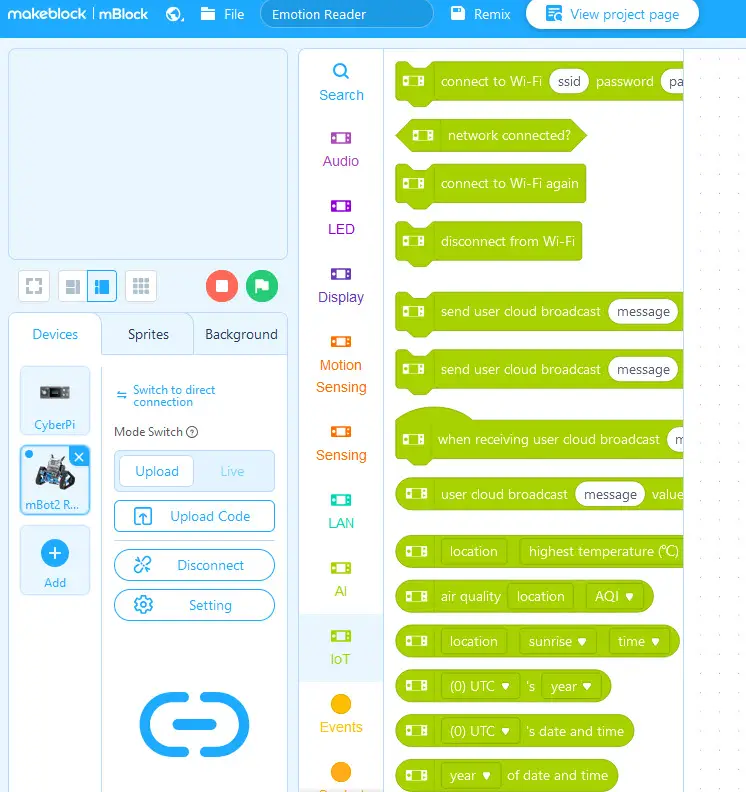
The mBot also connects via Bluetooth to phones or tablets via the Makeblock App. The Bluetooth controller for remote control comes with the add on pack.
NOTE
You need to upload the Rover program to use the Bluetooth controller (it’ll connect, but won’t have the instructions to react to the controller input!)
The app does not have the Rover specific elements available at the time of this writing, so you’ll need to connect to a computer via USB to upload code.
mBot2 Rover Coding
The Rover is built from the mBot2’s mBot Shield unit and CyberPi, so it has the same block based and Python coding capabilities. Kids can start with Scratch-like blocks and tackle more advanced coding projects with Python.
Block-Based Coding for Beginners
Block-based coding is an accessible way for beginners to get used to basic coding concepts, enabling newcomers to grasp the fundamentals of programming without overwhelming complexity.
Beginners can easily snap together coding blocks to control the Rover, making learning fun and engaging. As users advance their skills, the platform adapts, allowing for more sophisticated coding techniques and projects, ensuring a smooth progression in their coding journey.
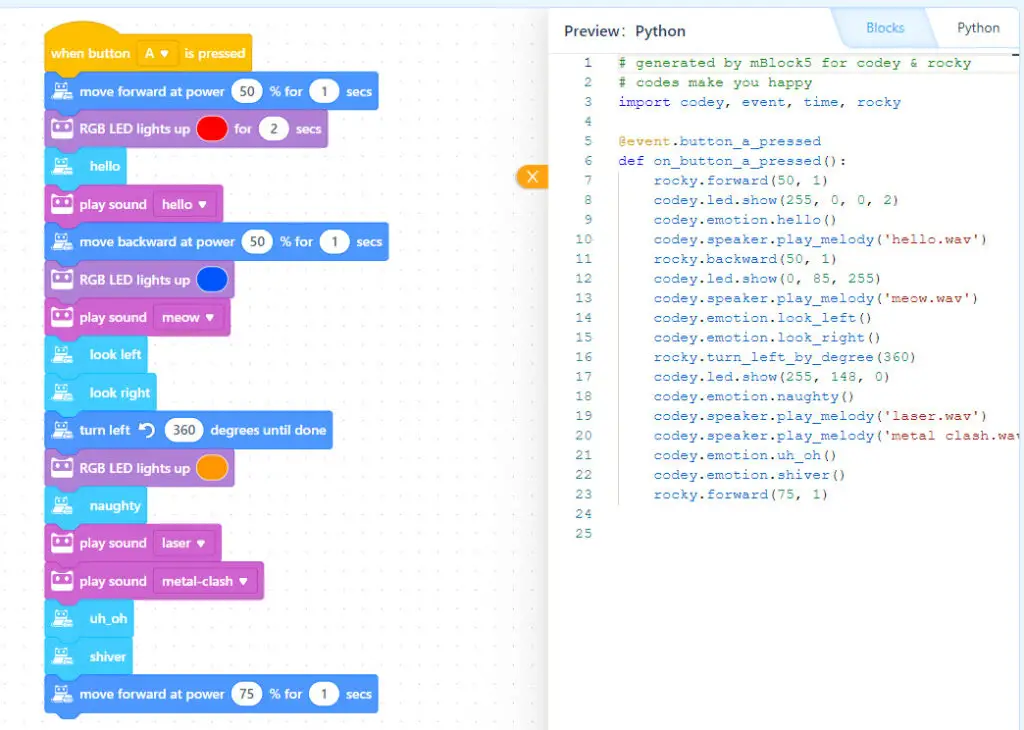
Transition to Python Coding as Skills Develop
Blocks are great to lean, but you’re limited by the blocks available. By providing a seamless transition from block-based coding to Python programming, the mBot provides a progression path that enables advanced learners to tackle increasingly complex challenges, fostering critical thinking and problem-solving abilities.
Kids can grow their coding skills at their own pace, and the mBot can grow with them.
We love the split screen code in the software that allows you to drag blocks of code into your project and see the Python code that executes the same function. It’s a great way to learn! The block coding makes programming accessible and the ability to code in Python allows kids (and adults!) to learn as they go and expand their coding skills with experience.
We talk about the coding capabilities in our original mBot2 review.
Emotions and Expressions in the mBot2 Rover
Our youngest son connected with our Cody Rocky “emo robot” because of the faces it can make (and it reminds him of a Panda.) Now the mBot with the Rover add has some of that same endearing expressiveness.
With the Rover, the CyberPi screen displays emojis. You can create your own emojis to make your rover unique. You can code it to use machine learning to recognize – and mimic – your facial expressions (sample programs are available, so you don’t need to code this bit yourself.)
Artificial Intelligence (AI), Large Language Models (LLMs), and image generators are everywhere, and the mBot is leveraging AI for some of its new features. mBot is using generative AI (Stable Diffusion) to help create emojis and expressions.
You can see some of this in the code blocks below. There’s a “recognize emotion” block that runs into an if/then look of emotions. The mBot will speak the emotion it recognizes and then make the face. Here Happy, Angry, and Amazed are shown – and you can build on it from there.

When you go into the mBlock software, there is a “Magic Emoji” block that allows you to set a few parameters and let the AI generate some emojis for the CyberPi screen.
If you’re a repeat visitor of STEMtropolis, you know our grey cat often photo bombs our mBot sessions, so we decided to make a few emoji faces for her.
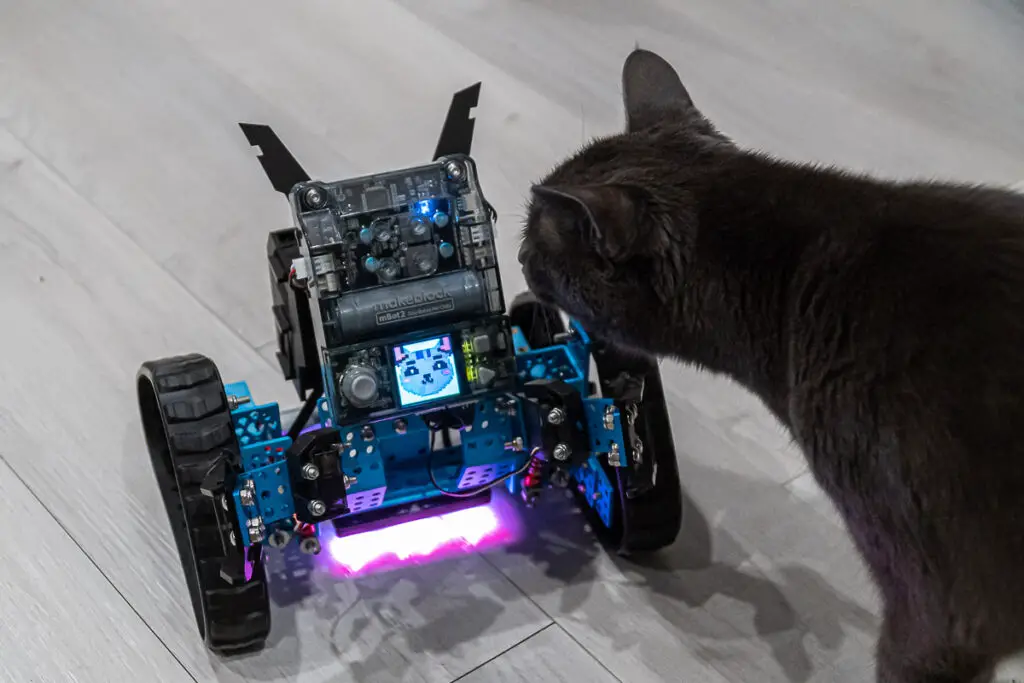
Check out the happy and angry cats the AI generated for us! Once you find something you like, you can save it to your emoji gallery and use it in your projects.

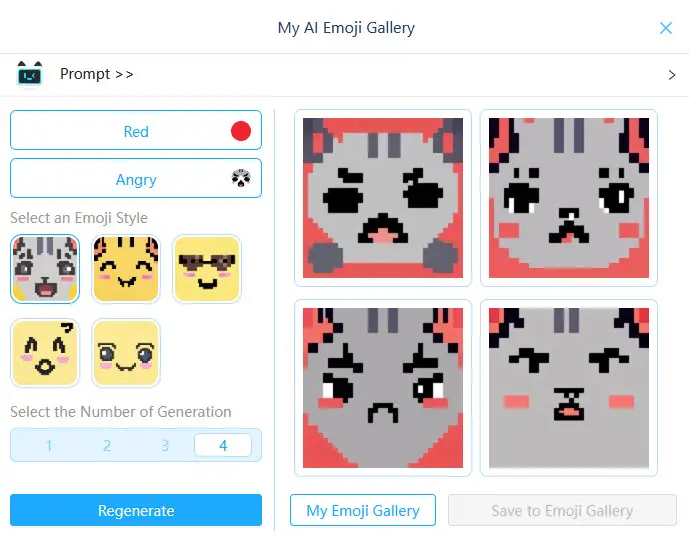
Like any AI-generated images, it can be hit or miss. It can do these in batches of 4, kind of like Midjourney and similar models. You can regenerate until you find something that works. We thought the Kawaii kitty below was perfect.
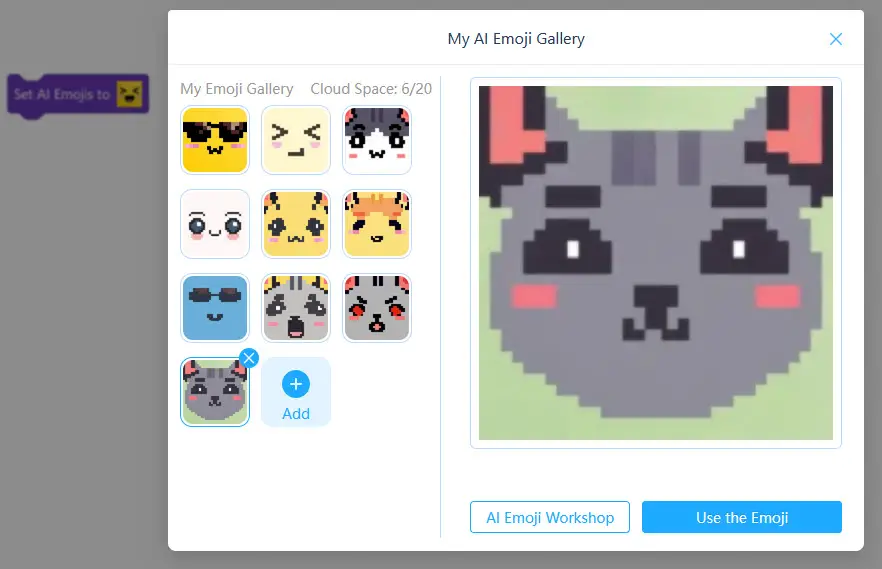
Don’t like the emojis or expressions in your AI generated images? No problem! You can create your own. There’s a pixel art style canvas where you can create expressions or drawings.
Education Through Play with the mBot2 Rover Robotics Kit
The Makeblock mBot2 Rover Robotics Kit is a powerful tool for enhancing STEM education in both classroom teaching and homeschooling environments. You can find lesson plans for the mBot and CyberPi unit on the Makeblock Website.
Classroom Ideas
Makeblock mBot educational robots can be programmed through mBlock5, a visual programming software (similar to Scratch), to create interactive projects with the mBot2.
This is a fairly powerful coding platform, and with both block and Python coding can appeal to kids across a range of skill levels.
In the classroom, the mBot2’s user-friendly interface encourages collaboration and engagement among students. Its durability and safety features, particularly with the Emo Robot, make it a great choice for interactive learning experiences. Students can safely explore coding concepts while enjoying hands-on activities that bring robotics to life.
Homeschool Lessons
For homeschooling, the flexibility of the Makeblock mBot2 allows parents to guide their children through personalized coding journeys, enhancing skill development at their own pace.
Whether through structured lessons or creative projects, the kit supports a rich educational experience focused on coding and robotics. The Makeblock mBot2 is a good fit in both formal and informal learning environments, providing an easy way to approach learning some complex topics.
With features that allow your robot to dance to your favorite tunes and play fun games, the mBot2 Rover helps make learning fun.
Pros and Cons of the mBot2 Rover Robotics Add-On Kit
What we like

What we found frustrating
NOTE
Note that updates need to be done via a computer – not the mobile app. We had the best luck with the mlink2 software through the web browser interface. When you try to connect through the browser, it will prompt to download mLink:
Wrap Up – mBot2 Rover Robotics Add-On Kit
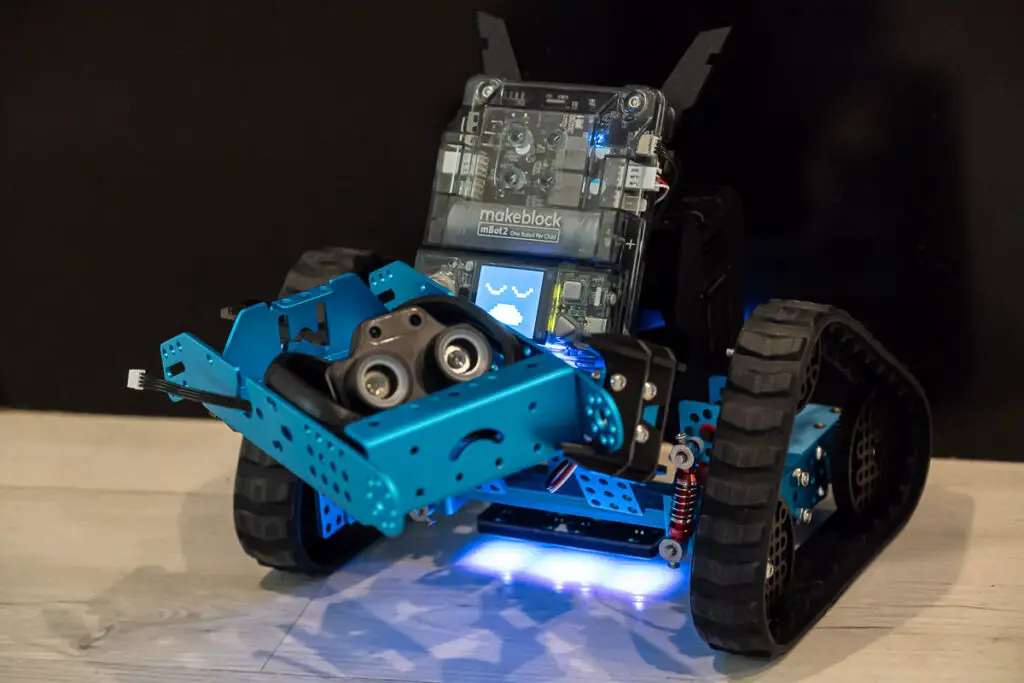
After having the base mBot2 kit for some time, our kids were hesitant to take apart this little guy. Once we got the build done and took it for a spin, they liked the changes and upgrades.
The tank treads let the mBot go places it never could before and rival the Ranger model. The arms/claws add some capabilities to pick up objects (though they need to be at the right height to grab them.)
They love just zooming it around with the remote control, even more than the other robots. With the capability to tap into AI features, I feel our adventures with the mBot2 Rover are just beginning.
Grab yours and start your adventure!
mBot Rover Add On
Expand your capabilities
Power up your mBot2!
If you already have an mBot2, you just need the add on.
You can also get both the mBot2 and Rover add on as a set.
Related Posts:
Check out ways to introduce kids to robots and get them interested in robotics, or some ideas for careers in robotics.
