
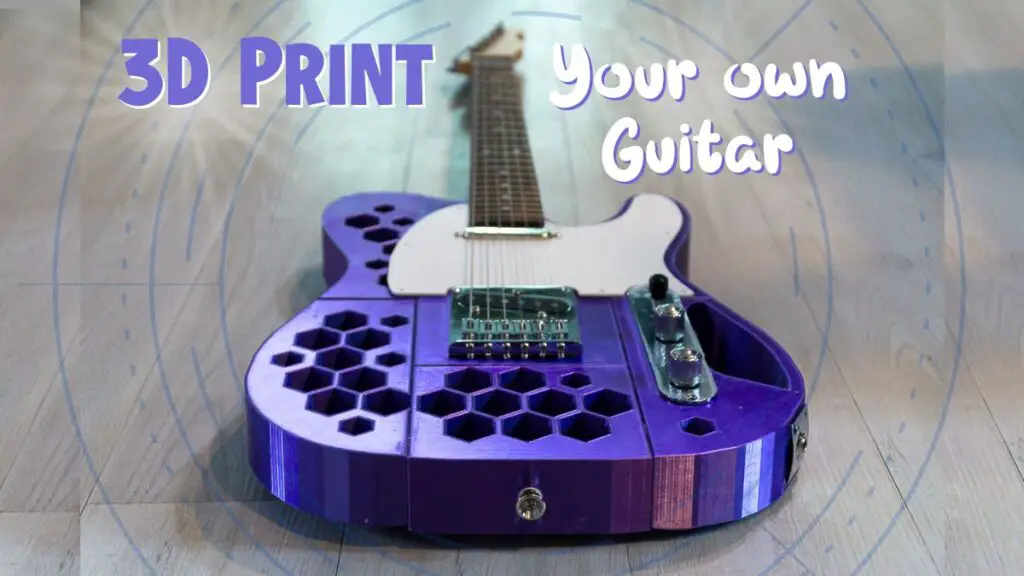
It’s no secret we love 3D printing here at STEMtropolis, and we’re always looking for new things to build. We also love music and musical instruments, and decided to try 3D printing a guitar.
With 3D printers becoming more common and affordable, you can finally get your hands on a custom built guitar without spending thousands of dollars. Join us as we go through the process of printing and assembling a full scale playable guitar. How will it stack up against a traditional store bought guitar? Let’s explore!
*We’re an affiliate – we may earn a commission through qualifying purchases from the links on this page. As always, thanks!*
3D Guitar Models and STL Files
There are a number of ready to print guitar models freely available online. Thingiverse is a good place to start searching
We almost went with a Stratocaster style like this one or this one, though already have several strats and strat style guitars at home. If you’re feeling ambitious, check out this double neck strat model.
This modular model has an interesting design, with the electronics encased in a small assembly that slides into different body styles. The knobs and pickup switch are up towards the neck, which is different from most guitars.
Here are a few more cool models if you’re looking for something more unique. This guitar has some steampunk like gears, and this one is inspired by the art of H. R. Gieger.
Here’s a great looking acoustic guitar model. It’s well designed, and includes a 3D printed neck with space for a truss rod. The fretboard is 3D printed as well and has slots to install frets. While it’s designed in pieces and needs assembly, it’s a bit too large to fit on our Ender 3’s bed.
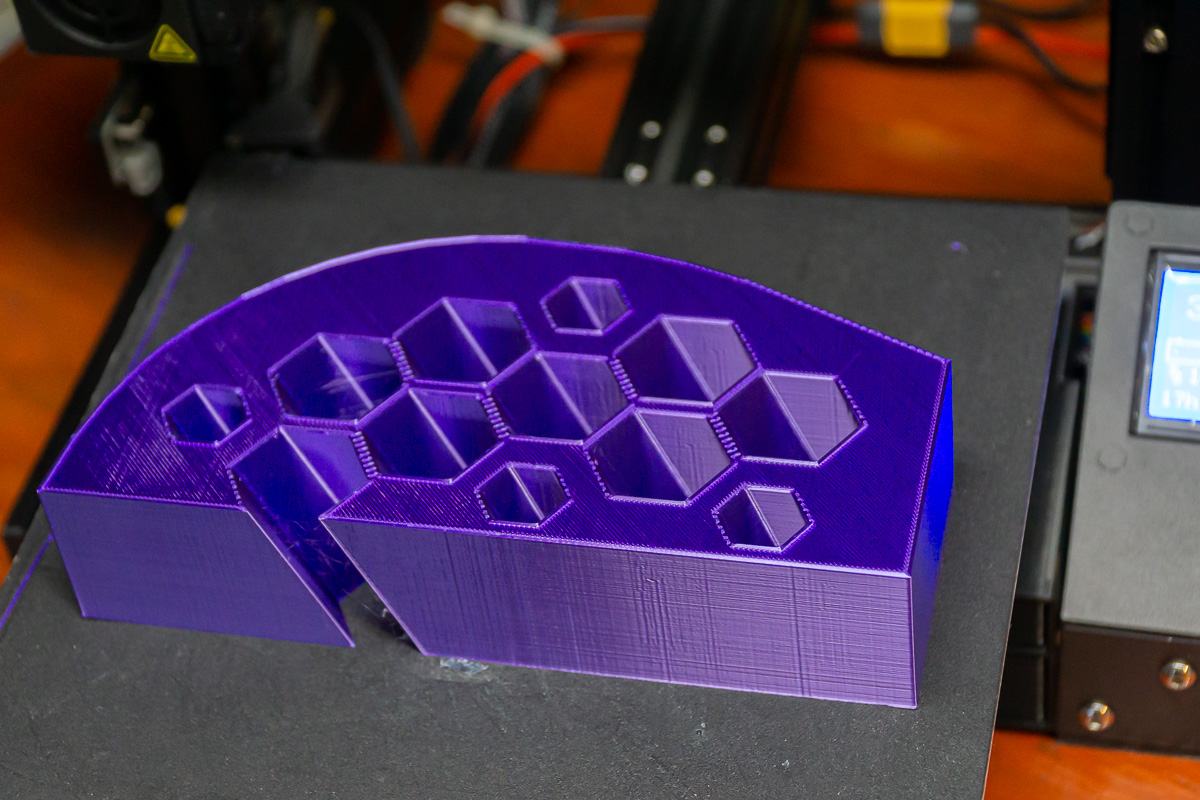
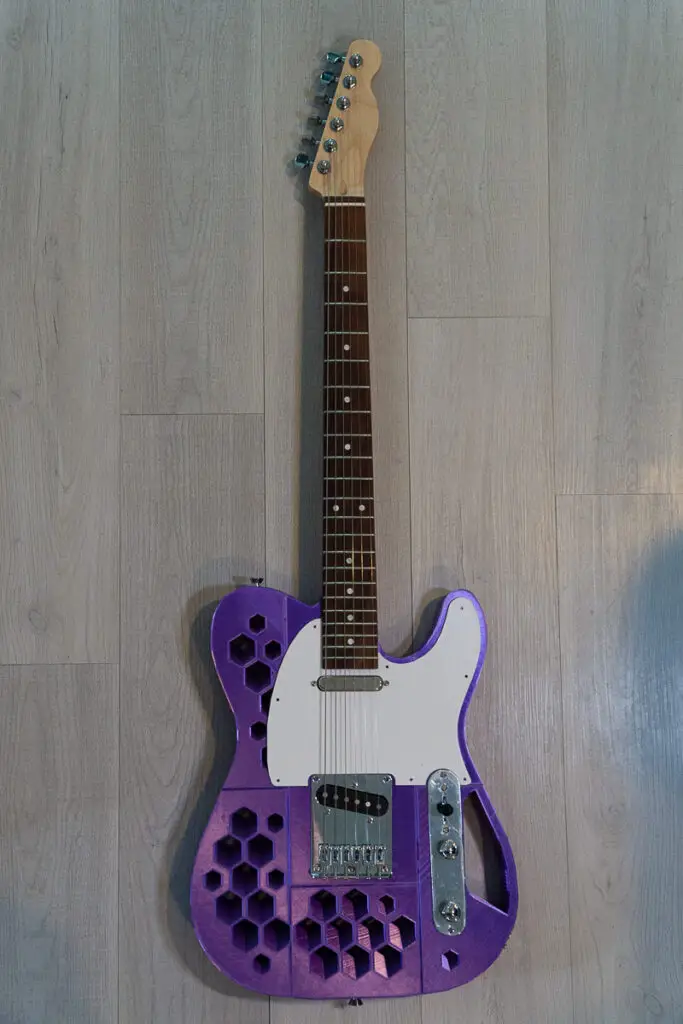
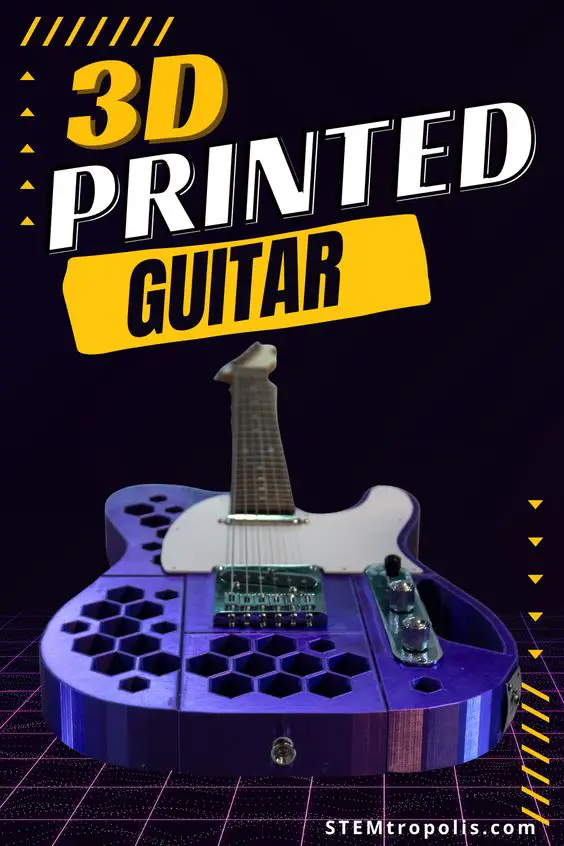
We ultimately went with the “plasticaster,” which is a honeycombed looking telecaster. The guitar body is broken down into pieces that can easily print on a consumer sized 3D printer – which is perfect if you want to follow along with the build. We also printed this telecaster pickguard to finish things off.
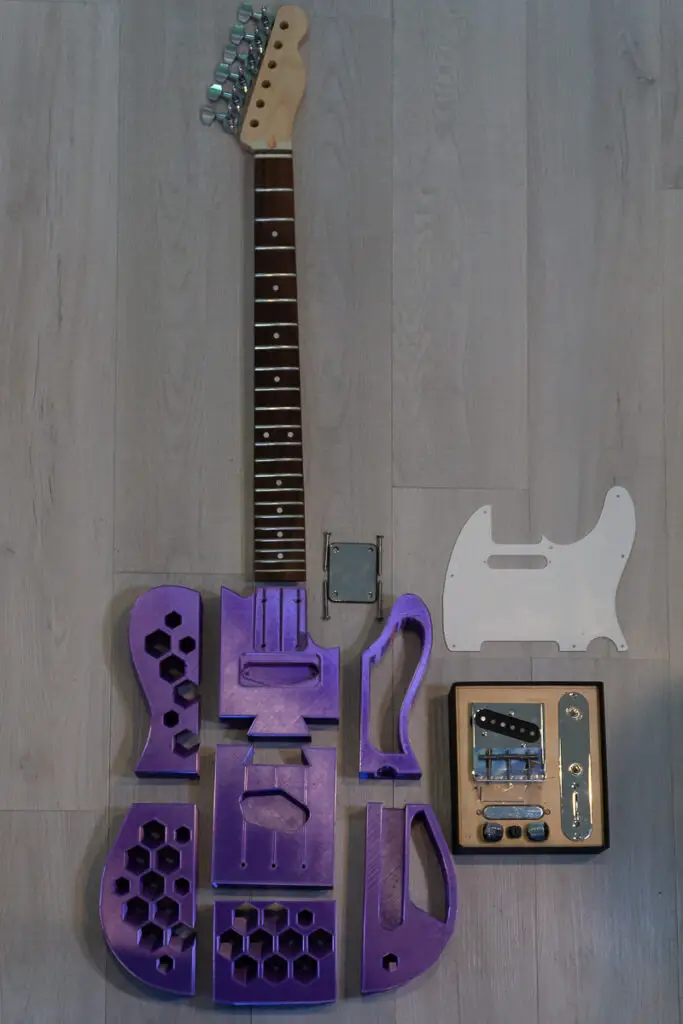
You can also print the Volume & Tone Knobs, Switch Cap, and Control Panel. These parts came with our electronics kit (see parts list below), so we used the parts in the kit. Perhaps for fun, we’ll update with additional printed parts later.
Parts List & Guitar Hardware
- Filament: We used this silk purple
- Neck
- Neck Plate
- Tuning Pegs
- Electronics Kit
- Output Jack
- Strap Buttons
- Strings
- Glue
Prepare Your Files for Printing
Once you choose the guitar you want to print and download your STL files (or design your own guitar if you have the skills or want to experiment) you’ll need to prepare your files for the printer.
You’ll need a program called a slicer. There are several free slicers available online. We use Cura, which you can download directly from the Cura website and install on a computer.
The screen capture below shows one of the parts in Cura. It gives an idea of the scale and how the part fits on the print bed.
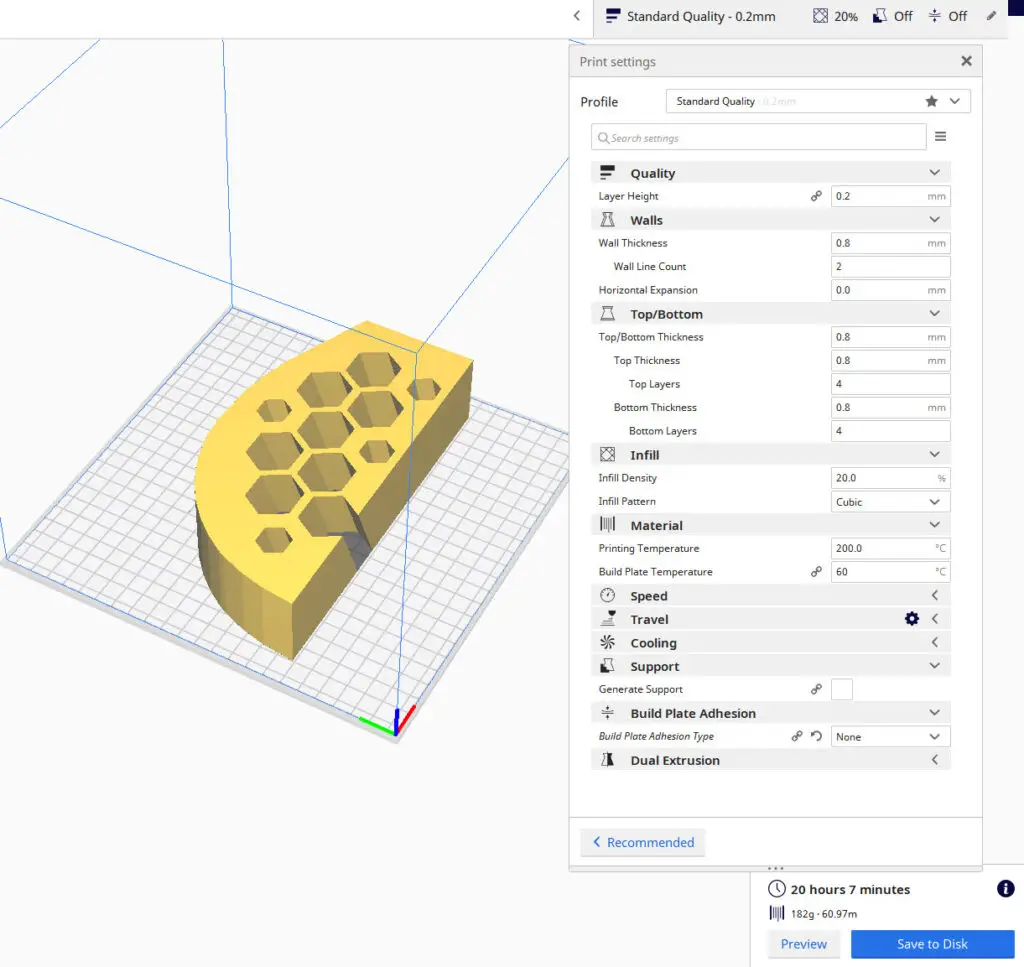
There isn’t any intricate or fine detail on this particular model, so we just used “standard” quality in Cura. These are blocky parts with little overhand, so no supports should be needed.
For the center two pieces that dovetail together, we used a 30% infill. For the remainder of the pieces we used a 20% infill.
Since these parts sit flat on the print bed, we also didn’t use skirts, rafts, or build plate adhesion. The Ender 3 pro has a heated bed, so models stick to the bed fairly well (in fact, sometimes we have a struggle getting the off of the build plate.)
Once you’re happy with your settings in Cura (or your program of choice), you’ll want to “slice” your model. This creates a gcode file that tells your printer how to build your print layer by layer. For most printers, you’ll save your gcode files on a memory card to load into your printer.
3D Print Your Guitar Parts
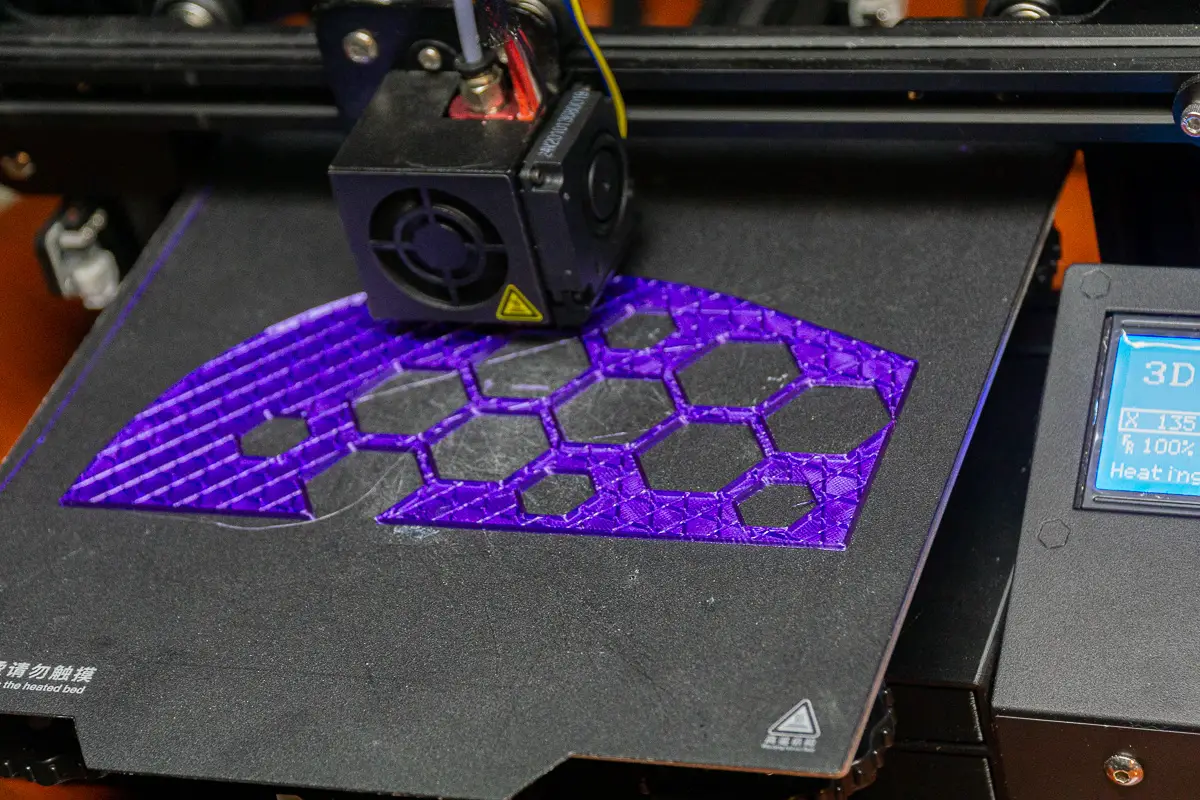
Our 3D printer of choice is the Ender 3 Pro. This guitar model was designed for a print bed the size of the Ender 3 and similar printers.
There’s a wide variety of filament materials and colors available, so choose something that looks cool. You could choose color gradients, glow in the dark, or some off the wall colors you’d not usually see on a guitar. For this print, we used a shiny silky purple filament for the body, and white for the pick guard.
How long does it take to 3D print a guitar?
Our build had a total print time in the ballpark of 200 hours for the finished pieces. You’ll need to budget some time and plan for some long prints.
Print times for each piece are shown in the chart below. Note that parts 6 and 7 are the pieces the neck and pickups attach to and were printed at a denser 30% infill, resulting in a longer time to complete than the other parts.
| Part | Hours | Minutes |
|---|---|---|
| 1 | 7 | 5 |
| 2 | 13 | 30 |
| 3 | 14 | 37 |
| 4 | 9 | 9 |
| 5 | 14 | 2 |
| 6 | 26 | 30 |
| 7 | 20 | 15 |
| 8 | 1 | 35 |
3D printing is always an adventure, and we had to replace a clogged nozzle during our printing. A few of the pieces had some extrusion issues due to the clog and were not as sturdy as they would have been. We had to cancel a few prints until we figured out it was the nozzle and do some reprints. We let one of the pieces slide, else we would have run out of filament. It’s a good idea to always have a few extra nozzles on hand if you’re planning on doing a larger project like this.
Glue the Parts Together
If you have the good fortune of having access to a large format printer, you could print the body in one piece. Most consumer printers are much smaller, and require larger prints to be broken down into smaller pieces.
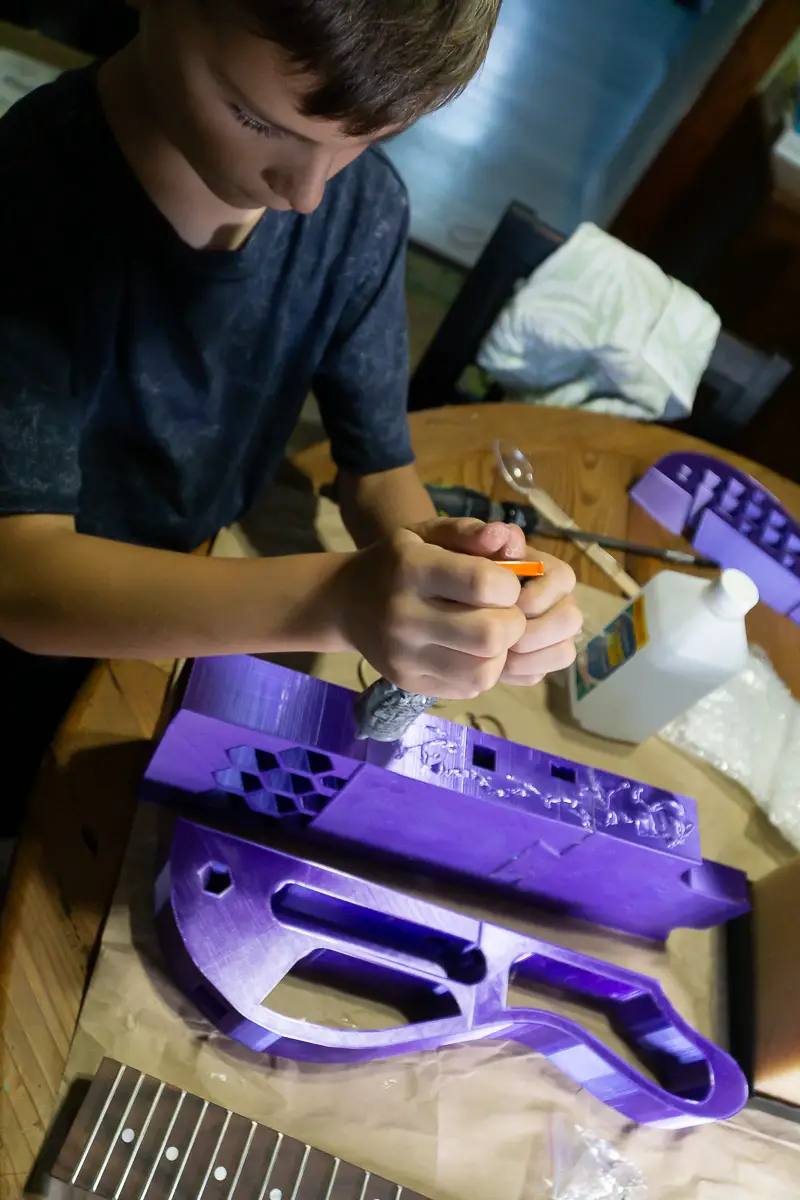
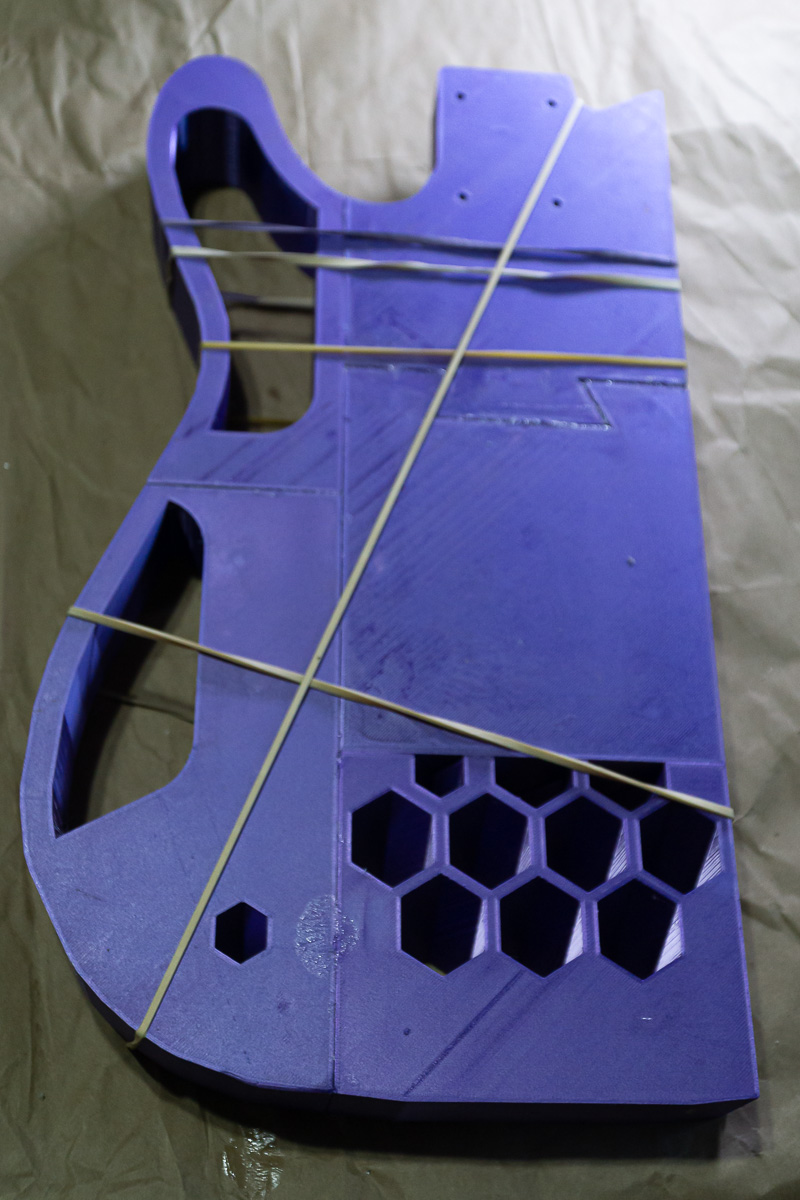
If your guitar was printed in pieces like ours, you’ll need to glue the parts together. We used Gorilla Glue, though most brands of super glue or epoxy should work fine. We used rubber bands to apply tension as the glue dried (though we’d have used clamps if we had ones big enough.)
Don’t try and glue all the pieces together in one shot. It’ll take more time, but glue the two dovetail pieces together first, then add each piece one at a time until the whole body is together.
Install Pickups and Electronics
The electronics kit we chose has most of the wiring completed, though some light soldering is still needed to connect the pickups to the control plate.

If you’re looking for a particular sound, you can find pickups to suit your needs.
Attach the Neck
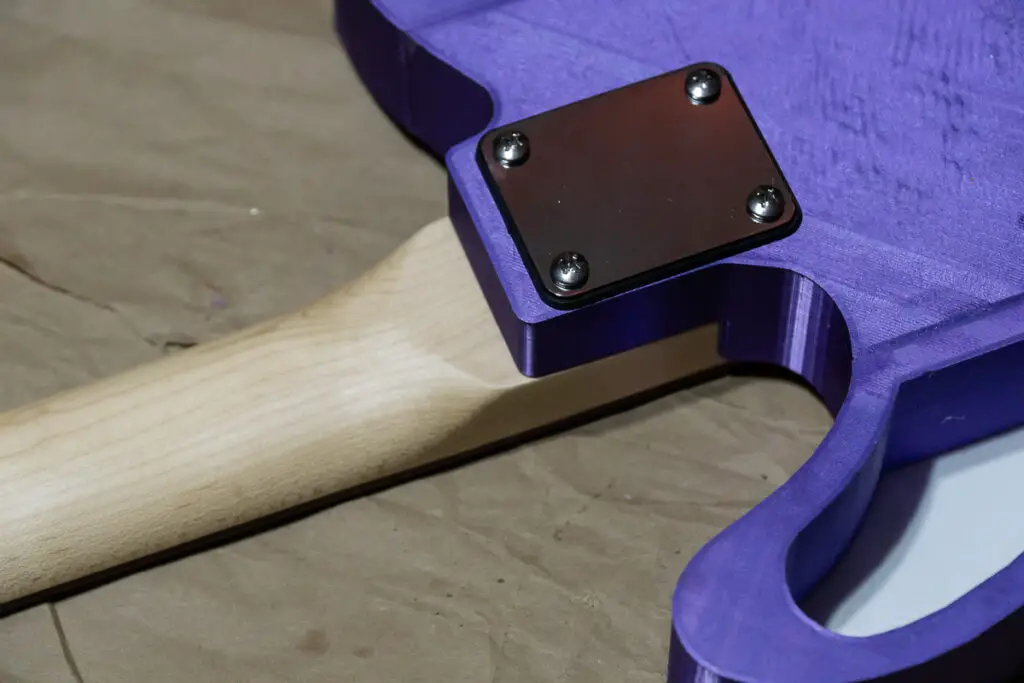
We chose to use an after market guitar neck for our Telecaster. It fit into the body nice and snug, and is comfortable to play. The neck was easy to attach – just four screws through the neck plate and the guitar body into the neck.
It does feel a bit odd posting about a 3D printed guitar build when we’re bolting on a piece of wood for the neck. Why didn’t we 3d print the neck?
Sure, you could 3D print the neck as well, though it’d take a specialized printer and equipment to install the frets in the neck. Yes, you could build the frets into the print, though they’d wear down quickly using metal strings; you’d be printing necks like crazy, or using nylon strings and a different pickup arrangement. (perhaps a build for another time.)
If you’re curious about printing a guitar neck, check out the video below for an example of what’s entailed in a 3D printed guitar neck. This would be great onstage or on video when the light shines from behind giving it a translucent look:
Is a 3D Printed Guitar Playable?
I was surprised by the weight and balance. I thought the plastic body would be way too light and the guitar would be top heavy toward the neck. This wasn’t the case at all. In this particular design, the honeycomb holes not only make a cool design element, they cut the weight of the guitar (and the amount of filament needed to print.)
I initially had a few concerns with the PLA, especially screwing the bridge into the plastic. I was hoping the tension of the strings didn’t pull the bridge right out, and was pleasantly surprised by how solid it feels. The bridge and plates are solidly attached and the guitar holds its tuning pretty well.
The edge of the body can dig into the forearm of the picking hand, and we may be trying some light sanding to smooth this out a bit.
Even though we didn’t print the neck, I was really happy with it. I’ve actually been playing the 3D printed guitar more than my go-to strat.
How Does a 3D Printed Guitar Sound?
All that’s great, but how does it sound? Can a plastic guitar produce as good of a sound as a wooden guitar? A guitar’s sound comes from a combination of the body material and electronics. This is why pricier guitars usually have choice exotic woods and high end pick ups.
A lot of the sound of an electric guitar comes from the pickups (and amp.) We didn’t go super high end here using pickups from a kit. That said they sound pretty good. The guitar sounds like a telecaster.
The big question with a 3D printed guitar is how the body will affect the sound. Will the plastic have enough mass to give the sound some tone and resonance? Will the guitar have sustain? Again, the results are pretty good.
Having the luxury to print the body as a single piece would have been preferable, rather than gluing all the pieces together. Still having the ability to produce an instrument like this at home is pretty amazing.
Bottom line: If I was still actively gigging, I’d play this guitar on stage.
Related Post: Check out our post to see how we made a 3D printed violin.
How much does a 3D printed Guitar Cost?
We snagged a few sales on some of the parts so, all in, we probably spent around $165 on parts and PLA. You can find some cheap off-brand starter guitars for around this price, though frankly, the quality wouldn’t be as good as what we built. Better yet, guitars you make yourself come with DIY pride, and it’s had to put a pricetag on that!
We’ve done the shopping for you if you want to save time and grab the parts:
- Filament: We used this silk purple
- Neck
- Neck Plate
- Tuning Pegs
- Electronics Kit
- Output Jack
- Strap Buttons
- Strings
- Glue

3D Printed Guitar Accessories
Now that you have a finished guitar, how about some 3D printed accessories? You can also print some common items typically used by guitar players:
Capo
This capo is a cool one piece print. I was a bit skeptical at first, though found it fretted the strings evenly without buzz. It’s always handy to have an extra capo, so this is a keeper. Print them in the same color as your guitar to stay coordinated, or print something load and flashy to stand out.
String Winder
String winders are in most guitar player’s toolkit or gig bag. It’s another one of those things that always seems to go missing when you need it most. Print a few of them and make sure you always have one on hand.
Guitar Picks
Guitar picks are (usually) thin pieces of plastic, so are a natural thing to print. These are small and don’t use much plastic, so perfect to print when you have a tiny bit left on your spool of filament.
Here’s a pretty standard one, and one with some grooves for grip. This pick is a little bigger with a hex pattern for some extra grip.
Guitar Pick Holder
If you printed a bunch of picks, you’ll need somewhere to put them. Why not print a few pick holders?
This one serves up picks with the help of a spring from a ball point pen:
Here’s a stylish stegosaurus where 6 picks become the plates in its back.
Here’s a pick holder that slides under the strings on the headstock:
Wall Mount Guitar Hanger
Here’s a no nonsense model guitar hanger.
Rock on with this handy guitar hanger.
Related Post – Don’t miss our post on 3D Printed Musical Instruments for more free 3D models and ideas!
Wrap Up – 3D Printing a Guitar
Making an actual guitar was a fun 3D printing project and learning experience. The results were good and we’ve got a pretty nice guitar for our efforts.
I was surprised how well the PLA worked, even having a few weaker parts due to the partially clogged nozzle. Using PETG filament would make an even sturdier guitar, which may be a future experiment!
Let us know what you’re building and how it comes out. Happy Printing!
Check out these other 3D Projects:
-
How to Make a 3D Printed Violin
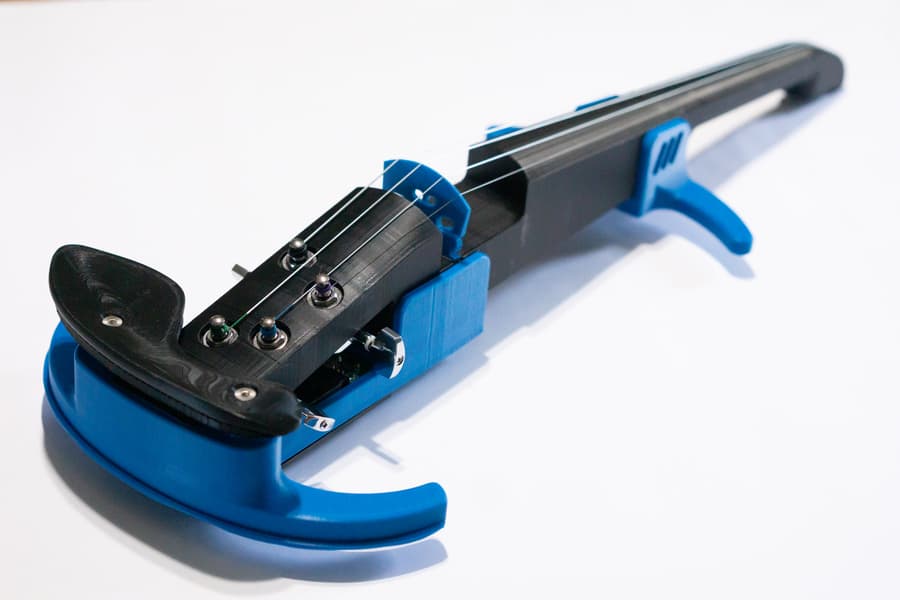
There are exciting things you can do with 3D printers. Having a background in music, I wanted to see what kind of instruments could be made on a 3D printer.
-
3D Printing for Elementary Students: 3D Printing for Beginners
We love our 3D printer, and it’s a great tool for introducing the kids to a bit of technology while doing something fun together. There are a number of engaging
-
3D Printed Halloween Ideas: Spooky DIY Masks and Decorations

With a 3D printer and a bit of creativity, you can custom make your own unique costume, accessories, and decorations. Whether you’re looking for something cute or terrifying, here are our favorite ideas for 3D printed Halloween costumes, props, and decorations.
