Let us all be honest; glue can be messy. Glue can stick things together that you never wanted to be joined. Almost every adult has at least one “glue story” from the past that is, in hindsight, hilarious, but was not necessarily so at the time. So the idea of giving a preschooler glue is intimidating. In fact, can preschoolers use glue?
Yes, preschoolers can use glue. More importantly, learning to use glue is excellent for children to develop their hand-eye coordination, fine motor skills, planning skills, and also how to move on from mistakes. Keep in mind for the experience to be successful, the adult needs to plan ahead.
When an adult gives a preschooler glue, the adult learns a valuable lesson: patience. The more forethought and planning put into the activity, the better the outcome for all concerned. It can even be fun. There are many excellent preschool glue actives out there, and we’re going to look at 8 of them. We also have some tricks and tips that will help the activities less…sticky.
6 Tips and Tricks for Using Glue with Preschoolers
- Use non-toxic glue. This isn’t just for the safety of your kid, but also for any pets around that might accidentally be involved in the “fun.”
- Use a glue stick (or hot glue gun) The pros to this are that there is less mess. However, there is less hand-eye coordination and fine motor skills needed to use a glue stick successfully. So if the kid (or you) is ready to try something more challenging, great. If you know your limits (wise soul), then a glue stick activity is a safe place to start. Better to have a positive experience than to have it end in tears (for you, the kid will be fine).
Alternately you could try a glue gun. This definitely needs supervision since the tip of glue gun will be hot. Little toddler hands will need to grip it with the strength to squeeze out the glue, and may need a little direction and squeeze from an adult. - Place liquid glue in a shallow container. Shallow containers are harder to knock over. The child can apply the glue via a craft stick or a brush.
- Trace it. Mark where the glue should go in pencil by either drawing a small shape or a line to trace. This will help focus the child and give them a place to aim. Most children think they need to use a lot to make something stick. The marks will help control the quantity of glue applied.
- Think small. If using squeeze glue, make it a small bottle so if the child squeezes the life out of it, the mess isn’t colossal. Your mess is only as big as the glue bottle (and, even with a small bottle, that can be quite enough.) With that in mind:
- Make a work zone. Tape down newspaper, a trash bag, wax paper, tinfoil, or have a non-slip, easy clean “craft mat” on the work surface, so there is a “zone” to catch drips, spills, and smudges. The tape is key here, or the “zone” will fall and stick to what it lands on; Most likely the carpet or floor.
It’s also a good idea to have some warm water and paper towels handy to quickly wipe up and glue that does happen to get where it doesn’t belong. Even with the best preparation, accidents will happen (especially in the presence of a toddler tornado.)
9 Glue Activities for Preschoolers
Matching Shapes
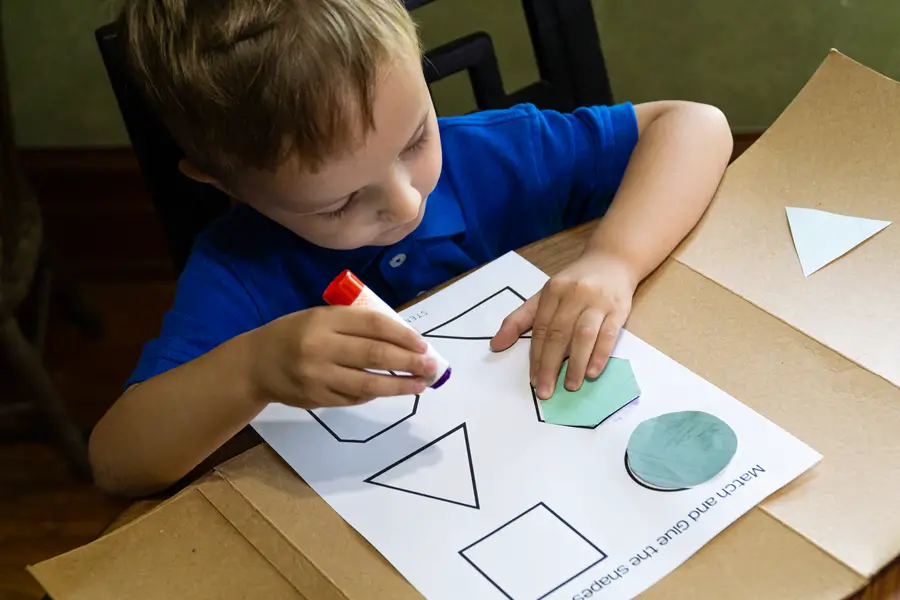
Items: One piece of paper, pre-cut shapes (i.e., square, rectangle, circle, triangle), glue stick
Preparation: Trace all the pre-cut shapes onto the paper, or download our free printable as shown in the photo above:
[convertkit form=2596040]
Activity: Have the child match the shapes and glue them in place.
Alternative: The sheet of paper could be pre-cut into an object, such as a house, Christmas tree, or a jack lantern.
Also, up the difficulty by replacing the glue stick with a harder-to-use form of glue.
Clown Hat
Items: Construction paper, a shallow disposable bowl, pom poms
Preparation: Cut out a large triangle; this is the clown’s “hat.” Trace circles on the hat about the size of your pom-poms. Pour glue into a shallow bowl. Put pom poms into other bowls.
Activity: Have the child dip the pom poms into the glue and place them on the hat’s circles to make a “hat.”
Alternative: Your “hat” could be anything, from a “Christmas tree” which the child is decorating with ornaments (pom-poms) to cutting out a large butterfly, and the kid is giving it spots (pom-poms). The point is to get them to glue objects together purposefully, and develop the design intention and fine motor skills to do so.
This Is Me – Silhouette Glue Activity
Items: Paper cut into a person silhouette, buttons, googly eyes, yarn cut into strips for hair, crayons, red yarn cut small for the mouth, liquid glue in a shallow bowl with the craft stick.
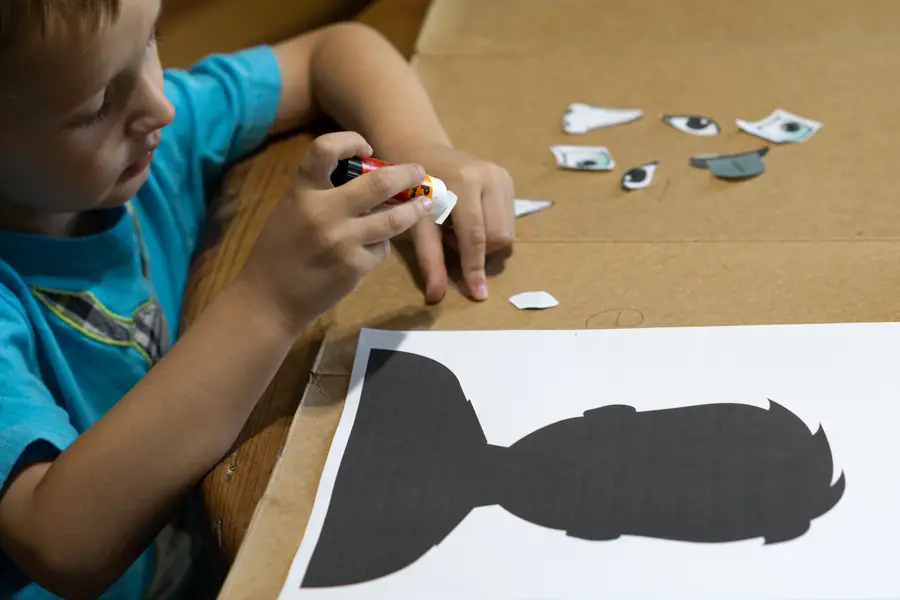
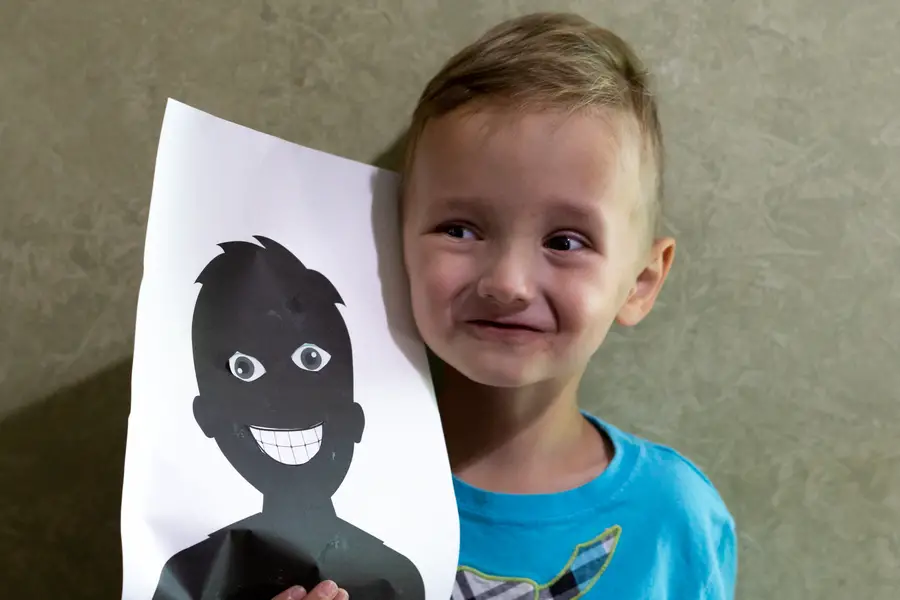
Preparation: Have glue in a shallow bowl ready and all items spread out around the person silhouette.
Activity: Have the child decorate the silhouette “me.” Have them first color on any clothes. Next, have the child glue on the buttons for the shirt or dress. The red yarn for the mouth. The “hair” yarn on the head. Googly eyes for their eyes. Draw in the nose or use a small brown button.
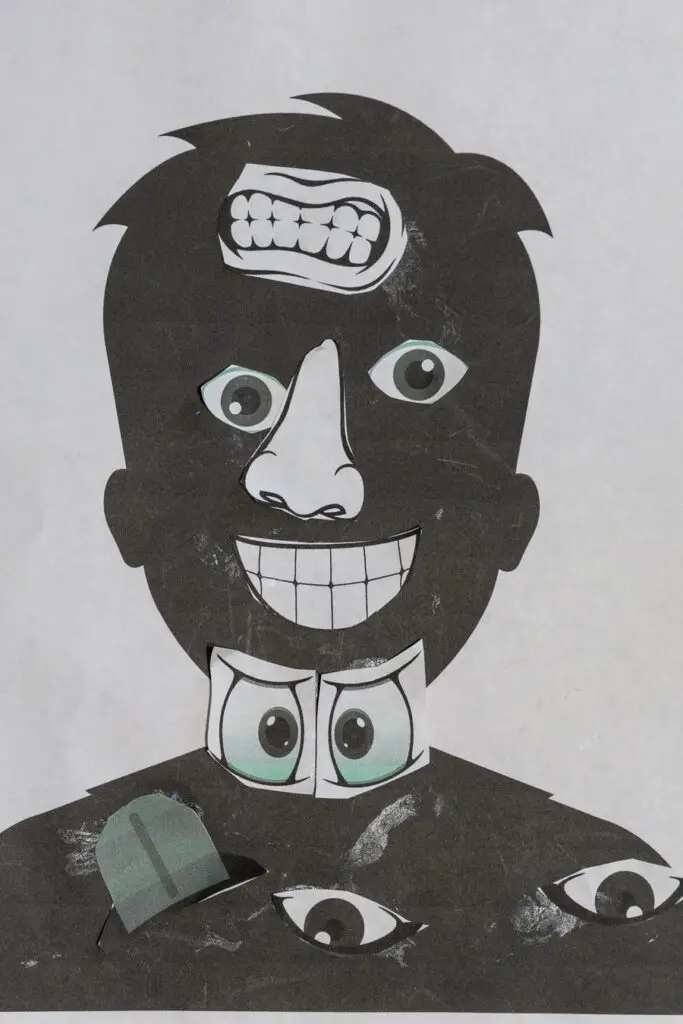
Alternatives: Use old magazines to clip out eyes, nose, mouth etc. to glue onto their silhouette. Or you can download our free printable that has a variety of silhouettes and facial features to choose from.
We did this activity with our preschooler, and he had so much fun our first grader asked to make one too!
Easy Collage
Items: Large unbreakable bowl, piece of construction paper, glue stick or craft stick and glue in a shallow bowl, “stuff.”
Preparation: Dump “stuff” into the unbreakable bowl. “Stuff” should be a mixture of items. Remember to make sure the “stuff” will work with their glue. So things like pasta won’t work well with a glue stick.
Examples of “stuff”: Faux-feathers, cut out shapes, cut out objects (butterfly, car, boat, bee, flower), pasta, beans, cutouts from magazines, pom poms, cotton balls, googly eyes.
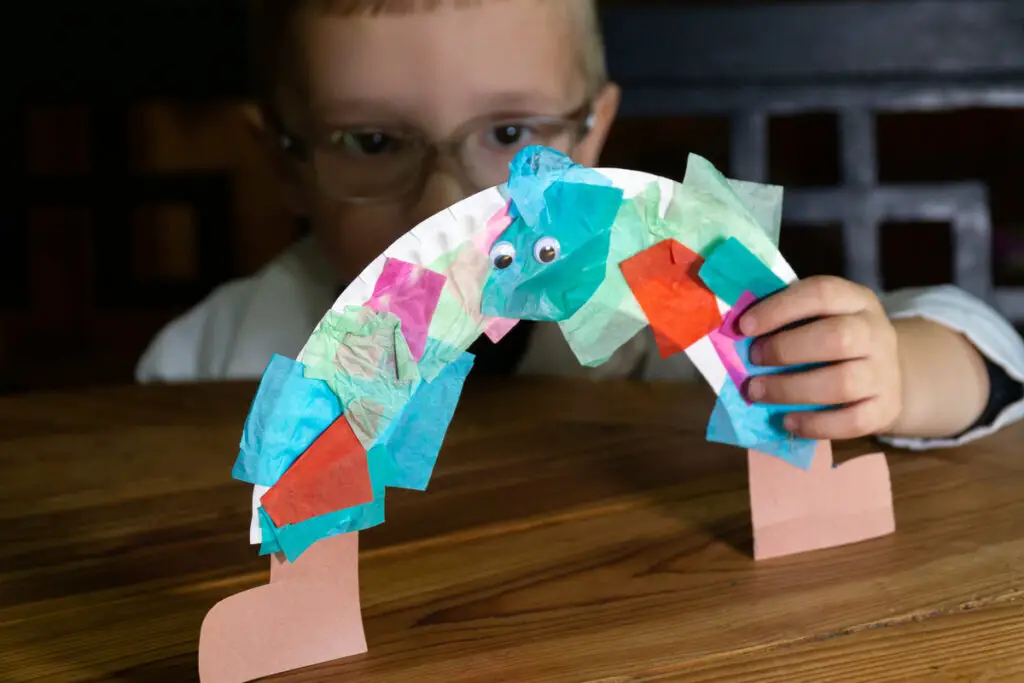
Activity: Have the child glue the “stuff” onto the paper however they like. It’s a free form exercise to glue stuff to other stuff. It’s always fun to see what kids come up with, and be sure to ask them about what they made.
Alternative: Have the child use squeeze glue. This will require more skill.
Simple Glue Slime
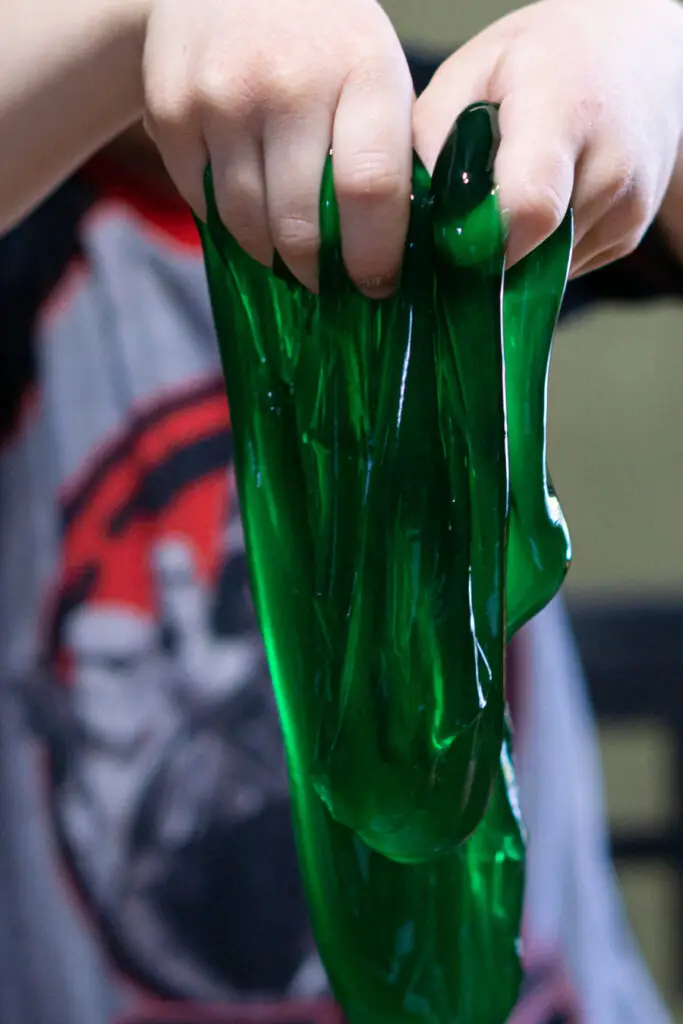
This is a simple activity that lets kids measure and mix, and gets their hands into some slime!
Items:
1 Bottle of school glue (we use a 4 oz bottle)
- Water (same amount as the glue bottle; in this case, 4 oz)
- Liquid Starch (1/8 cup)
- Bowl
- Food Coloring
- Borax (optional, but helps keep it from clumping and sticking.)
Preparation:
Activity: Squeeze out the glue into the bowl. Once the bottle is completely empty, fill it with water and empty the water into the bowl. Add in the liquid starch. Stir until you have a consistent glue mixture. If you want some color, add a few drops of your choice.
Optionally you can add in the borax. It’s not necessary but greatly helps peeling the slime up off of surfaces.
Alternatives: For some extra fun, add in some glitter for sparkly slime. You could also start with a specialized glue for some interesting effects.
Related Post: Check out our post with expanded glue slime instructions and other “gross” science activities.
Glitter Maze
Items: Maze, glitter glue stick or glitter glue pen, pencil
Preparation: Print out a maze that suits the child’s abilities. Bonus if the maze is part of a fun creature or object like a snail or a house.
Activity: Have the child do the maze with a pencil. Then have them trace the solution with the glitter glue.
Alternative: If you (especially you) and the child are ready, use plain white glue via a bowl and craft stick or liquid squeeze to trace the maze solution. Then sprinkle the glitter out and shake it off into a bowl.
Stuffed Animal Cave
Items: A cardboard box that can stand up on its side, squeeze glue, different wrapping paper, fabric scraps, child scissors, adult scissors
Preparation: This needs room, so clear the table or find some floor space that is easy to clean or cover to protect.
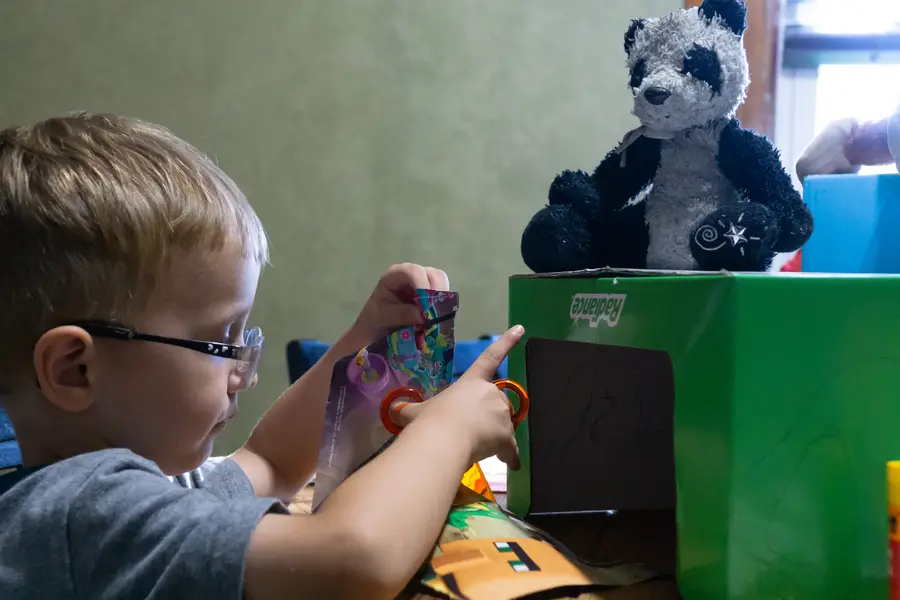
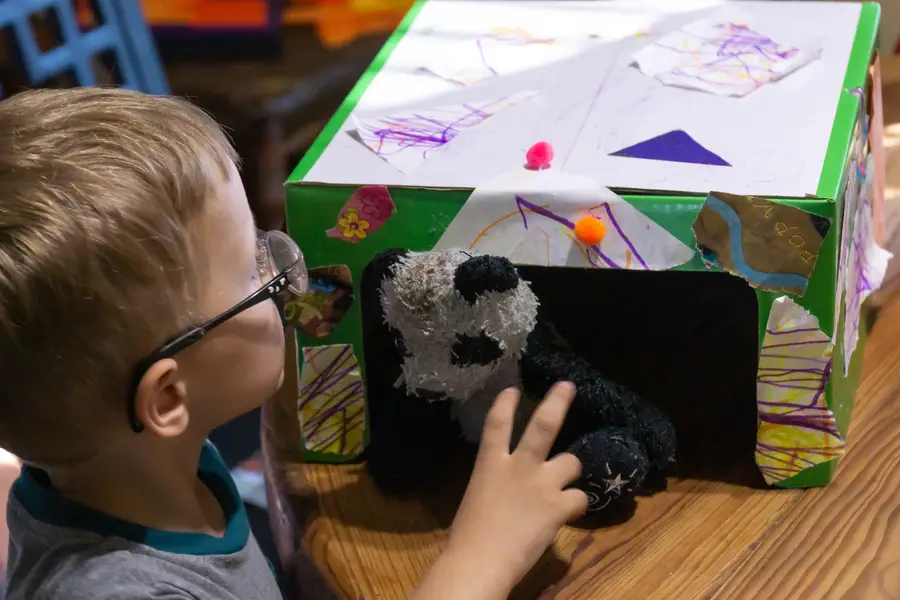
Activity: Tell the child they are making a “cave” for their stuffed animal of choice (hopefully one that can fit in the box-on-its-side). The child can cut the wrapping paper and fabric scraps to decorate their stuffed animal’s cave. They can glue on the inside and outside of the box. You may have to cut the fabric for the child as most children’s scissors are not up to the job. But encourage them to show you the size it needs to be for their cave.
Our kids wanted to doodle on paper first, then glue it to the box.
Alternatives: Just like in the collage activity, decorations can range widely. Feel free to add more “stuff” to glue on the cave as decoration.
Salty-Sammy-the-Snail
Items: Paper with a snail, glue stick, large unbreakable bowl, lots of salt, large soup spoon.
Preparation: Draw an easy-to-follow outline of a snail OR print one out such as this one. Dump salt into a bowl, filling it high enough the child will be able to scoop it out.
Activity: Have the child trace the snail with the glue stick. Then have the child hold the paper over the bowl and “salt” Sammy.
Alternatives: The more difficult form of glue used (i.e., squeeze glue), the more difficult this becomes. “Sammy” can also be made “pretty” by mixing sprinkles into the salt. Just remember that Sammy will later attract ants. If you are feeling very brave, mix glitter into the salt.
Catty-the-Caterpillar
Items: two sheets of paper taped together or one long piece, 6 paper circles the size of the bottom of a standard coffee mug (body), two googly eyes, two small triangles (ears), one small circle (nose), six strips (whiskers), glue stick
Preparation: Lay the paper sheets down and the items in groups. Draw a slight arch where the child should glue down the body, then a line up for where the head should go.
Activity: Have the child glue the 5 paper circles along the arch with the sixth circle slightly higher for the head. The triangles are the “cat’s” ears. The googly eyes, nose, and whisker pieces make the face.
Alternative: Up the difficulty by making the child cut out the circles and using more advanced glue.
Wrap up – Can Preschoolers Use Glue?
Yes, preschoolers can – and should – use glue. Glue activities for kids provide a great learning experience, develop hand eye coordination and motor skills, as well as create some fun craft projects.
Please remember, glue activities require an adult present. If you still have a child that puts things in their mouths, some items, such as buttons, might not be appropriate. Have fun and be safe.
Glue is an essential item for any crafting station or makerspace! Make sure you’ve got everything you need to make your own STEM makerspace!
More Fun Activities
Looking for more fun activities? Sign up for access to our free printable library for some awesome activities for home, home school, or classroom:

