
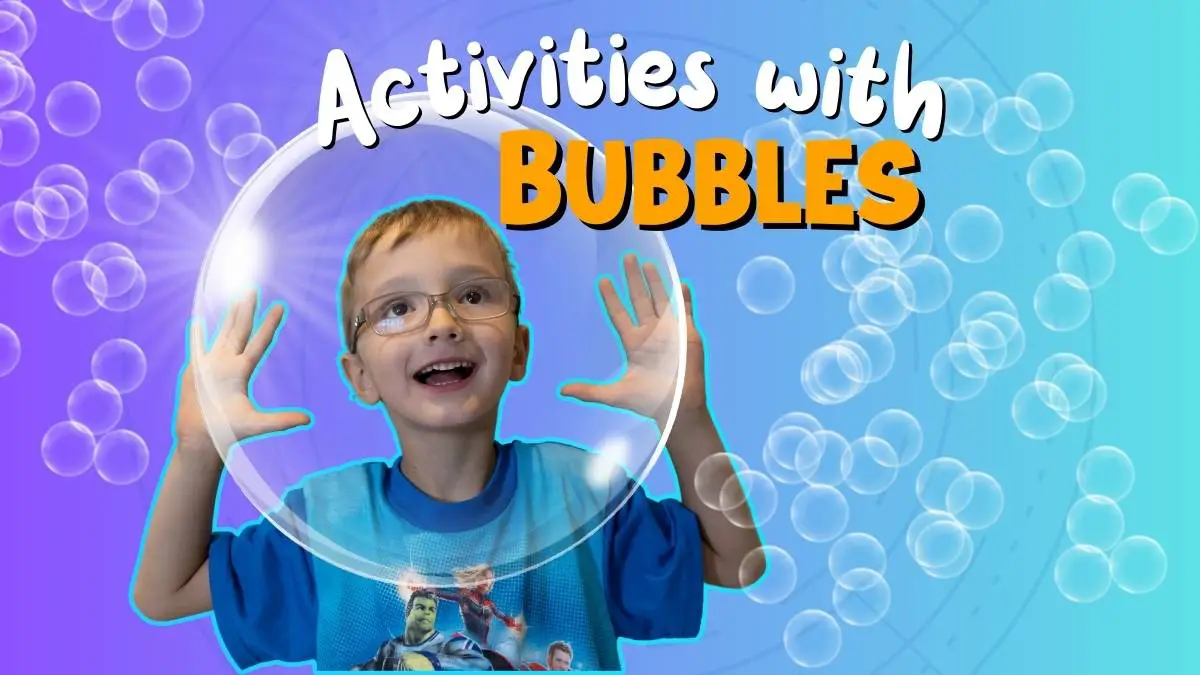
Bubbles are not just for playtime; they’re a gateway to understanding some fascinating scientific concepts! Whether you’re a parent, teacher, or curious kid yourself, these bubble experiments will spark curiosity and wonder.
From exploring the science behind why bubbles are always round to creating mesmerizing bubble art, each activity combines fun with learning. Get ready to make giant bubbles, create colorful bubble paintings, and even see bubbles freeze right before your eyes.
Bubble Shapes Exploration
Discover how bubbles always form a sphere, regardless of the shape of the wand used. This activity reveals the secrets of surface tension in a fun and hands-on way.
Materials Needed:
- Bubble solution
- Different shaped bubble wands (square, triangle, hexagon, etc.)
- Pipe cleaners or twisty ties
Steps:
- If you don’t have bubble wands in different shapes, make your own with pipe cleaners or twisty ties
- Dip various shaped bubble wands into the bubble solution.
- Predict what the shape of each bubble will be.
- Blow bubbles using each wand.
- Observe the shape of the bubbles as they are formed (SPOILER: it’s always a sphere!)
Science Concepts:
- Surface Tension: Bubbles form a sphere because a sphere has the least surface area for a given volume, which minimizes surface tension.

Why are bubbles round?
No matter the shape of the bubble want, they will have all produces the round bubbles we’re used to seeing. Why?
Bubbles are round because it’s the most efficient shape in nature. This shape helps bubbles save energy. But why are bubbles always round, even though the air inside them has no shape? This shows how amazing bubbles are and the science behind them.
Bubbles become spheres because a sphere has the smallest surface area for the amount of air inside. This reduces the surface tension, helping the bubble save energy. Nature always tries to save energy, so bubbles end up being round and shiny.
The round shape of bubbles is a great example of how nature likes to minimize energy use. By making bubbles with the least amount of bubble film needed, they show how efficiency is a common pattern in nature.
Square Bubbles
We just learned that bubbles always come out spherical regardless the shape of the bubble wand. You actually can create square bubbles by using a 3D cube frame. This activity shows that while bubbles prefer to form spheres, they can take on other shapes with the right support.
Materials Needed:
- Bubble solution
- Pipe cleaners or straws
- Scissors
- Shallow dish
Steps:
- Create a cube frame using pipe cleaners or straws. Twist the pipe cleaners or connect the straws at the corners to form a cube.
- Fill a shallow dish with bubble solution.
- Dip the cube frame into the bubble solution, ensuring all sides are coated.
- Gently lift the cube out of the solution. Observe the bubble film forming square-shaped bubbles inside the frame.
Science Concepts:
- Surface Tension and Geometry: Bubbles naturally form spheres due to surface tension. The cube frame forces the bubble film to stretch into a square shape, illustrating how geometry and physical constraints can influence the shape of bubbles.
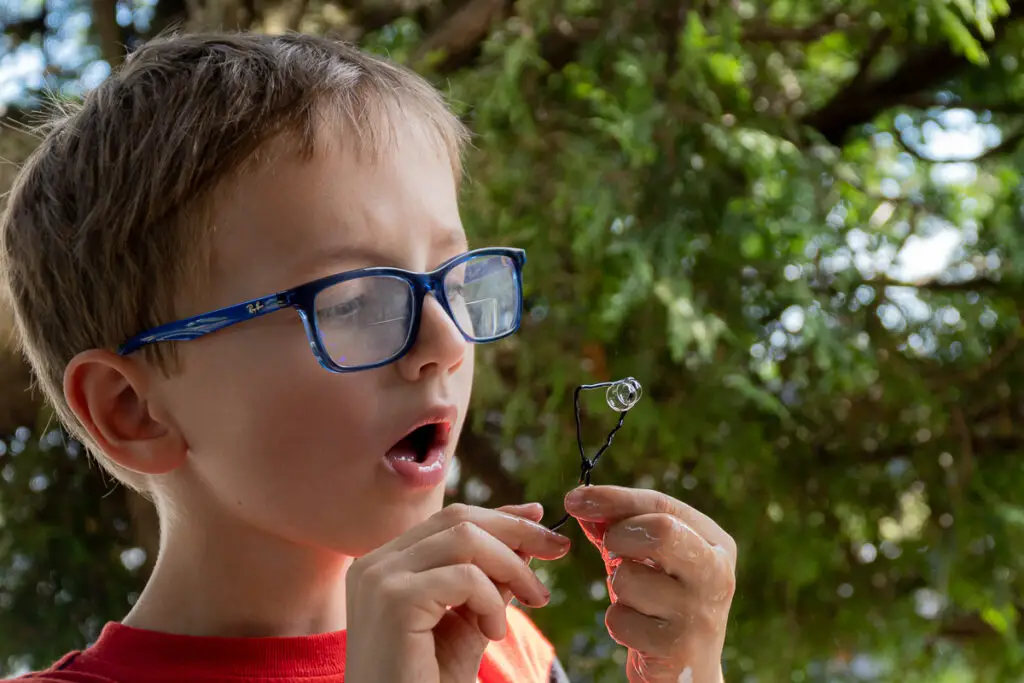
Bubble Blowers
Create unique bubble blowers using everyday materials like straws, pipe cleaners, or twisty ties. Kids can experiment with various designs to see which one produces the best bubbles, all while learning about air pressure and flow.

Materials Needed:
- Bubble Wand of different shapes and materials (pipe cleaners, twisty ties, etc)
- Straw
- Bubble solution
Steps:
- Bend and twist pipe cleaners into different shapes and attach them to straws to create bubble blowers. We used some long wire twisty ties.
- Dip the blowers into the bubble solution.
- Blow through the straw to create bubbles.
- Test different designs to see which works best.
- Blow softer and harder to see how airflow affects the bubbles.
Science Concepts:
- Air Pressure and Flow: The shape and design of the blower affect how air flows through it and forms bubbles.
Bubble Painting
Turn bubbles into art! Mix bubble solution with food coloring or non-toxic paint and blow bubbles onto paper. As the bubbles burst, they leave behind beautiful, colorful patterns. It’s a great STEAM activity and a fun way to combine art and science.
Materials Needed:
- Bubble solution
- Food coloring or non-toxic paint
- Paper
- Straws or bubble wands
- Small cups or bowls for different colors
Steps:
- Mix bubble solution with food coloring or non-toxic paint in a container for each color.
- Dip a straw or bubble wand into the colored bubble solution.
- Blow bubbles onto a sheet of paper.
- Let the bubbles burst and dry to create patterns.
Science Concepts:
- Surface Tension and Pigmentation: When bubbles burst, the colored solution leaves a mark on the paper, demonstrating how liquids spread and dry.
Giant Bubbles
Go big or go home! Using a special bubble solution and homemade wands, you can create enormous bubbles. This activity teaches about surface tension and elasticity as they watch these giant bubbles float and shimmer in the sunlight.
Materials Needed:
- Giant bubble wand (string and straws can be used to make one)
- Bubble solution (add glycerin or corn syrup for extra strength)
Steps:
- Mix bubble solution with glycerin or corn syrup to strengthen the bubbles.
- Dip the giant bubble wand into the solution.
- Slowly lift the wand and move it through the air to create giant bubbles.
- Observe the formation and behavior of the giant bubbles.
Science Concepts:
- Surface Tension and Elasticity: Glycerin or corn syrup increases the elasticity of the bubble solution, allowing bubbles to grow larger without bursting.
If you want to see some truly GIANT bubbles, check out this video:
Bubble in a Bubble
Bubbleception! Blow a large bubble and then blow smaller bubbles inside it. This mesmerizing activity shows how air pressure and surface tension work together to create bubbles within bubbles

Materials Needed:
- Bubble solution
- Straws
Steps:
- Blow a large bubble on a flat surface using a bubble wand.
- Dip one end of a straw into the bubble solution.
- Carefully insert the straw into the large bubble and blow smaller bubbles inside it.
- Observe the bubbles inside the larger bubble.
Science Concepts:
- Surface Tension and Air Pressure: The tension of the bubble film allows smaller bubbles to form inside larger ones, and air pressure differences help maintain their shape.
Bubble Snakes


Using a plastic bottle and an old sock, kids can blow long streams of bubbles. This activity is not only fun but also illustrates how air flow and surface tension work together to form continuous bubbles.
Materials Needed:
- Bubble solution
- Plastic bottle
- Old sock
- Rubber band
Steps:
- Cut the bottom off a plastic bottle.
- Cover the cut end with an old sock and secure it with a rubber band.
- Dip the sock-covered end into the bubble solution.
- Blow through the mouthpiece to create long bubble snakes.

Science Concepts:
- Air Flow and Surface Tension: The structure of the sock and bottle creates a continuous stream of bubbles, demonstrating how air flow and surface tension work together.
Bubble Foam Tower
Mix up a foamy bubble solution and use a blender or whisk to create a tower of bubble foam. Kids can explore the differences between individual bubbles and foam, learning about foam formation and stability.
Materials Needed:
- Bubble solution
- Dish soap
- Water
- Blender or whisk
Steps:
- Mix bubble solution, dish soap, and water to create a foamy mixture.
- Use a blender or whisk to create a tower of bubble foam.
- Observe the foam structure and how it holds together.
- Experiment with different ratios of soap and water to create more stable foam.
Science Concepts:
- Foam Formation and Stability: Discuss the differences between individual bubbles and foam, focusing on how bubbles cluster together and how soap affects stability.
These activities are designed to engage kids in hands-on learning while introducing them to basic scientific principles.
Frozen Bubbles
Winter wonderland! Blow bubbles outside on a cold day or in a freezer and watch them freeze. Kids can observe the crystallization process and learn about phase changes in a visually stunning way.
Materials Needed:
- Bubble solution
- Cold weather or a freezer
Steps:
- Blow bubbles outside if the temperature is below freezing or in the freezer.
- Observe the bubbles as they freeze and crystallize.
- Watch the changes in the bubble structure as it freezes.
Science Concepts:
- Phase Change and Crystallization: Observe how liquid bubbles change to solid ice crystals when exposed to freezing temperatures.
Bubble Science Lab
Time to experiment! Concoct bubble solution with different additives like sugar, salt, and baking soda to see how they affect bubble formation. This activity introduces basic chemical reactions and the impact of different substances on surface tension.
Materials Needed:
- Bubble solution
- Measuring cups
- Different additives (sugar, salt, baking soda, etc.)
Steps:
- Prepare separate bubble solutions with different additives.
- Blow bubbles with each solution.
- Observe and record the differences in bubble formation and longevity.
- Compare which additives make better bubbles.
Science Concepts:
- Chemical Reactions and Surface Tension: Different substances affect the surface tension and chemical properties of the bubble solution, altering bubble formation and stability.
Here are some ideas and the how you can expect each to affect your bubbles:
| Ingredient | Expected Effect |
| Sugar | Increases the thickness of the bubble film, resulting in longer-lasting bubbles. |
| Salt | Weakens the bubble film, causing bubbles to pop more quickly. |
| Baking Soda | May create slightly larger bubbles but with a shorter lifespan. |
| Corn Syrup | Strengthens the bubble film, allowing for larger and more durable bubbles. |
| Glycerin | Increases the elasticity and strength of the bubble film, leading to longer-lasting and more resilient bubbles. |
| Lemon Juice | Lowers the pH of the solution, potentially weakening the bubble film. |
| Gelatin | Adds structure to the bubble film, resulting in thicker, more robust bubbles. |
Glow in the Dark Bubbles
Description: Make bubbles that glow in the dark, creating a magical and illuminating experience. Perfect for nighttime fun and exploring the properties of phosphorescence.
Materials Needed:
- Bubble solution
- Glow in the dark paint or glow sticks
- Scissors (if using glow sticks)
- Bubble wands or straws
Steps:
- If using glow sticks, carefully cut them open and pour the glowing liquid into the bubble solution. Alternatively, mix glow in the dark paint with the bubble solution.
- Stir the mixture until well combined.
- Dip bubble wands or straws into the glowing bubble solution.
- Blow bubbles in a dark room or outside at night and watch them glow.
Science Concepts:
- Phosphorescence: The glow in the dark effect is due to phosphorescent materials that absorb light energy and slowly release it, creating a glow. This activity illustrates the concept of phosphorescence and how certain materials can emit light after being energized.
Bouncing Bubbles
Catch and bounce! By wearing cotton gloves, kids can catch and even bounce bubbles without popping them. This magical trick demonstrates the delicate balance of surface tension and friction.
Materials Needed:
- Bubble solution
- Cotton gloves or socks
Steps:
- Put on cotton gloves or socks.
- Blow bubbles using a bubble wand or straw.
- Gently catch and bounce the bubbles on your gloved hands.
- Observe how long you can keep the bubbles from popping.
Science Concepts:
- Surface Tension and Friction: Cotton gloves reduce friction and help prevent bubbles from popping immediately upon contact.
Homemade Bubble Recipe
Sure, you can buy bubbles online or at your favorite dollar store. Or you can make your own homemade DIY bubble solution and make as many bubbles as you want. This simple bubble solution rivals commercial products and is perfect for eager bubbleologists.
Ingredients:
- 6 cups room temperature water
- 1/2 cup light corn syrup
- 1 cup dish soap
Instructions:
- Add 6 cups of room temperature water to a large container.
- Pour 1 cup of dish soap into the water. Stir gently to prevent foaming.
- Carefully blend in 1/2 cup of light corn syrup.
- Let the solution sit undisturbed overnight, allowing it to meld.
Why it Works: The light corn syrup acts as a thickening agent, reducing the rate of evaporation. This means your bubbles are stronger and last longer.
Tips:
- Follow the recipe exactly, no substitutes.
- Perfect for joy-filled educational play.
- Adult supervision recommended.
Discover the science behind bubbles with this robust bubble mix. Create joy and wonder as you explore soap films and the amazing properties of bubbles. Not only is this recipe simple, but the bubbles produced are sure to impress both young scientists and the young at heart. Happy bubble blowing!
Wrap Up – Activities with Bubbles
Bubbles are more than just a source of amusement. With some soapy water and a bubble wand (and some creativity), kids can explore fundamental scientific concepts like surface tension, air pressure, and chemical reactions in a fun and engaging way.
Whether you’re crafting giant bubbles that shimmer in the sunlight, painting vibrant bubble art, or chilling out with some frozen bubbles, these activities offer a hands-on approach to learning that children will love. They provide a unique blend of creativity and science, encouraging kids to ask questions, make observations, and discover the wonders of the world around them.
Get outside and check out these fun Summer STEM activities!


2 responses to “Bubble Science Experiments”
I feel more informed after reading this, thank you.
I’m always eager to read your next post.