
Do you think rocks and minerals are boring? We’ve gathered some STEM activities that, well, ROCK!
Check out these STEM lessons for kids about rocks and minerals. These fun activities will teach children about the amazing world around us and are perfect for kids who love science and nature!
STEM learning emphasizes the engagement of all the senses and encourages physical interaction. Rocks and minerals can be taught at a tactile, visual, and spatial level. Lessons should allow children to interact with rocks, come to their own conclusions and test them against scientific knowledge.
*We’re an affiliate – we may earn a commission through qualifying purchases from the links on this page. As always, thanks!*
Young children may be fascinated with the colors, textures, sizes, and shapes of various rocks. In contrast, older ones may be more interested in how rocks form, the scientific classification of rocks and minerals, and their technological and other uses. Let’s explore!
Rock Scavenger Hunt
A scavenger hunt is a great activity to learn about different rock types.
Either in your backyard, or a local park, or nature walk, try to find various types of rocks.
For younger kids, your scavenger hunt list may focus on color or shape:
- Find a flat rock
- Find a round rock
- Find a smooth rock
- Find a rough or jagged rock
- Find a gray rock
- Find a brown rock
- Find a rock with more than one color
- Find 2 rocks that are similar
For older students, you can add to these classifications of rocks to find:
- Igneous rocks
- Sedimentary rocks
- Metamorphic rocks
If you’re in your backyard or a space where it’s okay to take the rocks with you, this is a great way to source rocks for other activities. If you’re in a space where you cannot remove the rocks, you can create a “digital rock collection” and take pictures of the rocks for your scavenger hunt.
Rock Sorting Activity
Rock sorting is a great activity for young children, and can be done at home or in the classroom. Rocks can be sorted by shape, size, color, or texture and offer a variety of lessons.
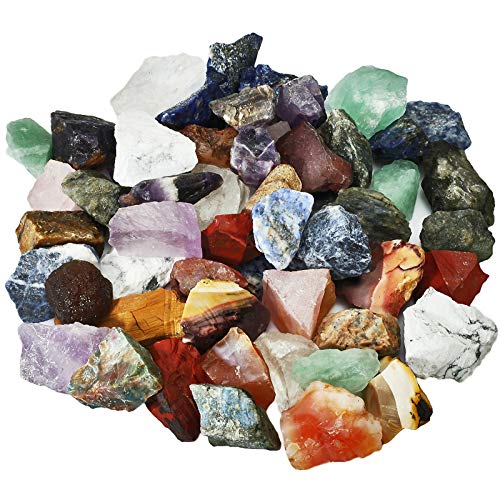
Gather or buy a bag of rocks of various colors, shapes, and sizes. If you don’t have anywhere to find a variety of rocks, these are readily ordered off the internet.
If in a classroom setting, distribute the rocks amongst the students or let them take turns choosing their own. When dealing with preschool children, ensure the rocks are too big to stick up a nostril or be swallowed! On second thought, maybe that goes for all school age children.
Create a chart with different sections to describe the characteristics of rocks, like color, texture, or size. You can use words like shiny, smooth, white, red, yellow, blue, rough, sharp, etc.
Place your rocks on the part of the chart that best describes them. If in a class or group setting, encourage the class to make suggestions and comments about where the rocks should go.
For younger kids in a classroom, this can make a good circle time activity.
Patterns or Sequence Math Activity with Rocks
You could also make it a Math activity and have kids create a pattern or sequence using rocks.
Make sequences by color, shape, size and have the children place the next rock in the pattern.
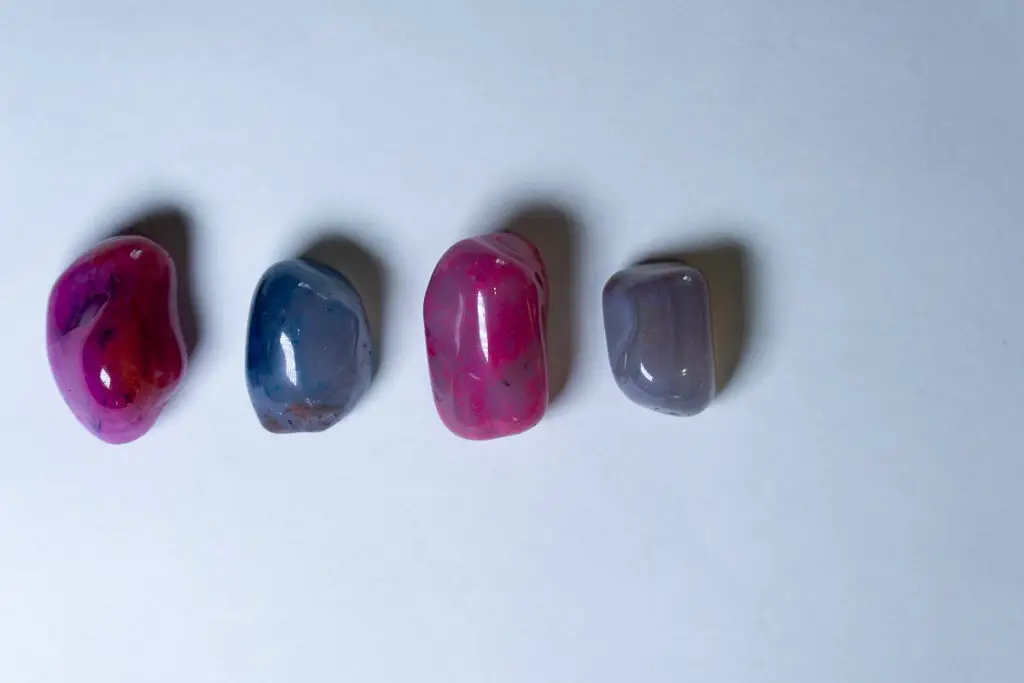
For example, what kind of rock would you expect to appear next in the sequence below?
Pet Rock Project
Find a cool rock in your yard or on a nature walk. If doing this activity in a classroom, have each child bring a favorite rock to class from their garden or a place their family visits, like a beach or mountain. They can name their pet rock and tell the class where it was found. Let each child draw their rock. They can experiment to see if their rock –
- responds to a magnet,
- sinks in a paper cup of water,
- dissolves in vinegar (indicated by bubbles forming),
- is easily scratched with the edge of a coin, or
- glows under ultraviolet light.
Have them write their observations down.
They can also weigh their rock or measure it for size and describe it as shiny or dull. Let them write a brief description of their results. For class projects, kids can share what they found about their rock with the class.
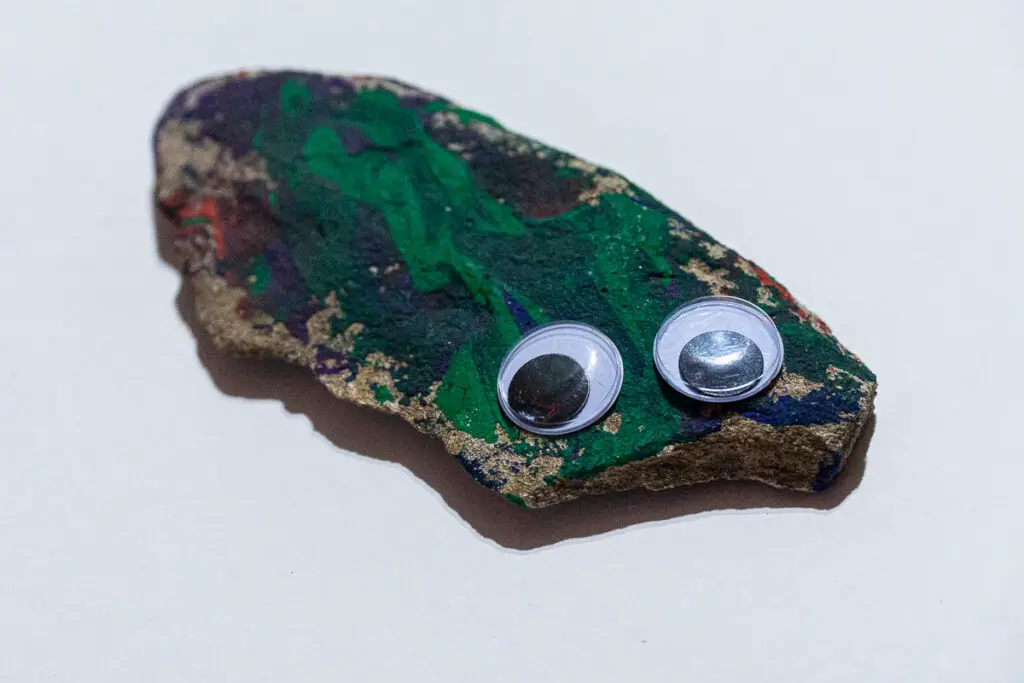
For a more creative STEAM project, have the kids make up a story about how the rock was formed, or how it got to the place they found it. They can paint their rocks, or glue on some eyes.
Rock Structure Building Lesson
This lesson can be adapted for kids of various ages. Show kids photographs or books with images of ancient rock art from different parts of the world. Get them to talk about what they think the various paintings mean or describe. Gather or buy some flat stones and let them paint activities from their daily lives or pictures of their pets or family.
Alternately, buy flat rocks of various sizes that the kids can use to build a cairn or pillar. Many tribes made such structures, and you can explore their purposes in diverse cultures.
For example, the Inuit assembled cairns called inukshuks to warn people of local dangers, indicate good fishing spots, show where food was cached, or identify safe walking trails; much like we use signage in towns and cities today. When built in the shape of a person, an inukshuk symbolized friendship, safety, and hope.

Getting children to balance rocks on top of each other teaches them about weight distribution, shapes and sizes, structural integrity, and other spatial principles.
Try and build the tallest cairn or the most friendly inukshuk.
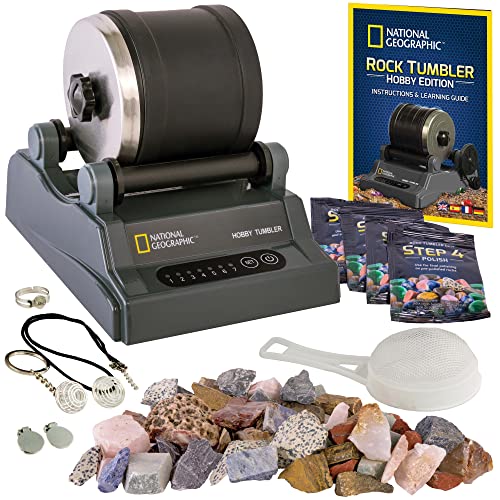
Rock Tumbling Lesson
This lesson can be adapted for children in various age groups, or done as a home or homeschool activity. It does require a rock tumbler, which you can find relatively inexpensive online or at hobby stores.
This lesson can teach kids about the geology of the area they live in, different types of rock, the varying nature, color, and size of rocks, and how rocks change with weathering and time.
Go on a nature walk, a nearby creek, a beach, hill, or other rocky area, and collect a few different stones. (Make sure you’re in a place where it is okay to take the stones with you.)
If a field trip is not feasible or there aren’t many places to go rock hunting near you, it is possible to order a bag of various rough stones for the children to examine and describe.
Research the area beforehand so you can learn about its geological characteristics, special features, the local climate, and weathering factors such as wind, rain, and heat, and how these conditions may influence the type of rock in the area. Note the color, texture, density, size, and shape of the various rocks.
You can also discuss the difference between various words used for substrates with young children, such as stones, boulders, pebbles, and sand.
Discuss the different kinds of rock collected and how they are formed; tailoring topics to the age group. Young children may not find a discussion of the formation of different types of rocks exciting, but they can relate to different colors, sizes, and textures. They can also understand the effects of different kinds of weathering at a superficial level.
Before putting the rocks in a tumbler, take a photo of each for a before and after comparison. It may also be interesting to take a look at the rocks under a microscope if you have one available. We use this inexpensive electron microscope that allows you to view the image on your computer or phone.
Write down some observations about the rocks. Have your kid(s) hypothesize what they think will happen when the rocks come out of the tumbler, and explain why.
After making notes and photographing the rocks, put them in the rock tumbler. Now for the hard part: run it for a week. Sure, it’s okay to peak at it now and then to see the progress. Understand it takes time.
At the end of the week, remove the stones from the tumbler. Describe how the rocks have changed when compared to the “before” photos. If you checked them out with a microscope, see how they are different afterward.
Visit a Quarry or Mining Area (or do a virtual mine tour)
This lesson is most suitable for older children. If you are in or near a mining town and there are safe mines, quarries, or geological science centers nearby that offer educational tours, this is another way to learn about rocks and minerals. The children can touch them, pick up smaller stones to test their weight, see how they were extracted, and learn their uses.
Older kids can do a small research project before the visit describing the minerals that were mined there and what they are used for. They may even get to take a few samples with them at the end of the visit, depending on the tour.
They can enter more information on their charts about what they learned from the outing when they get back. Examples are the age of the rocks or minerals, how they formed, how they are eroded by water etc. If samples were collected, these could be displayed on an empty tabletop together with the chart for parents to see.
If you don’t live in an area where there are mine tours, there are a number of virtual tours you can find online.
Lake Vermilion-Soudan Underground Mine
Lake Vermilion-Soudan Underground Mine is in Northeastern Minnesota. Here you can find a number if interactive 360 scenes of mine shafts, tunnels, caverns, underground labs, and more. Turn around and zoom in within the space to get a sense of what it would be like in an underground mine.
Eagle Gold Mine
The Eagle Gold Mine virtual tour features sweeping 360-degree panoramic views of the entire site in the Yukon Territory, Canada.
Arizona Mineral Mines
This site features a number of mines located in Arizona. The tours feature a combination of Google Earth to see the locations and photos of the minerals and mines themselves. It’s interesting to see what the minerals look like after they are extracted and cleaned up.
Rock Bingo and Games
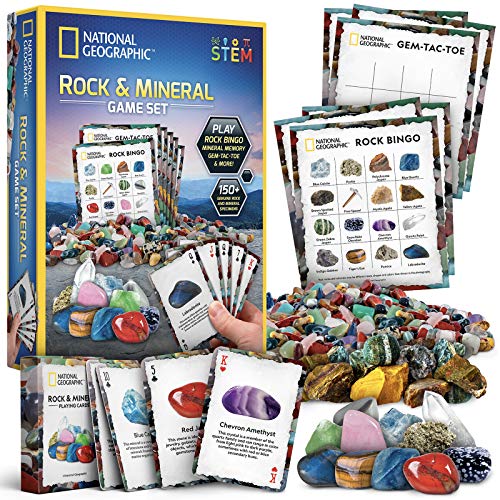
If you’re looking for more of an “in the box” solution, this National Geographic games set may be just the thing. Games like Rock Bingo and playing cards help with recognition and identification while having fun. Play Tic-Tac-Toe with the included set of rocks, or work on challenging your brain with the memory game.
Wrap up – STEM Activities with Rocks and Minerals
There are many creative ways to teach children of all ages about rocks and minerals. STEM learning emphasizes a hands-on approach that engages as many of the senses as possible. Children of all ages can enjoy handling rocks and minerals, testing their characteristics, and understanding how they formed in age-appropriate STEM lessons.
