Ring in the holiday season with some festive Christmas science experiments. These hands-on activities combine holiday cheer with educational fun. Each project offers a simple way to make learning exciting during the holiday season. The kids have time off and need some things to do. Try these seasonal STEM activities to keep them entertained. Let’s explore!
Gingerbread House Engineering Challenge
Building gingerbread houses is a fun holiday activity that doubles as a hands-on engineering project. Kids can explore architectural design, structural integrity, and creativity while constructing their edible masterpieces.
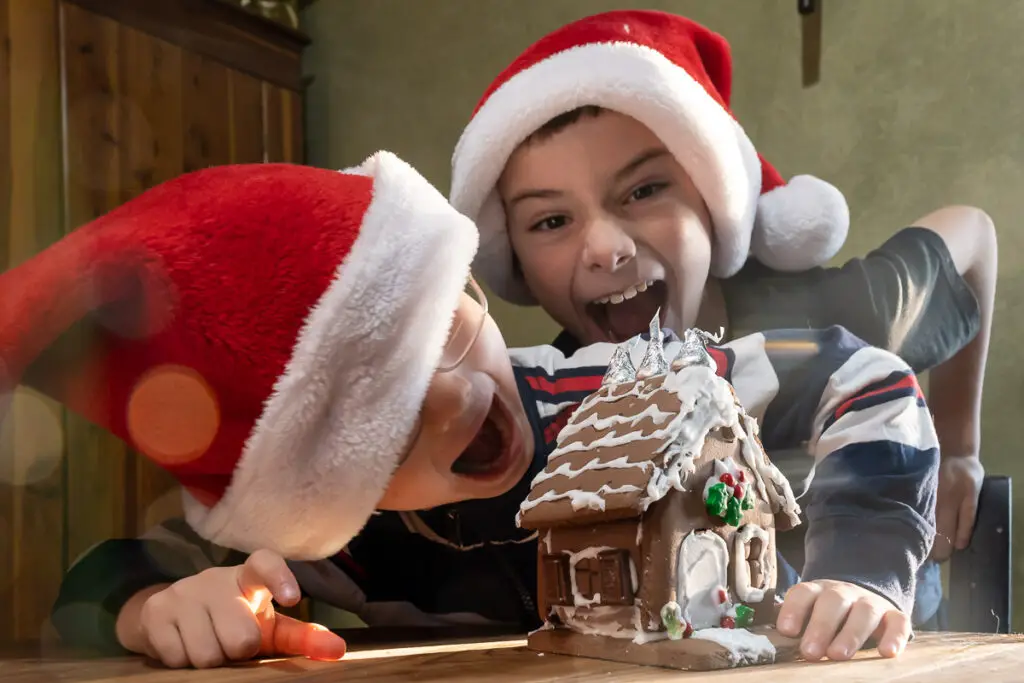
You can use Graham crackers and icing if you want more of an unstructured DIY experience, or try out a building kit.
Materials:
- Gingerbread house pieces (homemade or store-bought kits)
- Royal icing (acts as edible glue)
- Assorted candies for decoration (gumdrops, candy canes, peppermints)
- Flat surface or sturdy base (cardboard or cake board)
- Piping bags or zip-lock bags (for icing)
- Toothpicks or skewers (optional, for extra support)
Instructions:
- Design Your House:
- Sketch a simple blueprint of your gingerbread house, considering the shape and features you want.
- Prepare the Icing:
- Fill a piping bag with icing, or cut the corner off of a zip-lock bag. This will be your glue.
- Assemble the Walls:
- Pipe icing along the edges of the wall pieces.
- Press the edges together to form the house structure on your flat surface.
- Hold each piece for a few seconds to let the icing set.
- Attach the Roof:
- Apply icing to the top edges of the walls.
- Gently place the roof pieces on top, pressing firmly.
- Reinforce (Optional):
- Use toothpicks or skewers inside the structure for additional support if needed.
- Decorate:
- Use icing to attach candies and decorations to your house.
- Get creative with windows, doors, and landscaping.
- Let It Set:
- Allow your gingerbread house to sit undisturbed for at least an hour to let the icing harden.
Scientific Concepts:
- Structural Engineering: Understanding how shapes and supports affect the strength of a building. Triangles and arches can provide extra stability.
- Weight Distribution: Learning how to balance the weight of the roof and decorations so the house doesn’t collapse.
- Material Properties: Observing how icing hardens to act like glue, and how the gingerbread supports weight.
Extra Tips:
- If walls are sliding, use canned goods to prop them up while the icing dries.
- Experiment with different shapes and sizes to see which designs are the strongest.
- Turn it into an engineering challenge by testing whose house can withstand a gentle shake (simulating an earthquake).
Christmas Tree Geometry Art Project
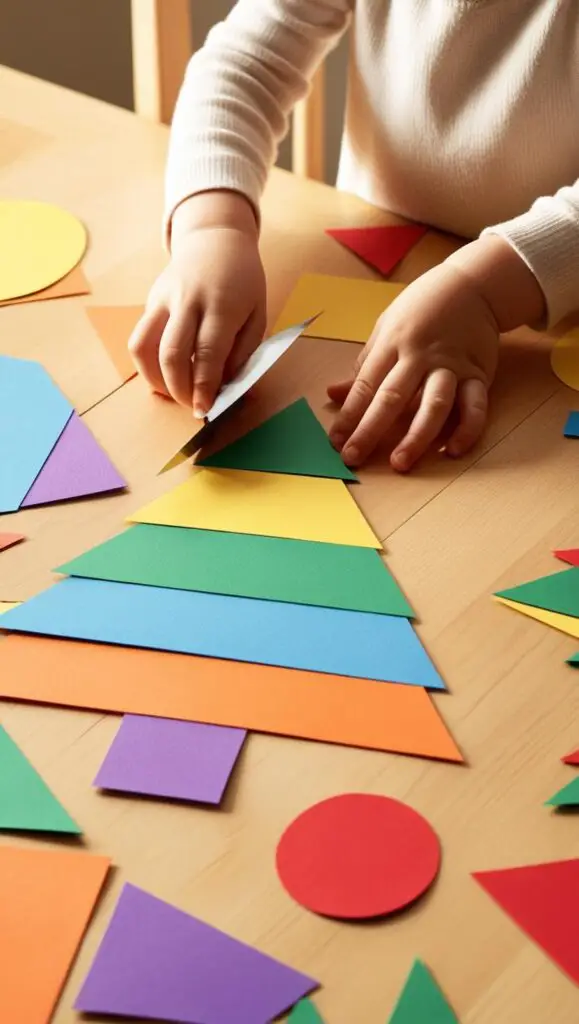
Create a festive Christmas tree with geometric shapes and symmetry in this STEAM activity. This art project helps kids recognize shapes and understand how they fit together to form larger designs. It’s also a great way to practice scissor skills for younger kids.
Materials:
- Green construction paper
- Additional colored paper (red, yellow, blue)
- Ruler
- Pencil
- Scissors
- Glue or glue stick
- Decorative items (stickers, glitter, markers)
Instructions:
- Draw Geometric Shapes:
- On the green paper, use a ruler to draw various triangles, squares, and rectangles of different sizes. Triangles of different sizes make a great start for a Christmas tree.
- Cut Out Shapes:
- Carefully cut out the shapes with scissors.
- Assemble the Tree:
- Arrange the shapes on a larger piece of paper to form a Christmas tree. Start with larger shapes at the bottom and smaller ones at the top.
- Glue the Shapes:
- Once satisfied with the arrangement, glue the shapes onto the paper.
- Add Decorations:
- Cut out circles, stars, and other shapes from the colored paper.
- Glue these onto the tree as ornaments and a star on top.
- Embellish:
- Use stickers, glitter, or markers to add extra decorations and details.
Scientific Concepts:
- Geometry: Identifying and using shapes like triangles, squares, and rectangles.
- Symmetry: Understanding that the tree can be symmetrical, meaning one side mirrors the other.
- Spatial Reasoning: Learning how different shapes can fit together to form a complete image.
Extra Tips:
- Encourage kids to name the shapes as they work with them.
- Discuss how changing the size of shapes affects the overall design.
- Introduce concepts like right angles and parallel lines in the context of their artwork.
Related Post Alert
If you want more artistic inspiration, check out these art projects using math concepts.
Dissolving Candy Canes Experiment
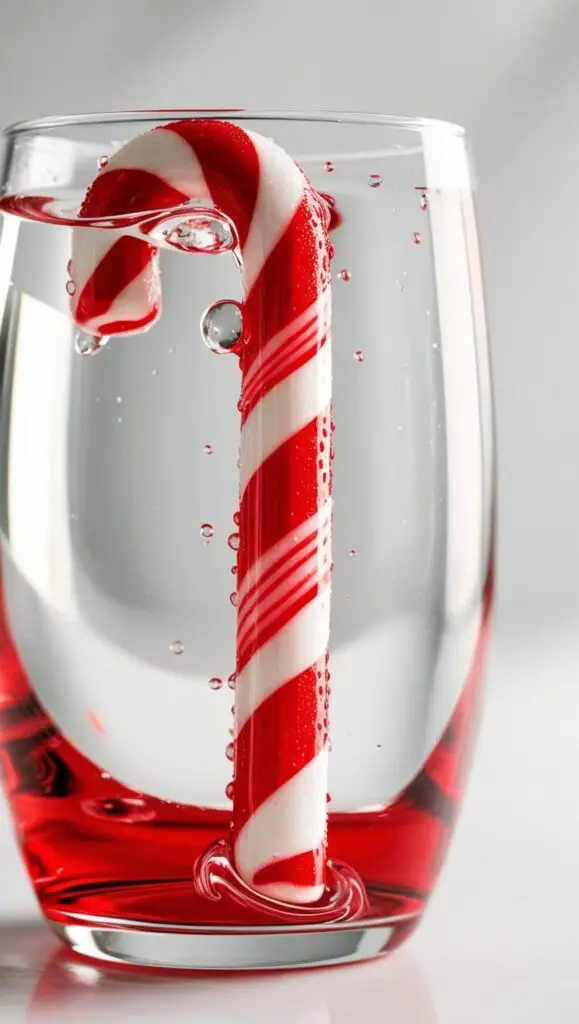
Discover how different liquids affect the rate at which a candy cane dissolves. This experiment introduces kids to the concepts of solubility and chemical reactions in a fun and tasty way.
Materials:
- Candy canes (4-5, all the same size)
- Clear cups or glasses
- Water (room temperature)
- Hot water
- Vinegar
- Oil (vegetable or baby oil)
- Labels or markers
- Stopwatch or timer
- Notebook and pen (for observations)
Instructions:
- Prepare the Cups:
- Label each cup with the liquid it will contain: “Water,” “Hot Water,” “Vinegar,” “Oil.”
- Add Liquids:
- Fill each cup with the same amount of its designated liquid.
- Add Candy Canes:
- Simultaneously place a candy cane into each cup.
- Start the Timer:
- Begin timing as soon as the candy canes are submerged.
- Observe:
- Watch the candy canes and note any changes at regular intervals (every 2 minutes).
- Record Results:
- Write down observations about color changes, size reduction, and any other notable reactions.
- Conclude the Experiment:
- After 10-15 minutes, compare the condition of the candy canes in each liquid.
Scientific Concepts:
- Solubility: Understanding that substances dissolve differently in various solvents.
- Temperature Effects: Hot liquids can increase the rate at which substances dissolve due to increased molecular movement.
- Acidity: Vinegar’s acidic properties may affect the dissolving process differently than neutral water.
- Density and Polarity: Oil does not mix with water-based substances like sugar, so the candy cane dissolves very slowly or not at all.
Extra Tips:
- Predict which liquid will dissolve the candy cane the fastest before starting.
- Extend the experiment by stirring some of the liquids to see how agitation affects dissolving.
- Discuss why the oil had little to no effect compared to the water and vinegar.
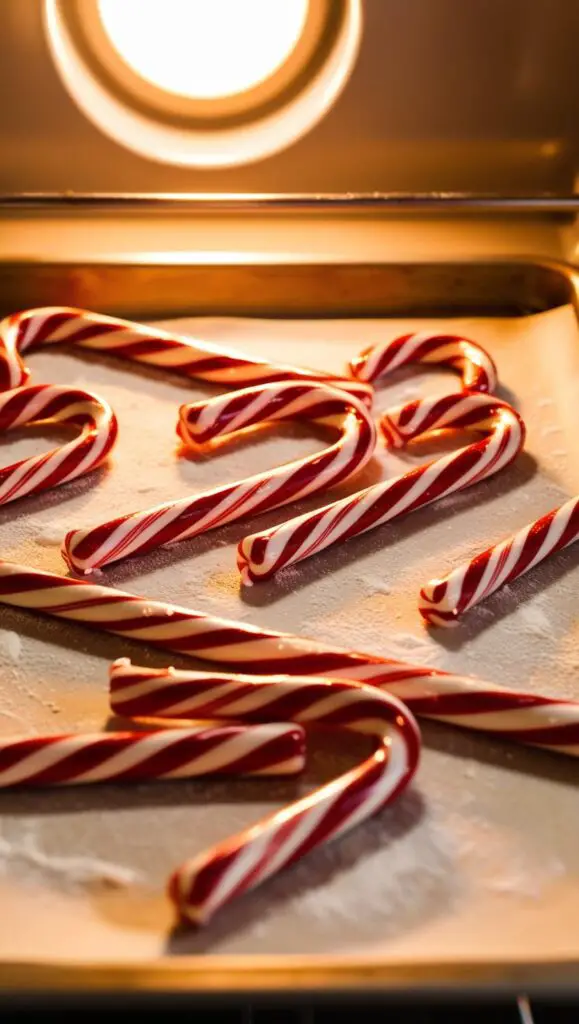
Bending Candy Canes Science Activity
Explore how heat affects the physical properties of candy canes by bending them into new shapes. This activity demonstrates how temperature can change the flexibility of materials.
Materials:
- Candy canes (unwrapped)
- Baking sheet
- Parchment paper or aluminum foil
- Oven mitts
- Oven preheated to 250°F (120°C)
- Kitchen timer
- Heat-resistant surface or plate
- Optional: Warm water and a bowl (alternative method)
Instructions:
- Prepare the Candy Canes:
- Place unwrapped candy canes on a baking sheet lined with parchment paper or foil.
- Heat the Candy Canes:
- Put the baking sheet in the preheated oven.
- Heat for about 3-5 minutes. Watch closely to prevent melting.
- Check Flexibility:
- Carefully remove one candy cane using oven mitts.
- Gently try to bend it. If it’s not flexible, return it to the oven for another minute.
- Shape the Candy Canes:
- Once flexible, bend the candy canes into desired shapes (hearts, letters, etc.).
- Work quickly, as they harden as they cool.
- Cool Down:
- Place the shaped candy canes on a heat-resistant surface to cool completely.
Alternative Method (Using Warm Water):
- Heat Water:
- Fill a bowl with very warm water (not boiling).
- Soak Candy Canes:
- Submerge the candy canes in the water for about 10-15 minutes.
- Shape and Cool:
- Remove and shape as above, then allow to cool.
Scientific Concepts:
- Thermal Softening: Heat causes the sugar molecules in the candy cane to move more freely, making it pliable.
- Physical Changes: The candy cane changes shape without altering its chemical composition.
- Cooling and Hardening: As the candy cane cools, the molecules slow down and it becomes rigid again.
Extra Tips:
- Be cautious when handling hot candy canes to prevent burns.
- If the candy cane hardens before you’re done shaping, you can reheat it.
- Compare how long the candy stays flexible using the oven method versus the warm water method.
Peppermint Water Science and Color Diffusion Experiment
Watch the movement of colors as peppermint candies dissolve in water. This simple experiment illustrates the concept of diffusion and how materials (like candy) dissolve and spread in liquids.
Materials:
- Peppermint candies (red-and-white striped mints)
- White plate or shallow dish
- Warm water
- Measuring cup
- Stopwatch or timer (optional)
- Camera (optional, to record the process)
Instructions:
- Arrange the Candies:
- Place peppermint candies evenly around the edge of the plate to form a circle.
- Add Water:
- Gently pour warm water into the center of the plate until it just touches the candies. Avoid pouring directly on them.
- Observe the Magic:
- Watch as the colored stripes begin to dissolve and move towards the center, creating a vibrant pattern.
- Time the Reaction (Optional):
- Use a stopwatch to record how long it takes for the colors to meet in the center.
- Experiment Further:
- Try the experiment with cold water and compare the speed and patterns formed.
Scientific Concepts:
- Diffusion: The movement of particles from an area of higher concentration to an area of lower concentration, resulting in the spreading of color.
- Solubility: How the sugar and dye in the candies dissolve in water.
- Temperature Effects: Warm water increases the rate of diffusion because particles move faster when heated.
Extra Tips:
- Use different types of candies (like Skittles or M&Ms) to see how the patterns change.
- Try arranging the candies in different shapes or patterns.
- Discuss how this experiment models natural processes, such as the spread of pollutants in water.
Christmas Lava Lamp Experiment
Create a festive lava lamp that captures the magic of Christmas with swirling colors and glitter. This activity teaches kids about density and chemical reactions while making a delightful decoration.
Materials:
- Clear glass jar or bottle (with a tight-fitting lid, optional)
- Vegetable oil
- Water
- Food coloring (red and green for a Christmas theme)
- Alka-Seltzer tablets (effervescent tablets)
- Glitter (optional, for extra sparkle)
- Funnel (optional)
- Measuring cups
Instructions:
- Fill the Jar with Oil:
- Use the funnel to pour vegetable oil into the jar, filling it about three-quarters full.
- Add Water:
- Slowly pour water into the jar until it’s nearly full, leaving some space at the top. The water will sink below the oil because it’s denser.
- Add Food Coloring:
- Drop several drops of food coloring into the jar. The coloring will mix with the water layer.
- Sprinkle in Glitter (Optional):
- Add a pinch of glitter to enhance the festive look.
- Prepare for the Reaction:
- Break an Alka-Seltzer tablet into smaller pieces.
- Start the Lava Lamp Effect:
- Drop one piece of the tablet into the jar and watch as colorful blobs rise and fall.
- Continue the Fun:
- When the motion stops, add another piece of the tablet to keep the lava lamp going.
- Seal the Jar (Optional):
- If you want to keep your lava lamp for display, seal the jar tightly after the reaction has stopped. Do not seal it while the reaction is active.
Scientific Concepts:
- Density: Oil and water don’t mix because water is denser than oil. This causes the water to sink below the oil layer.
- Chemical Reaction: The Alka-Seltzer reacts with water to produce carbon dioxide gas bubbles.
- Gas Bubble Movement: The gas bubbles attach to the colored water, making them less dense and causing them to rise through the oil. When the bubbles reach the top, the gas escapes, and the water drops back down.
Extra Tips:
- Safety First: Adult supervision is recommended. Ensure kids do not ingest any materials.
- Experiment with Colors: Try layering red and green food coloring for a more dynamic effect.
- Reuse Your Lava Lamp: You can reuse the lava lamp by adding more Alka-Seltzer tablets whenever you want to see the effect again.
Elf Balloon Rockets
Send a mischievous elf zooming across the room with this balloon rocket activity! Kids will learn about the forces that make rockets fly while enjoying a playful holiday-themed experiment.

Materials:
- Balloons (long balloons work best, but any will do)
- String (10-15 feet long)
- Straw (cut into a 4-inch piece)
- Tape
- Paper and markers (to create an elf cutout)
- Two sturdy chairs or anchors
- Scissors
Instructions:
- Create the Elf:
- Draw and cut out a small elf figure from paper.
- Decorate the elf with markers.
- Set Up the Rocket Path:
- Tie one end of the string to the back of a chair.
- Thread the other end of the string through the straw piece.
- Pull the string tight and tie it to the second chair, creating a straight line.
- Prepare the Balloon Rocket:
- Inflate a balloon and pinch the end closed without tying it.
- Tape the elf cutout onto the balloon.
- Tape the balloon (with the elf) to the straw on the string, positioning it so the open end of the balloon faces backward.
- Launch the Rocket:
- Move the balloon to one end of the string.
- Let go of the balloon’s end and watch the elf rocket zoom along the string!
- Experiment Further:
- Try different sizes and shapes of balloons to see how they affect speed and distance.
Scientific Concepts:
- Newton’s Third Law of Motion: For every action, there is an equal and opposite reaction. The air rushing out of the balloon propels it forward along the string.
- Forces and Motion: The force of the escaping air creates thrust, moving the balloon rocket.
Extra Tips:
- Angle the String: Raise one end of the string to see how gravity affects the rocket’s motion.
- Race Rockets: Set up multiple strings and have rocket races.
- Measure Distance and Speed: Use a stopwatch and measuring tape to calculate how fast and far the rocket travels.
Reindeer Toothpick Structures
Unleash your inner engineer by building reindeer sculptures with toothpicks and marshmallows. This hands-on activity combines creativity with basic engineering principles.
Materials:
- Toothpicks
- Marshmallows (mini ones are easier to work with)
- Gumdrops or jelly candies (optional, for added color)
- Paper and pencil (for planning)
- Work surface (like a table or tray)
Instructions:
- Plan Your Reindeer:
- Sketch a simple design of your reindeer, focusing on shapes like triangles and squares for stability.
- Build the Body:
- Connect marshmallows and toothpicks to form the body shape, using sturdy geometric shapes.
- Add Legs:
- Attach four legs to the body, ensuring they are equal in length so the reindeer can stand.
- Create the Neck and Head:
- Use toothpicks to build upward from the body for the neck and head.
- Design the Antlers:
- Construct antlers by branching toothpicks from the head.
- Stabilize Your Structure:
- Reinforce joints with additional marshmallows if necessary.
- Customize:
- Use gumdrops or candies to add eyes, a nose, or other features.
Scientific Concepts:
- Structural Engineering: Understanding how shapes like triangles provide strength and stability.
- Balance and Symmetry: Ensuring weight is evenly distributed so the reindeer can stand upright.
- Material Properties: Exploring how the flexibility and strength of materials affect construction.
Extra Tips:
- Challenge Yourself: Try building larger structures or adding more reindeer to create a scene.
- Test Strength: Gently press on different parts to see how strong your structure is.
- Learn from Mistakes: If your reindeer collapses, figure out why and adjust your design.
Related Post Alert
Love playing with your food? Check out these other kitchen science activities and edible experiments with food.
Reindeer Toothpaste (Elephant Toothpaste with a Holiday Twist)
Experience an exciting chemical reaction with this foamy “reindeer toothpaste” experiment. It’s a festive adaptation of the classic elephant toothpaste activity, showcasing catalysts and exothermic reactions.
Materials:
- Empty plastic bottle (like a soda bottle)
- 1/2 cup hydrogen peroxide (6% or higher concentration for a better effect)
- 1 tablespoon dry yeast
- 3 tablespoons warm water
- Liquid dish soap
- Brown food coloring (to represent reindeer)
- Funnel (optional)
- Safety goggles and gloves
- Tray or large dish (to catch the foam)
- Measuring cups and spoons
Instructions:
- Safety First:
- Put on safety goggles and gloves to protect your eyes and skin.
- Prepare the Bottle:
- Place the plastic bottle in the center of the tray.
- Add Hydrogen Peroxide:
- Use the funnel to pour 1/2 cup of hydrogen peroxide into the bottle.
- Add Dish Soap and Color:
- Add a generous squirt of dish soap to the bottle.
- Add several drops of brown food coloring.
- Swirl the bottle gently to mix the contents.
- Prepare the Yeast Mixture:
- In a separate cup, mix 1 tablespoon of dry yeast with 3 tablespoons of warm water.
- Stir for about 30 seconds to activate the yeast.
- Start the Reaction:
- Quickly pour the yeast mixture into the bottle using the funnel if needed.
- Step back and watch the foamy “toothpaste” erupt from the bottle!
- Observe:
- Feel the outside of the bottle to notice it’s warm, indicating an exothermic reaction.
Scientific Concepts:
- Catalysts: The yeast acts as a catalyst, speeding up the decomposition of hydrogen peroxide.
- Exothermic Reaction: The reaction releases heat, making it an exothermic process.
- Gas Production: Hydrogen peroxide breaks down into water and oxygen gas, which gets trapped in the soap to form foam.
- Chemical Reaction: The formula for the decomposition is 2H₂O₂ → 2H₂O + O₂ (hydrogen peroxide breaks down into water and oxygen).
Extra Tips:
- Experiment with Colors: Use red and green food coloring for a more festive look.
- Use a Higher Concentration: A higher percentage of hydrogen peroxide will produce more foam, but handle with extra care.
- Cleanup: The foam is generally safe to touch (if using 6% peroxide), but it can stain fabrics due to the food coloring.
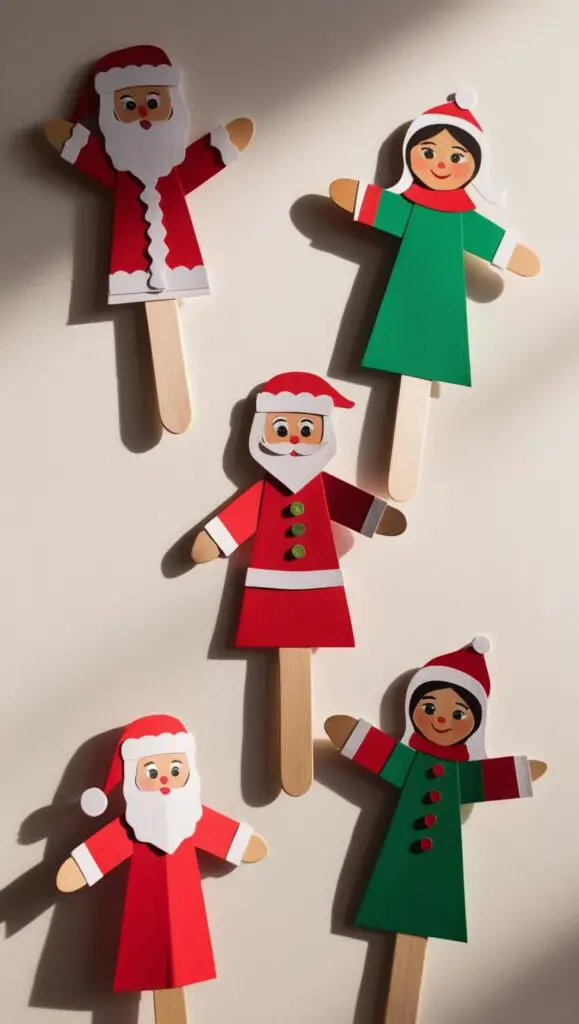
Christmas Shadow Puppets
Create magical holiday scenes with Christmas shadow puppets! This activity encourages creativity and storytelling while teaching kids about light and shadows.
Materials:
- Black cardstock or construction paper
- Popsicle sticks or wooden craft sticks
- Scissors
- Pencil
- Tape or glue
- Flashlight or lamp
- White sheet or blank wall to make shadows on
Instructions:
- Draw Your Puppets:
- Sketch Christmas-themed shapes on the black paper, such as Santa, reindeer, Christmas trees, or snowflakes.
- Cut Out the Shapes:
- Carefully cut out your drawings to create the shadow puppets.
- Attach Handles:
- Tape or glue a wooden stick to the back of each cutout to serve as a handle.
- Set Up the Stage:
- Hang a white sheet in a darkened room or find a blank wall.
- Position the Light Source:
- Place a flashlight or lamp behind the sheet or in front of the wall, pointing towards it.
- Perform the Show:
- Hold the puppets between the light and the sheet/wall.
- Move them around to create a shadow performance.
- Tell a Story:
- Encourage kids to make up a holiday story using the puppets.
Scientific Concepts:
- Light and Shadows: Understanding how opaque objects block light to create shadows.
- Size and Distance: Observing how moving puppets closer to the light source makes the shadow larger, while moving them away makes it smaller.
- Storytelling and Creativity: Enhancing communication skills through imaginative play.
Extra Tips:
- Experiment with puppet movement to see how it affects the shadows.
- Use colored cellophane or tissue paper on parts of the puppets for a stained-glass effect.
- Discuss how shadow puppetry is used in different cultures around the world.
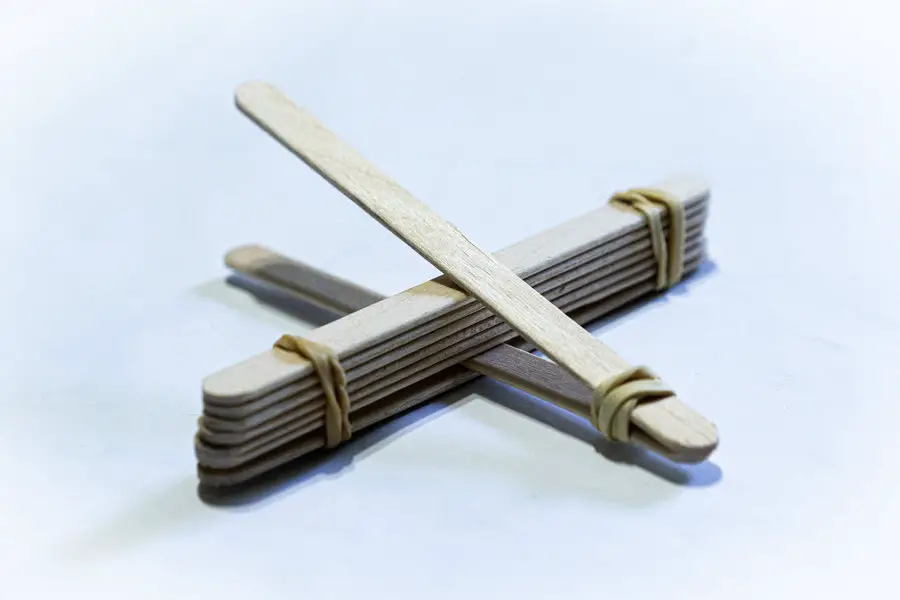
Build a Popsicle Stick Christmas Catapult
Combine engineering and holiday fun by building a popsicle stick catapult to launch lightweight Christmas items. This activity introduces kids to simple machines and physics.
Materials:
- 7-10 popsicle sticks
- Rubber bands
- Plastic spoon
- Small pom-poms or cotton balls (as projectiles)
- Decorative items (optional: paint, stickers)
- Glue (optional)
Instructions:
- Create the Base:
- Stack 5 popsicle sticks together and secure both ends tightly with rubber bands.
- Prepare the Launch Arm:
- Take two popsicle sticks and place a spoon between them at one end.
- Secure the spoon and sticks together with a rubber band.
- Assemble the Catapult:
- Pry apart the two sticks of the launch arm at the opposite end of the spoon.
- Insert the stack of 5 sticks between them, forming a cross shape.
- Adjust Tension:
- Move the stack closer to the spoon for more tension (higher launch) or further away for less tension.
- Decorate (Optional):
- Paint or decorate the catapult to give it a festive look.
- Test the Catapult:
- Place a pom-pom or cotton ball on the spoon.
- Press down on the spoon and release to launch the projectile.
- Experiment:
- Try launching different lightweight items to see how far they go.
Scientific Concepts:
- Simple Machines: Understanding how levers work to amplify force.
- Potential and Kinetic Energy: Observing how stored energy (potential) in the bent spoon converts to motion (kinetic) when released.
- Force and Trajectory: Learning how force affects the distance and angle of the launched object.
Extra Tips:
- Measure the distances traveled by different projectiles and record the results.
- Experiment with changing the number of popsicle sticks in the stack to see how it affects performance.
- Discuss how catapults were used historically and their importance in engineering.
Related Post Alert
If you or the kids love launching things, check out our post on catapult builds
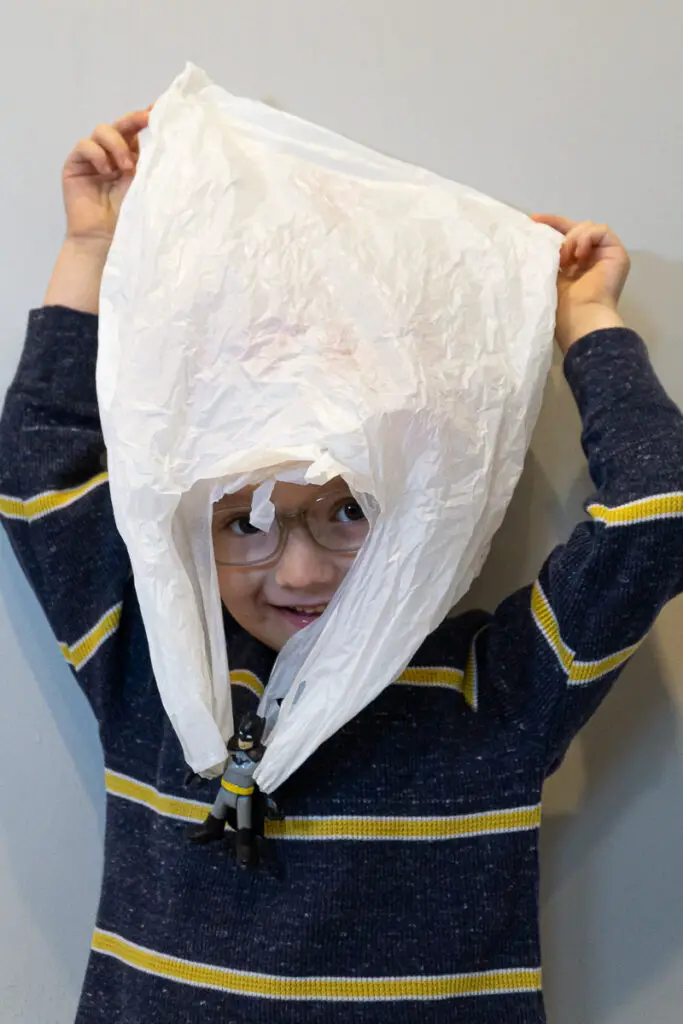
Design a Parachute for Santa
Help Santa make a safe landing by designing a parachute! This activity teaches kids about air resistance and gravity through hands-on experimentation.
Materials:
- Lightweight fabric or plastic bag (e.g., a plastic shopping bag or tissue paper)
- String or yarn
- Scissors
- Tape
- Small Santa figurine or a weight (like a small toy or washer)
- Hole punch (optional)
- Ruler
Instructions:
- Create the Canopy:
- Cut the fabric or plastic into a large square or circle (about 12 inches across).
- Attach Strings:
- Cut four equal lengths of string (about 12 inches each).
- If using a hole punch, punch one hole near each corner or edge of the canopy.
- Tie one end of each string through each hole.
- If not using a hole punch, tape the strings securely to the corners or edges.
- Connect to Santa:
- Tie the free ends of the strings together.
- Attach the small Santa figurine or weight to the strings’ gathered ends.
- Test the Parachute:
- Hold the parachute by the canopy, ensuring the strings are not tangled.
- Drop it from a height (standing on a chair or staircase with adult supervision).
- Observe the Descent:
- Watch how the parachute slows down Santa’s fall.
- Improve the Design:
- Try changing the canopy size, shape, or material to see how it affects the fall.
Scientific Concepts:
- Gravity: Understanding that gravity pulls objects toward the Earth.
- Air Resistance (Drag): Learning how the parachute increases air resistance to slow the descent.
- Forces and Motion: Observing how opposing forces (gravity vs. air resistance) affect the speed of a falling object.
Extra Tips:
- Use different materials (like a coffee filter or paper napkin) to compare effectiveness.
- Measure the time it takes for the parachute to reach the ground from the same height.
- Discuss real-life applications, such as how parachutes are used in skydiving and space missions.

Winter STEM
Check out these cool Winter themed STEM Activities and experiments or these 3D Printing Ideas for Christmas!
Wrap Up – Christmas STEM Activities
Science can make the holiday season even more special. With some Christmas themed hands on STEM activities, kids can learn and get into the holiday spirit at the same time. These activities bring families together and create lasting memories.
As the holidays approach, consider adding science projects to your celebrations. Simple projects can spark joy and wonder. They help children understand the world around them in an exciting way.
We hope these ideas bring extra cheer to your Christmas. Enjoy the time with your loved ones, and let the spirit of discovery brighten your holiday season.

